
This article was originally posted at BYOAC on 10-19-2008 and last updated on 11-16-2008
The following was copied from BYOAC minus comments from other BYOAC members. To see the full post plus comments, head over to BYOAC.
99% complete on 11-16-2008
Click the read more button for the whole story.
This is my second cab attempt. My first can be seen here.
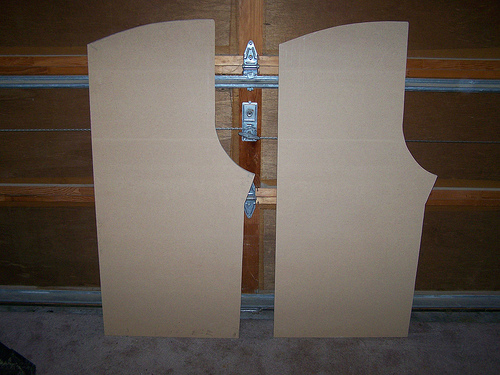
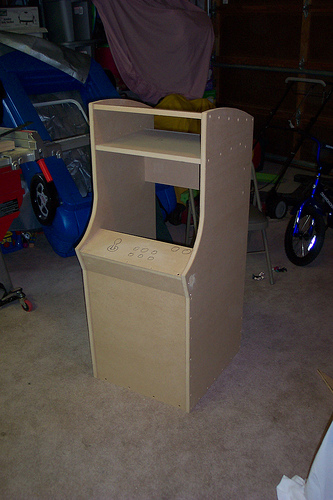
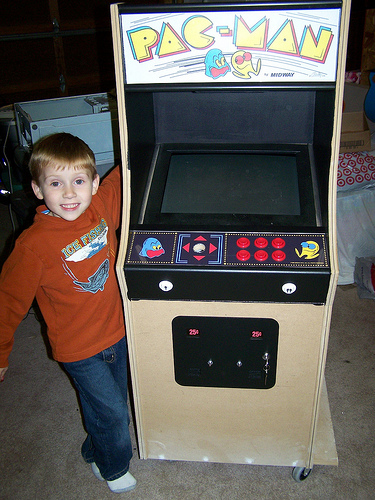
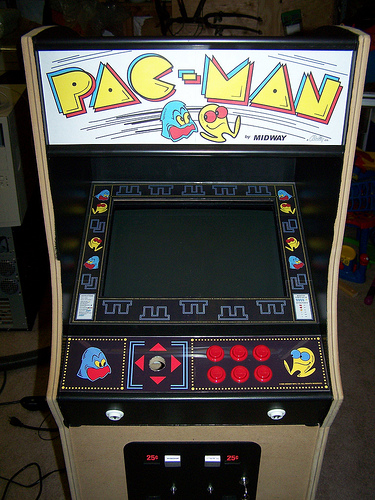
This cab is inspired by (well Pacman, duh!) the mini cab featured in Saint's book, which helped a lot on my first cab BTW, and by this post by JamieMcShan. In fact most of the graphics will be based mostly on his and I'm planning on building a mini coin door like the one he built and hopefully I'll be using the Midway label he created for his coin door. My cab will be using a 6 button layout unlike the 2 or 3 buttons I see on most minis. I'm also going with a horizontal layout so I can get the most bang for the buck in terms of games that can be played on it. My son who is only 5 likes playing some of the fighter games like marvell vs capcom, otherwise I would have stuck with the traditional vertical layout and only stuck with classic games. Here are some pics of the build so far. This is about 2 weekends worth of work.


Posted on 10-19-2008
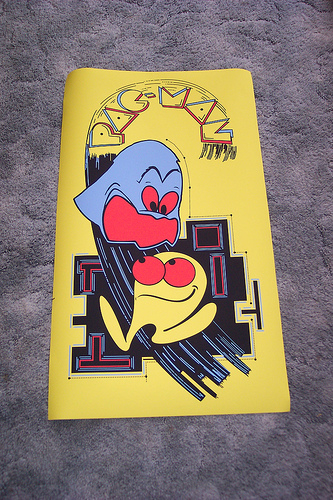
Here is the cpo I am going to use. It is almost the same as JamieMcShan's except for the button layout. If anyone wants the large version, pm me and I'll email it to you.

Posted on 10-20-2008
Thanks everyone. Here is a mock up of the bezel. Do you think it looks too busy? What can I do to make it better? I have 18.5" wide by 15" tall with about a 2" thick border. Not a lot to play with. Any tips with working with bezels? On my first cab I elected to use graylite #14 smoked glass and I did not use a bezel at all. I'm planning on printing the bezel and sandwiching it between 2 pieces of tempered glass. Your tips and suggestions welcome.

Posted on 10-28-2008
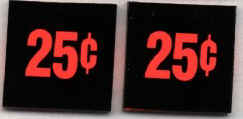
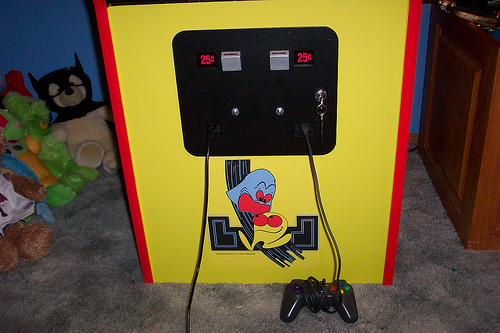
I thought I would post an update. I received the marquee retainer from Ebay(TornadoTerrys was out), pushbuttons (from TornadoTerrys) and tmolding (t-molding.com) last week. I also picked up some Midway 25 cent coin door inserts from thisoldgame.
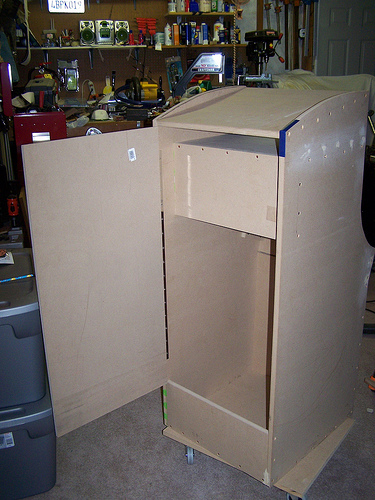
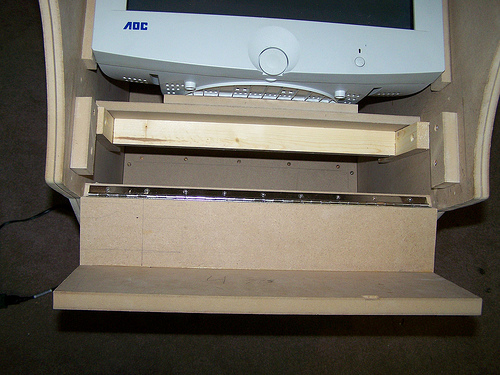
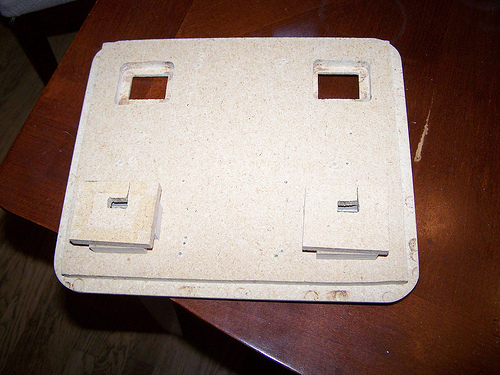
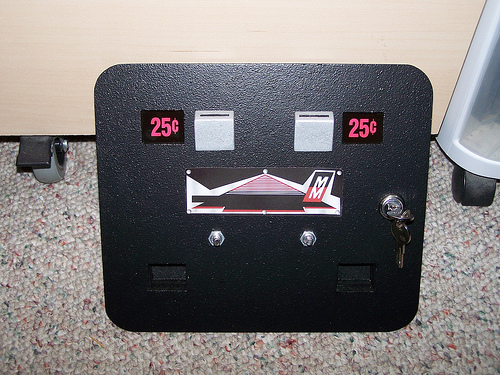
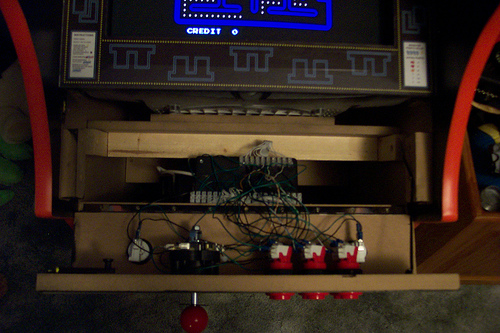
 Someone once said the devil is in the details and I have to say that the farther along on this project I get, the more messy and disorganized my garage gets and the harder it is to find the tools I need, so progress is slow. I did manage to do a few things though. I got a hole cut in the top for the exaust fan. I mounted the CP with a piano hinge. I started work on the coin door. I started work on the keybord encoder from a keyboard I picked up from the goodwill, I'm going hardcore on this one (plus I'm kind of on a tight budget). I printed up the marquee at work on a color laser printer and installed it to see how it looked, not too bad for a paper marquee. The coin door is coming along quite good I think. I need a new router bit though as mine is getting dull and scorched the wood in a few places. If I was to do the coin door again, I would not have made the corners so round. Oh well, live and learn. Inside the coin return holes, I am going to put usb plugins using usb extension cables. Will these stay put if I hot glue them into place? You will have to get on your hands and knees to be able to see them so looks are not too important. The hardest part of making your own coin door is getting the holes to be square. I used a file to clean up any jaggies left over from my jigsaw and to square the holes up. I found the Midway coindoor label graphic JamieMcShan uploaded to the arcade artwork library and printed it up. I even experimented with some metallic looking paper my wife had for scrapbooking to see if I could improve on it, but it really came out best just printing it on a color laser with plain old white paper. He did a good job creating this one.

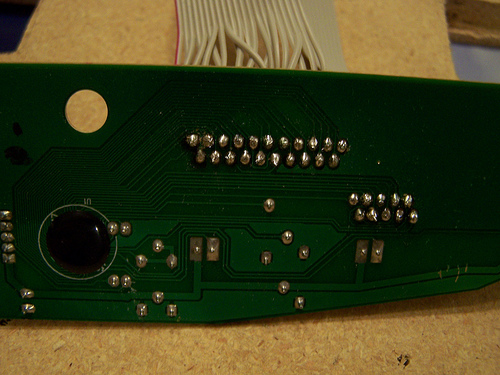

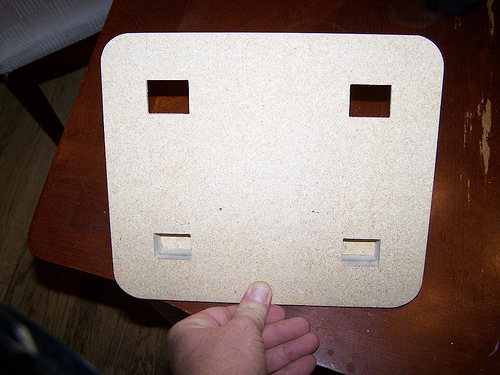
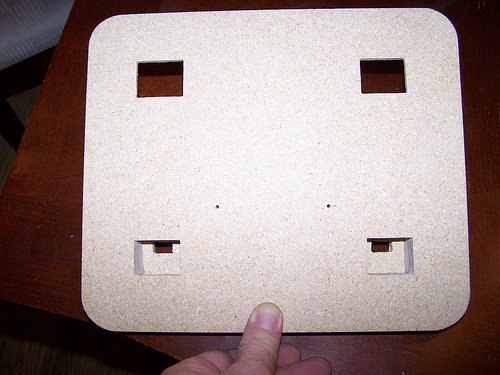
My next job will be cleaning up my garage a little so I can find my tools again. I need to strip everything out of the cabinet too so nothing gets damaged with the dust. I need to pick up some more terminal blocks to finish the wiring on the keyboard encoder. I'm really excited about this. I was turned off of going this route on my first cab but so far on this one everything looks good. I checked the continuity on my soldering job and everything checks out. Next for this will be digging out an old computer to test it on (so I don't accidentally fry a good motherboard, but I'm pretty confident about it). The instructions by Marshall Brooks have been very helpful with the keyboard hack, even though he recommends against using them unless absolutely necessary since encoders are pretty easy to come by now. Like I said though, I'm on a tight budget this go round. I will be ordering the joystick later this week and hopefully I can get some controls mounted in a few weeks. I need to concentrate on getting the old Dell motherboard mounted as well. Hopefully I will have some more good updates in the coming weeks.
Posted on 10-29-2008
Confirmed; keyboard hack works. Now to map out its matrix! ![]()
Posted on 11-1-2008 in response to "get a keyboard encoder"
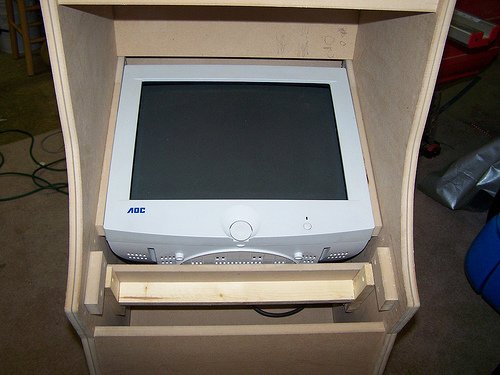
Yeah I got a keywiz in my other cab but I'm really trying to save money this go round. I just got a project box for the keyboard encoder I hacked and hopefully I'll have some pictures to post of it completed soon. Feeling really satisfied hacking my own on this one but I know what you mean. If I needed more inputs than I do, I would definitely do something different. I'm feeling the sting of the $59 I just spent for the mag stick plus and red ball top shaft I just ordered. This is the most I've had to spend on this project so far. I really respect the job you did on your cab. I know it must have been really tough working with half inch MDF, it probably really helps with the illiusion of scale. I'm excited to see what mine turns out like using 3/4 MDF. Hopefully my next post will include pictures of....
1. Keyboard enclosure completed.
2. Coin door completion (but maybe not mounted yet).
3. Upper exhaust fan mounted.
4. Some bezel work, not quite sure on this yet.
My son says I need to put the burger king smiley on here so... ![]()
and since its halloween ![]()
Posted on 11-03-2008
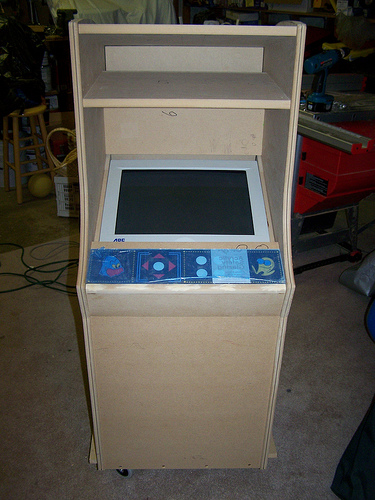
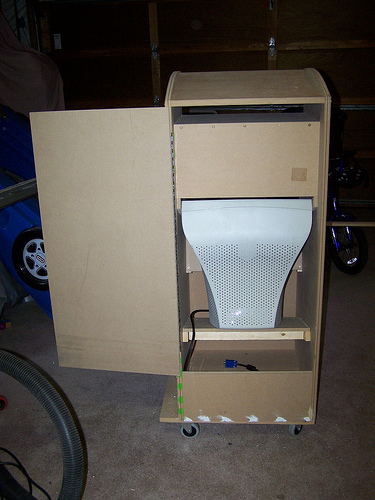
OK, I didn't get around to the bezel but here are some pics of the progress so far.


Posted on 11-05-2008
Posted on 11-11-2008
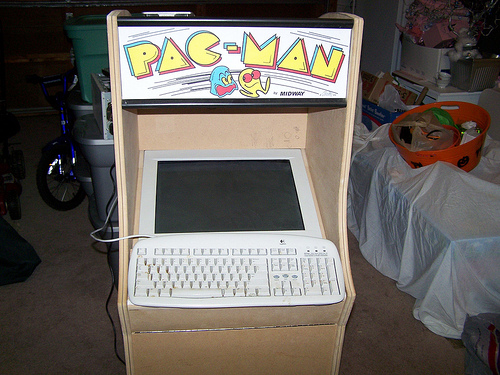
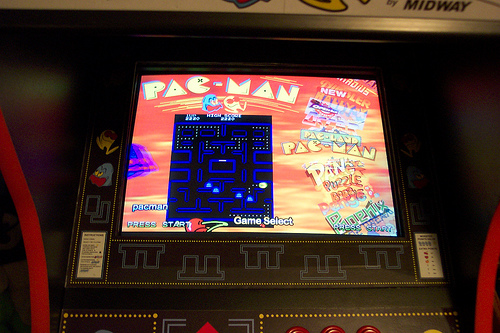
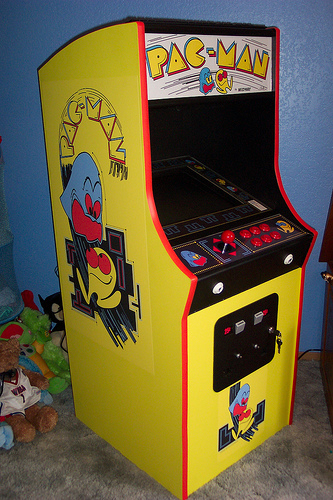
Cab is pretty much done except for sideart which I'll be getting this weekend, and I need to purchase a Nova Matrix from GGG for the Marquee. I got the front art printed at Kinkos Fedex Office to color match the paint. The self adhesive vinyl they sell has a matte or flat finish. When I got the paint mixed up I decided that to best way to match the art would be to get flat paint. Well, the paint job is definitely flat but it really actually looks pretty good that way and you don't even notice the art is just a big label unless you look for it. It matches very well and I'm happy with it.


Thanks to Marshall Brooks, AKA Tiger Heli for his excellent writeup on hacking your own keyboard encoder at mameworld . The wiring is going to be redone as I ran out of hookup wire and started using cat 5 wire. I actually prefer the cat 5 believe it or not. Hacking my own was very challenging and rewarding. With only using 14 inputs, ghosting is not a problem. I am able to hold down all 6 action buttons and hit all diagonals without ghosting or blocking.


I might have to bring the mini into my office and put it next to my regular sized cab for a better sense of scale. I cannot play on the mini or do anything with the software unless I'm sitting down, its so short.

Posted on 11-11-2008
Posted on 11-16-2008
Posted on 11-16-2008
Total spent on this project.
$20 at radio shack for misc conectors and stuff.
$20 Craigslist 19 inch monitor.
$40 something for MDF, lets just round it up to $50 shall we?
$145 for art at kinkos
$59 for mag stick plus and optional ball top plus shipping.
$15 for quarter inch plexi at Home Depot
$45 for misc stuff at Home Depot (hinges, screws, paint etc)
$20 (aprox) for buttons from tornado terry.
$5 for keyboard
$10 for project box and terminals.
$3 at Micheal's for black foam board for bezel.
Total $392
Free or already had on hand from previous cab
Computer
Marquee plexi
CPO plexi
Misc wood pieces I used to hold thing together
Wood Filler
I'm sure there is a lot more I'm forgetting but thats about it in a nutshell. If anyone ever needs help making one of these or has a question, feel free to e-mail me or send a private message. I will try to get back to you as soon as I can.
People I would like to thank
JamieMcShan for inspiration for the coin door and the mini cab in general.
javeryh for the inspiration from his Bella cab. I only wish I had half his patience and documentation skills
Marshall Brooks (tiger-heli) for help with the keyboard encoder stuff even though he did try to persuade me to buy a keywiz
Headkaze for his excellent CPWizard.
Saint for his excellent website and book.
BYOAC community for all the great ideas.