30+ years of adventures in the Pacific Northwest and beyond.
Building Dawn a She Shed
During the early part of the pandemic, I decided to build Dawn a she-shed. I enlisted the help of my nephew Jeremy who by all accounts, really was the one that built most of this. This would not have happened without him.
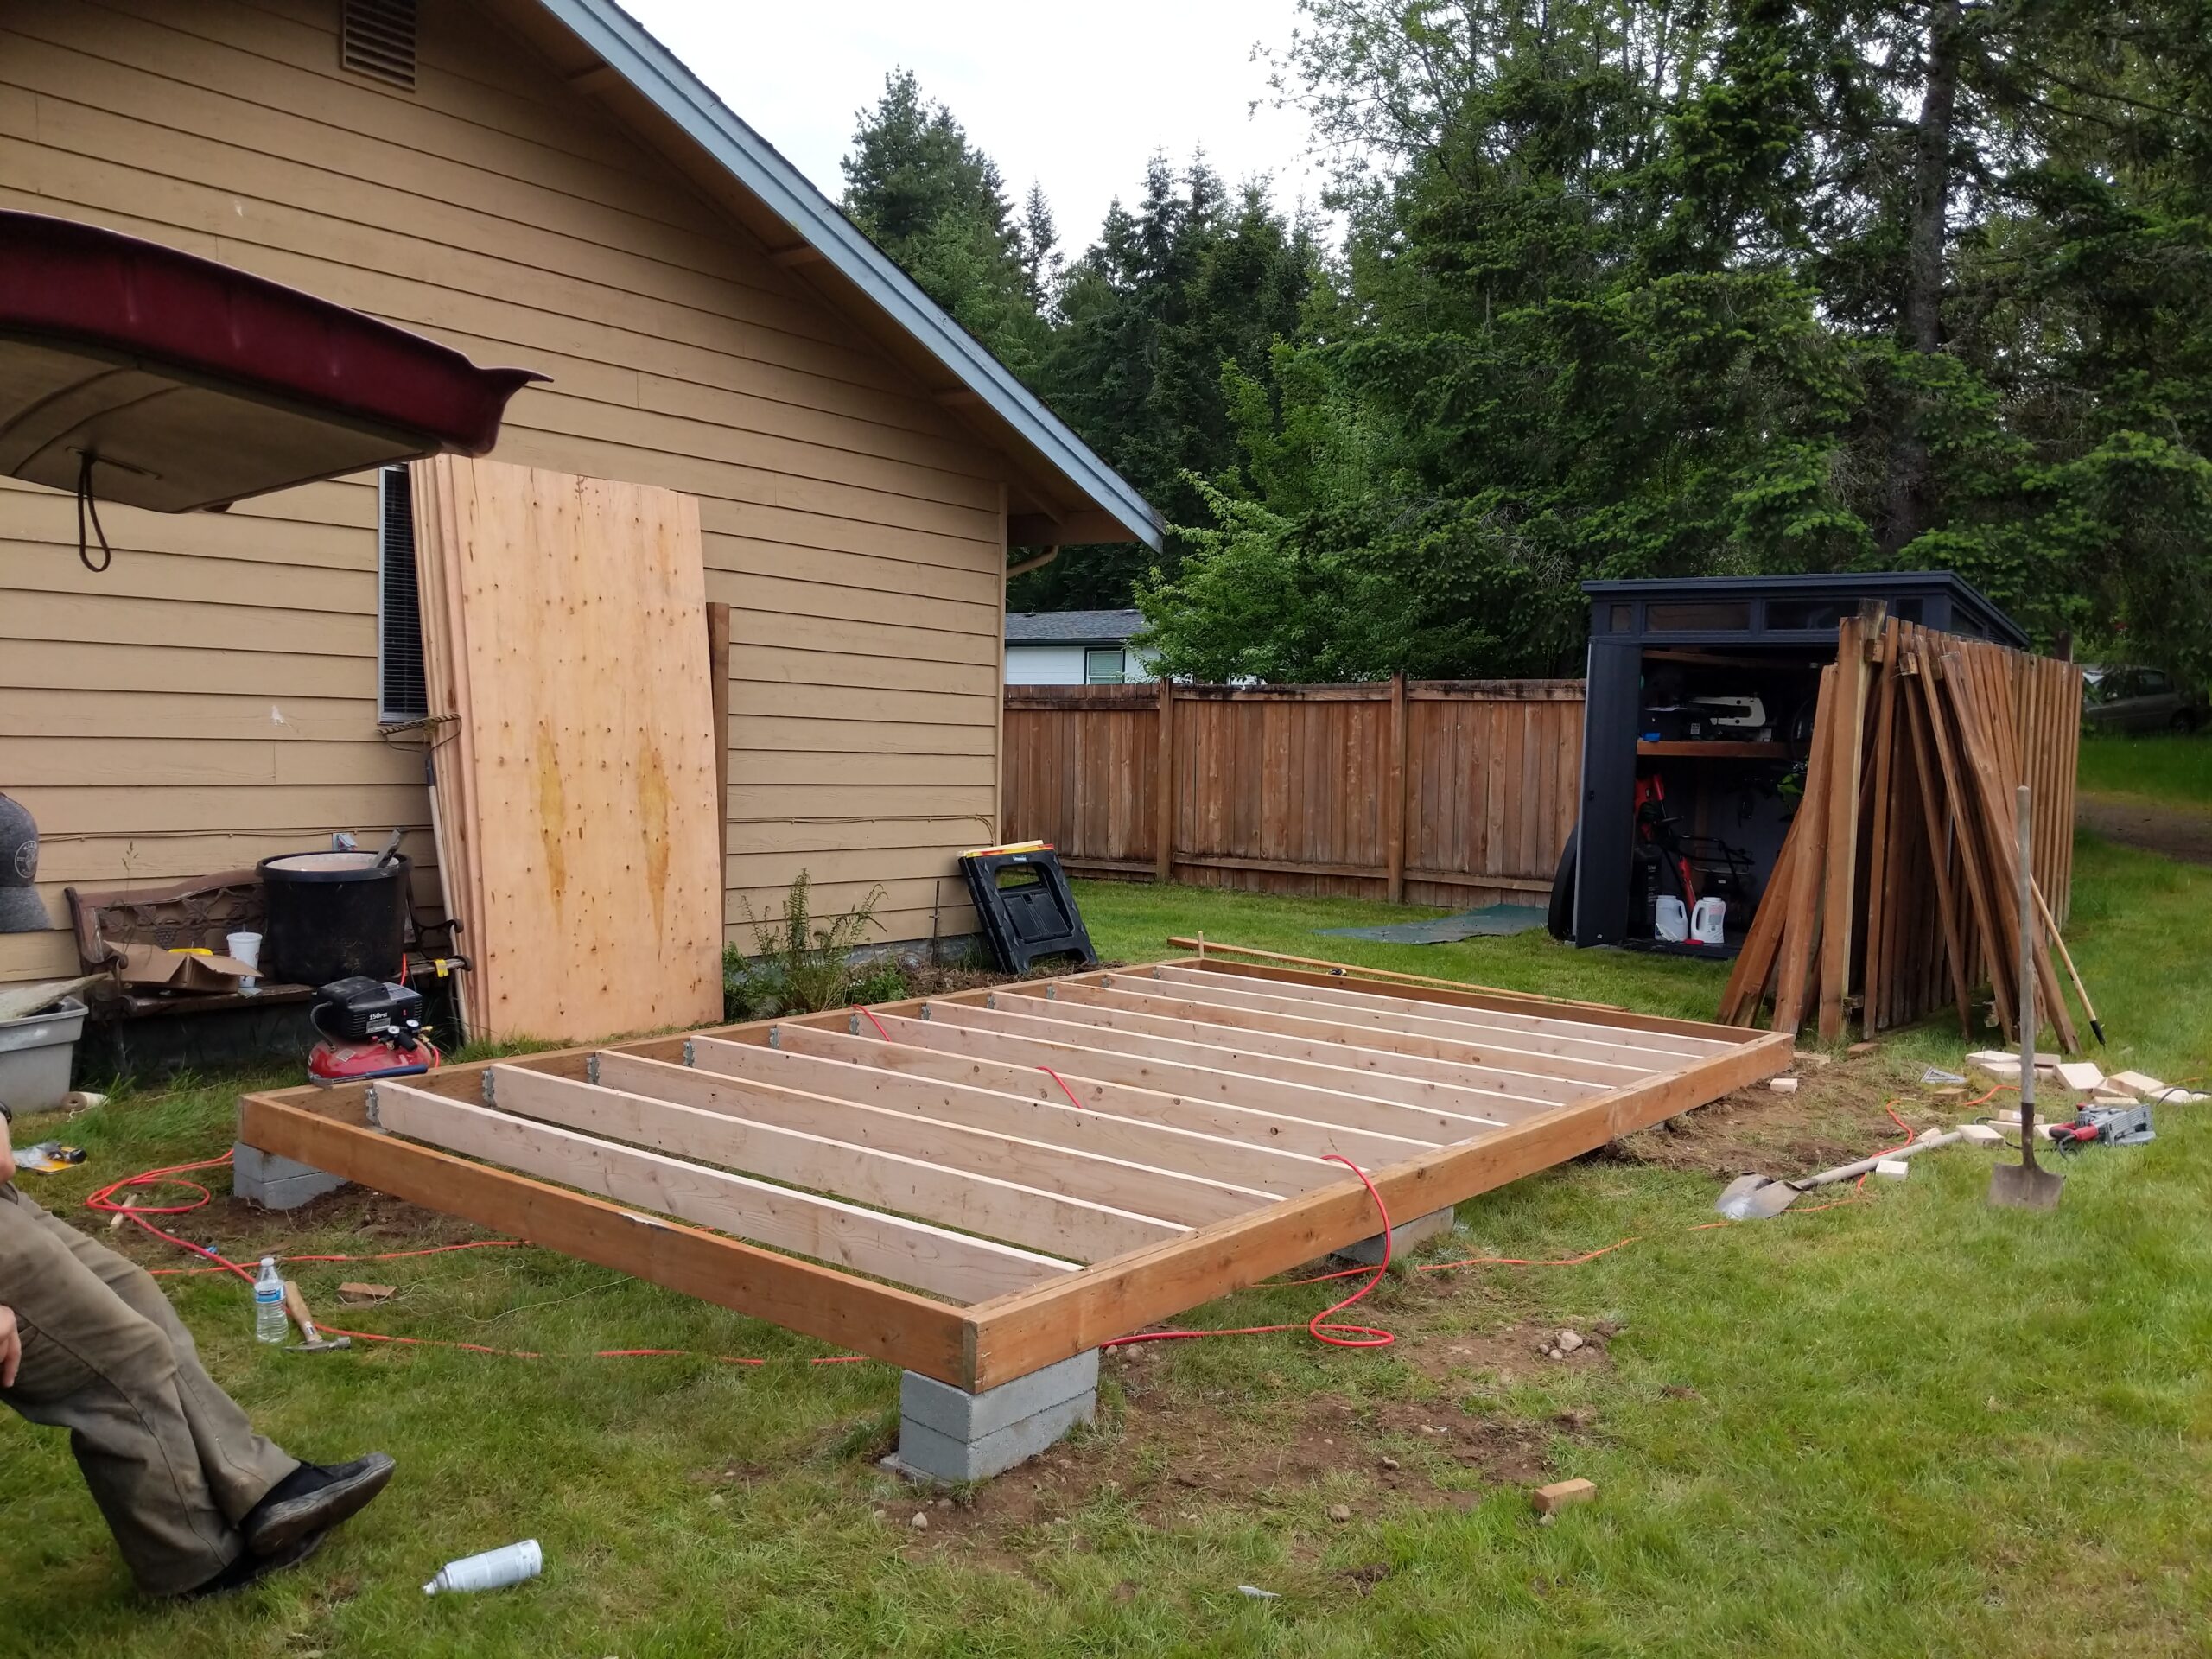
We live on half an acre, but the house is situated on the corner of the property. The fence-line was right in the way of where the shed would go so I took that section out and made the edge of the footprint of the shed the same as where the fence was. There is a driveway next to this side of the property and I wanted to maintain the same easement that was there prior to construction. I was only going to make a modest 10x10 or maybe even a 10x12 footprint, but in the end we went 10x16. If you add the porch in the square footage I think it is closer to 10x20.
Below are pictures of the build as it progressed. I'm also going to show some of the furniture and stuff I built for her.
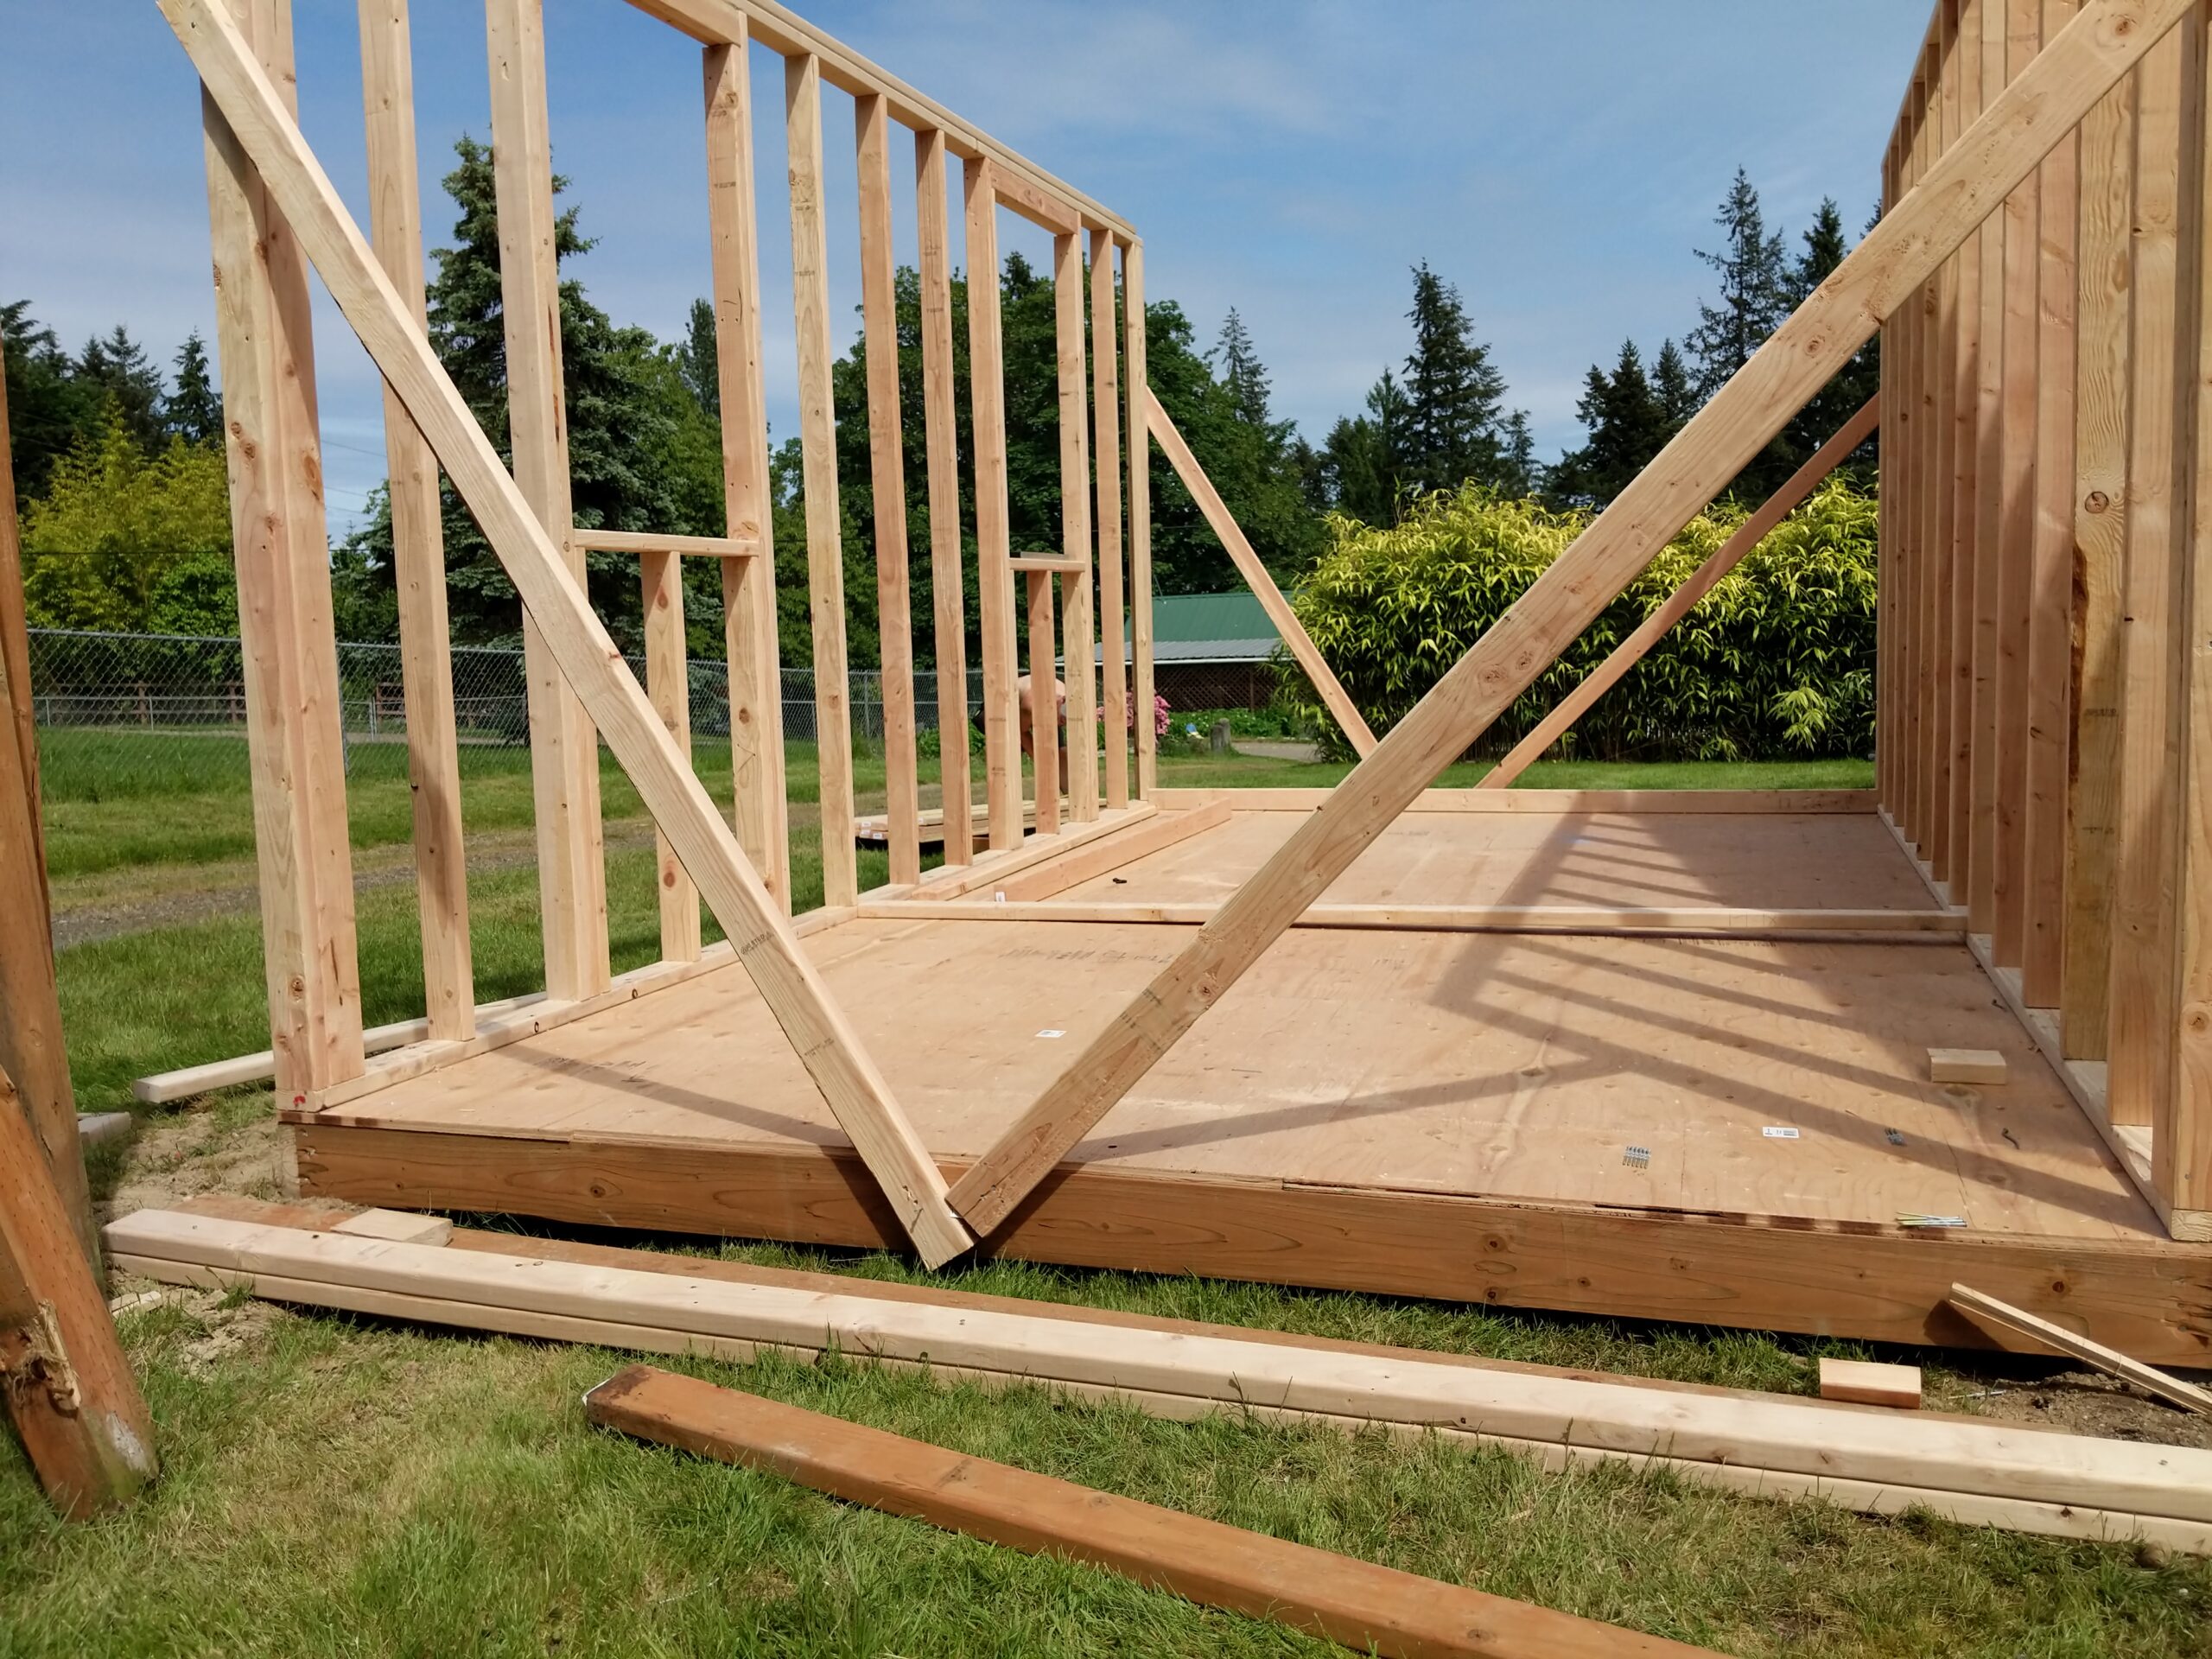
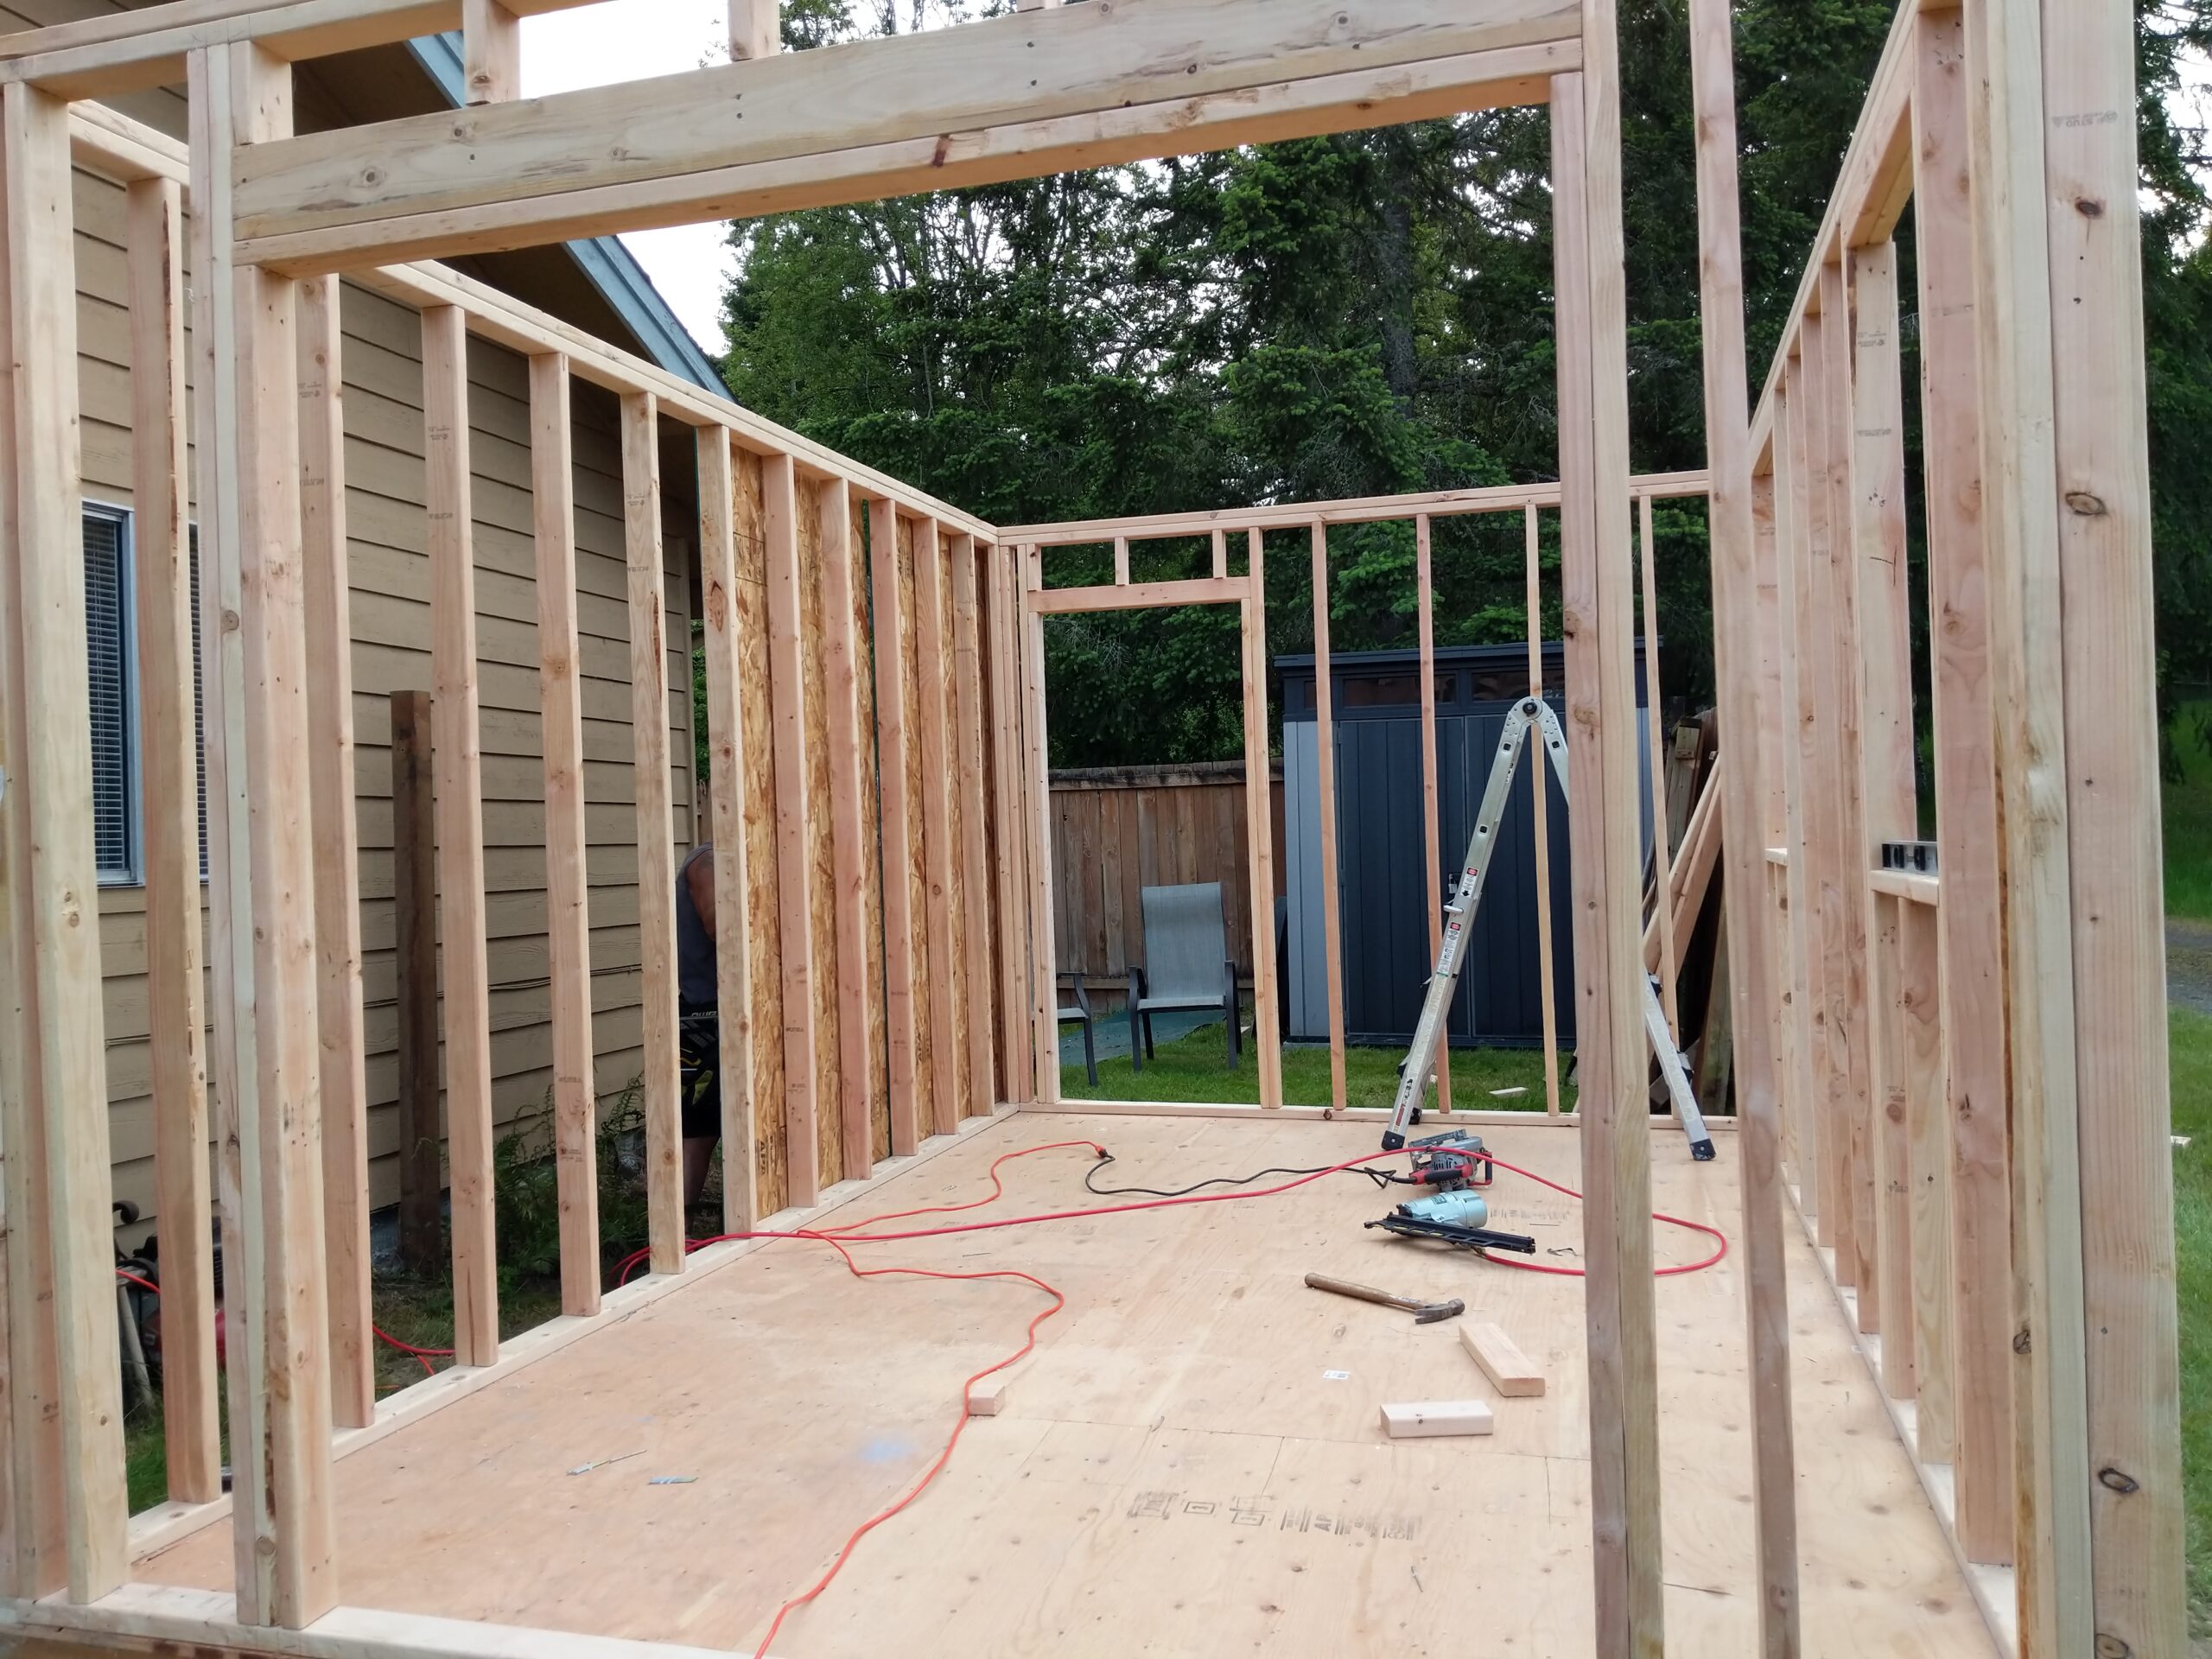
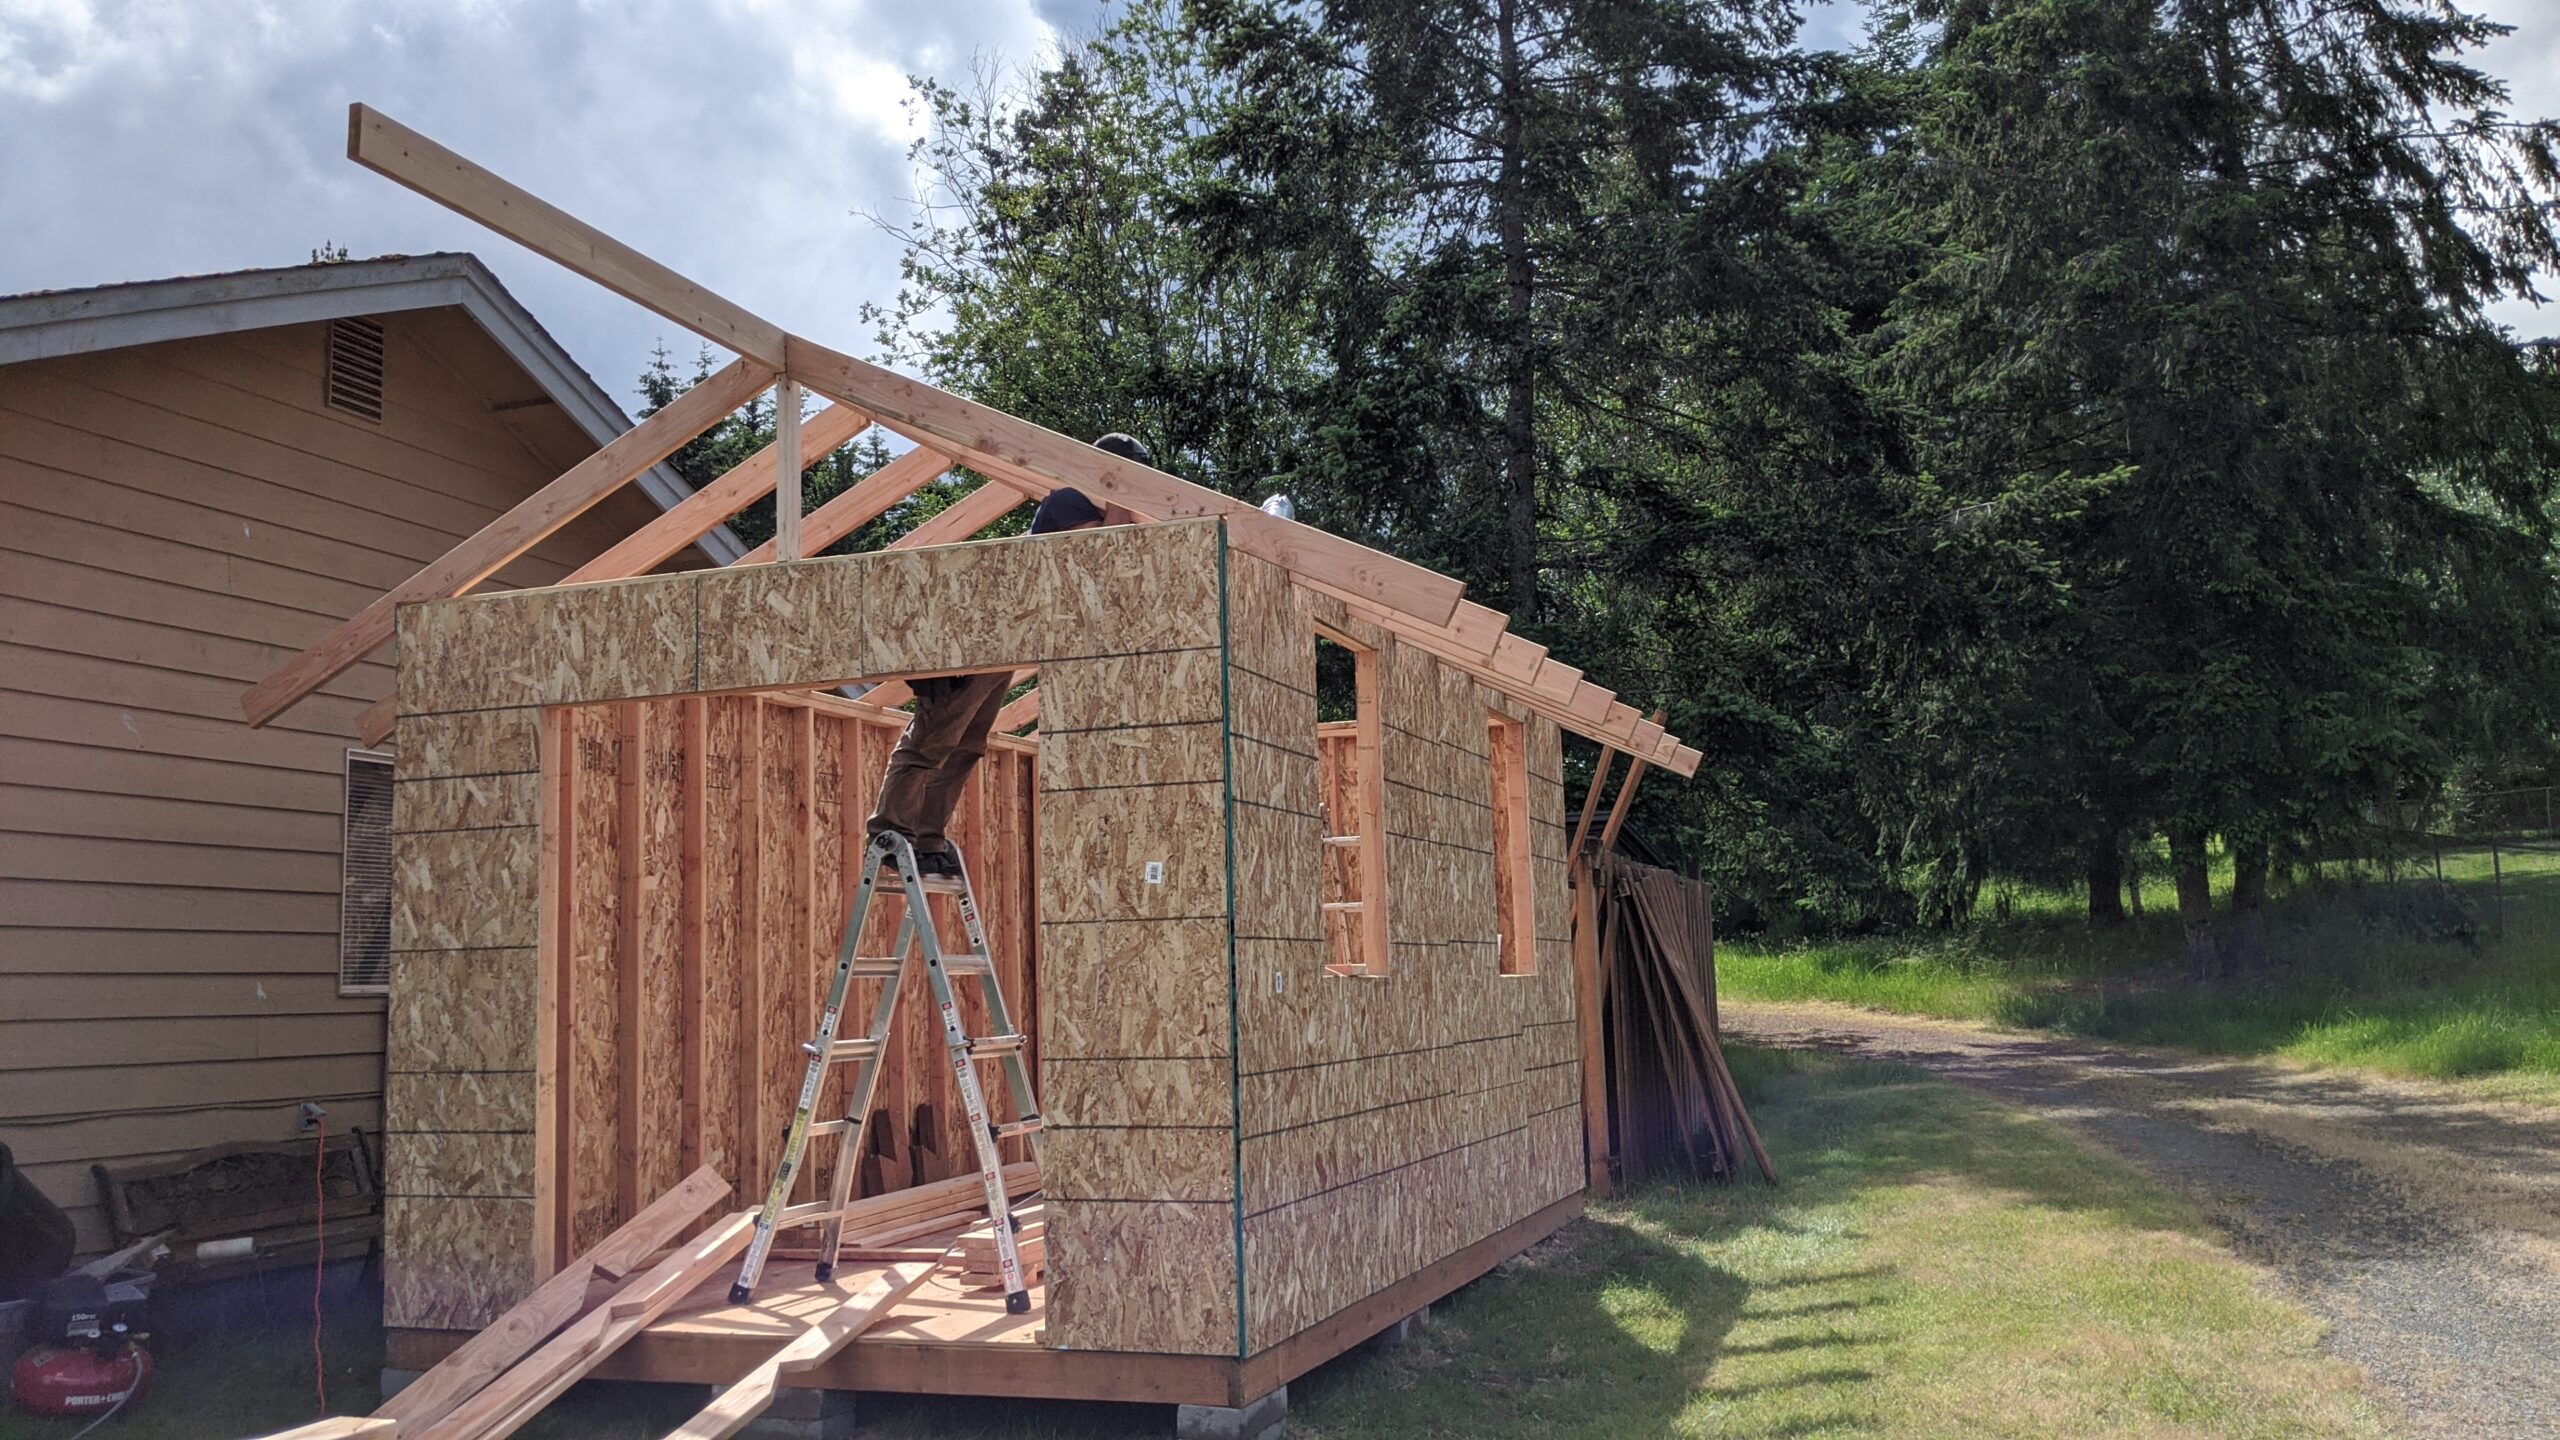
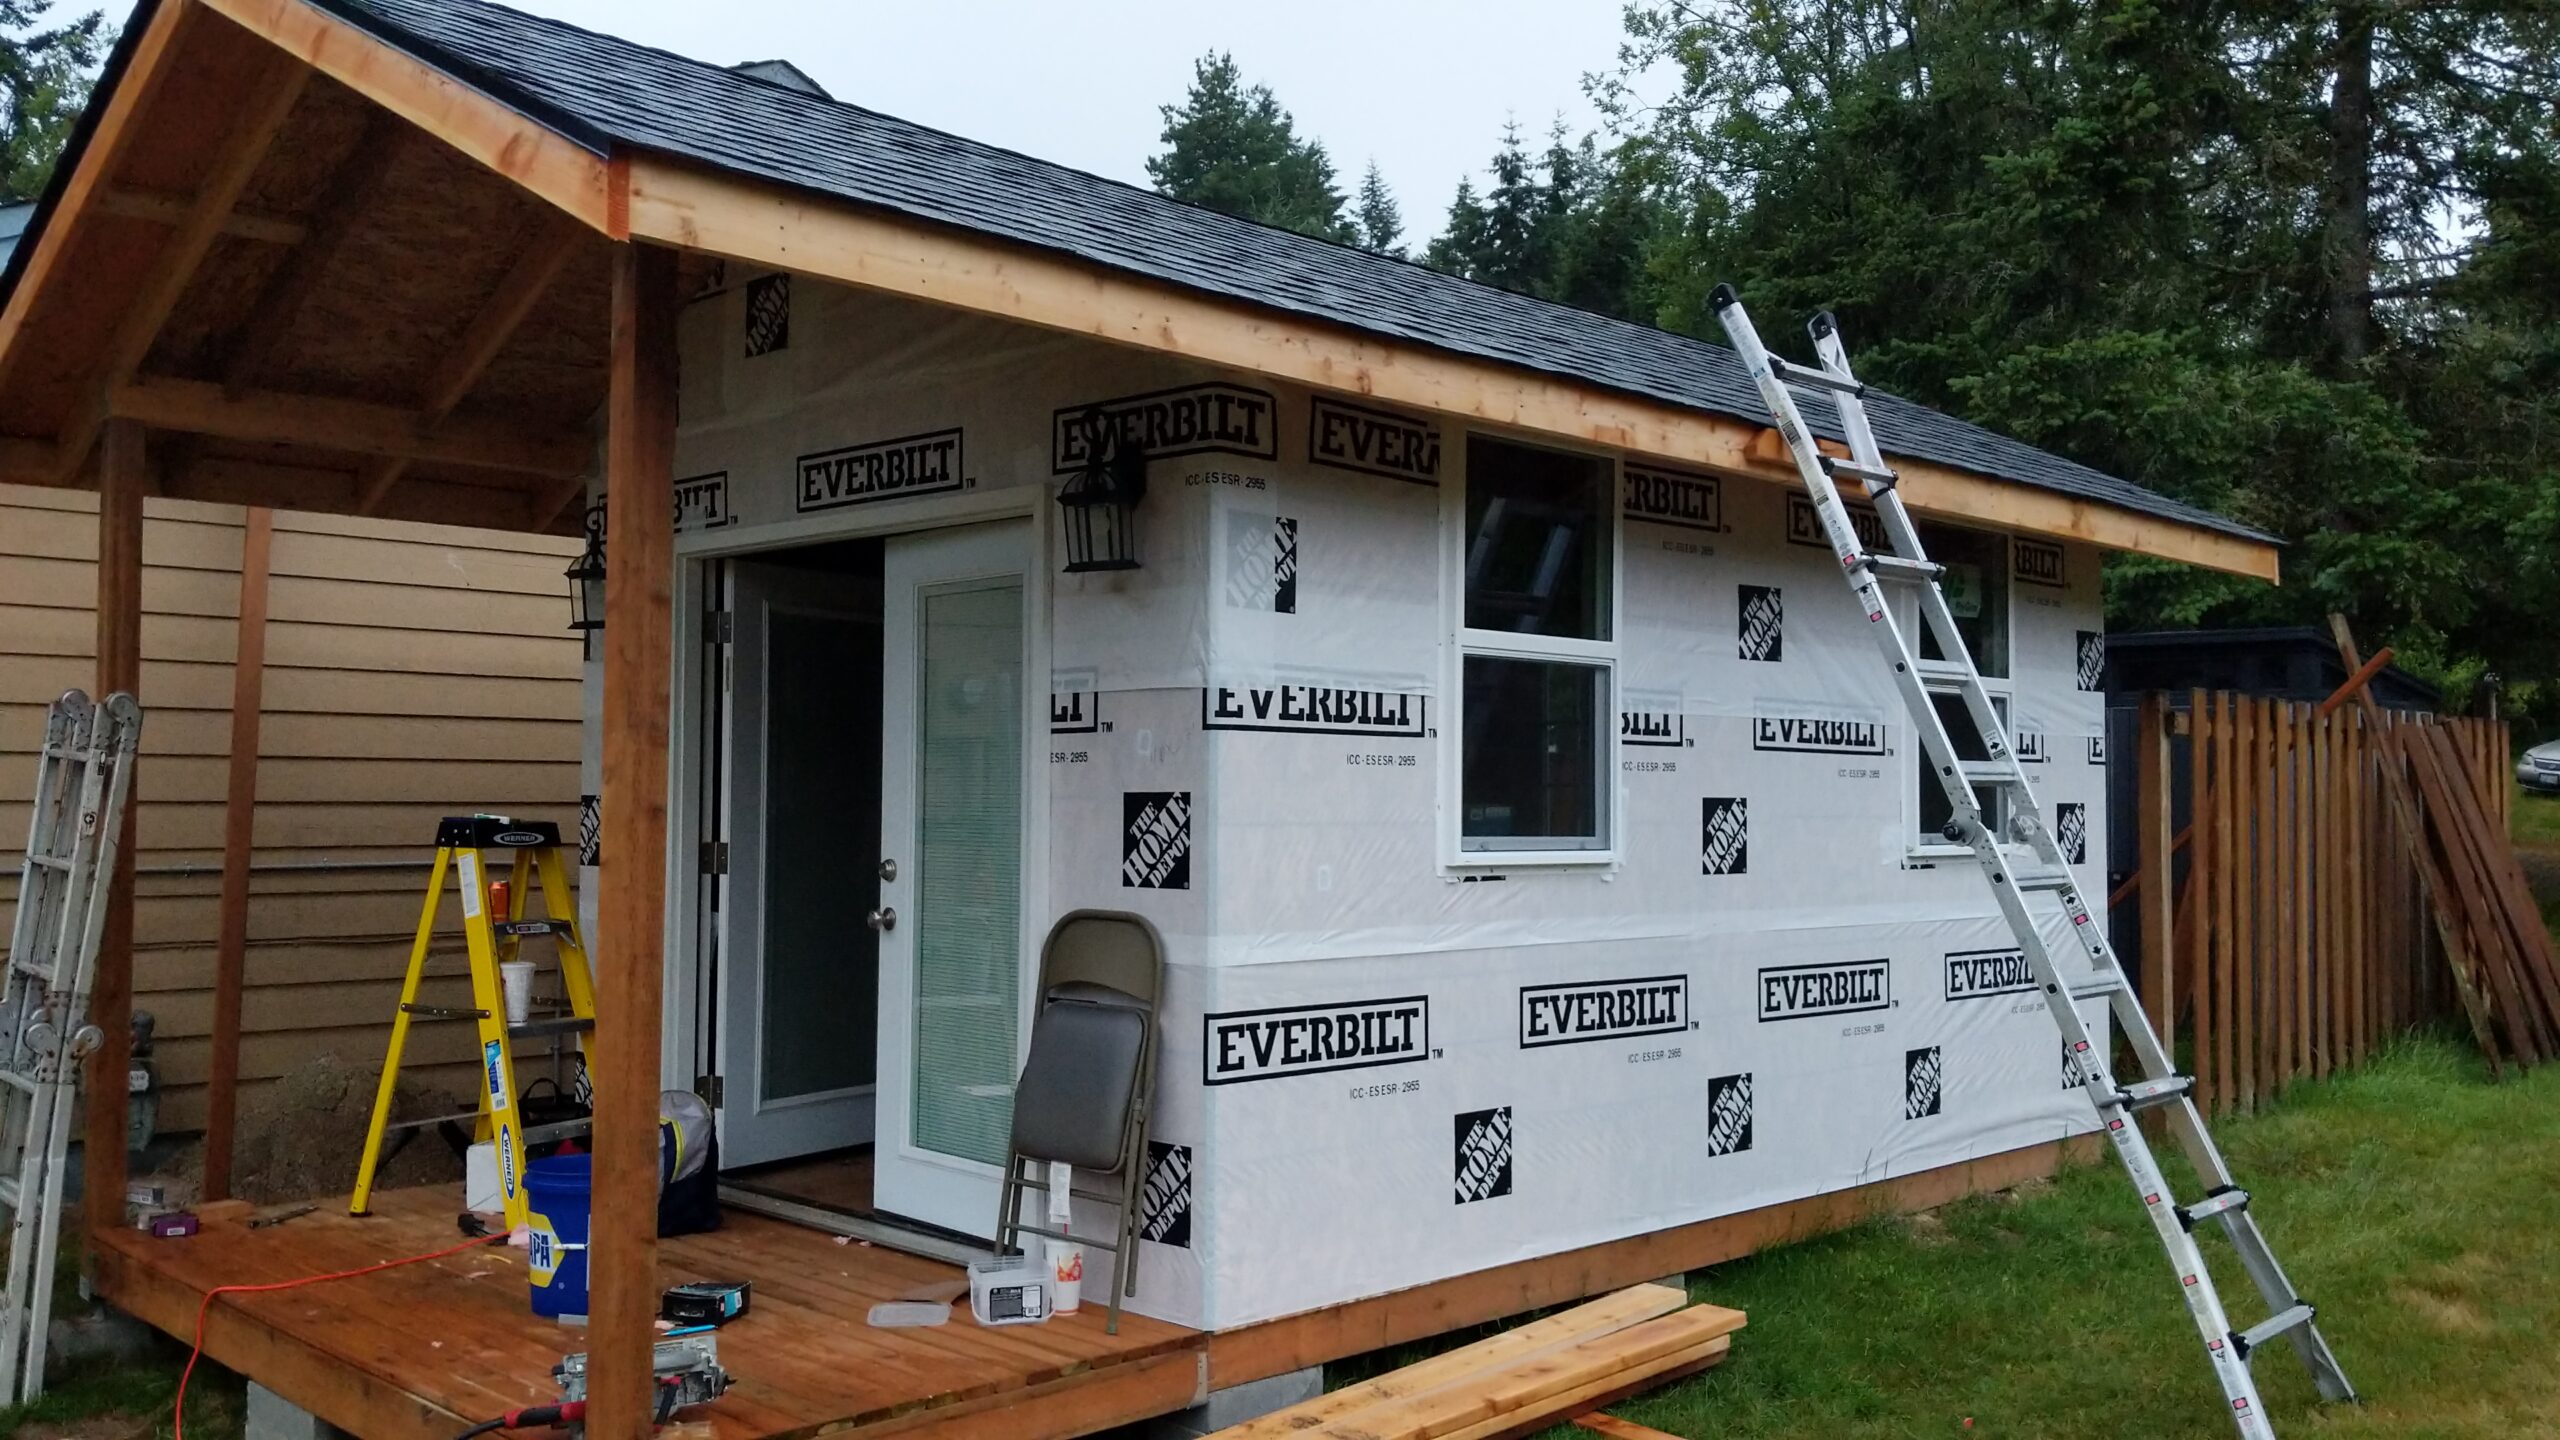
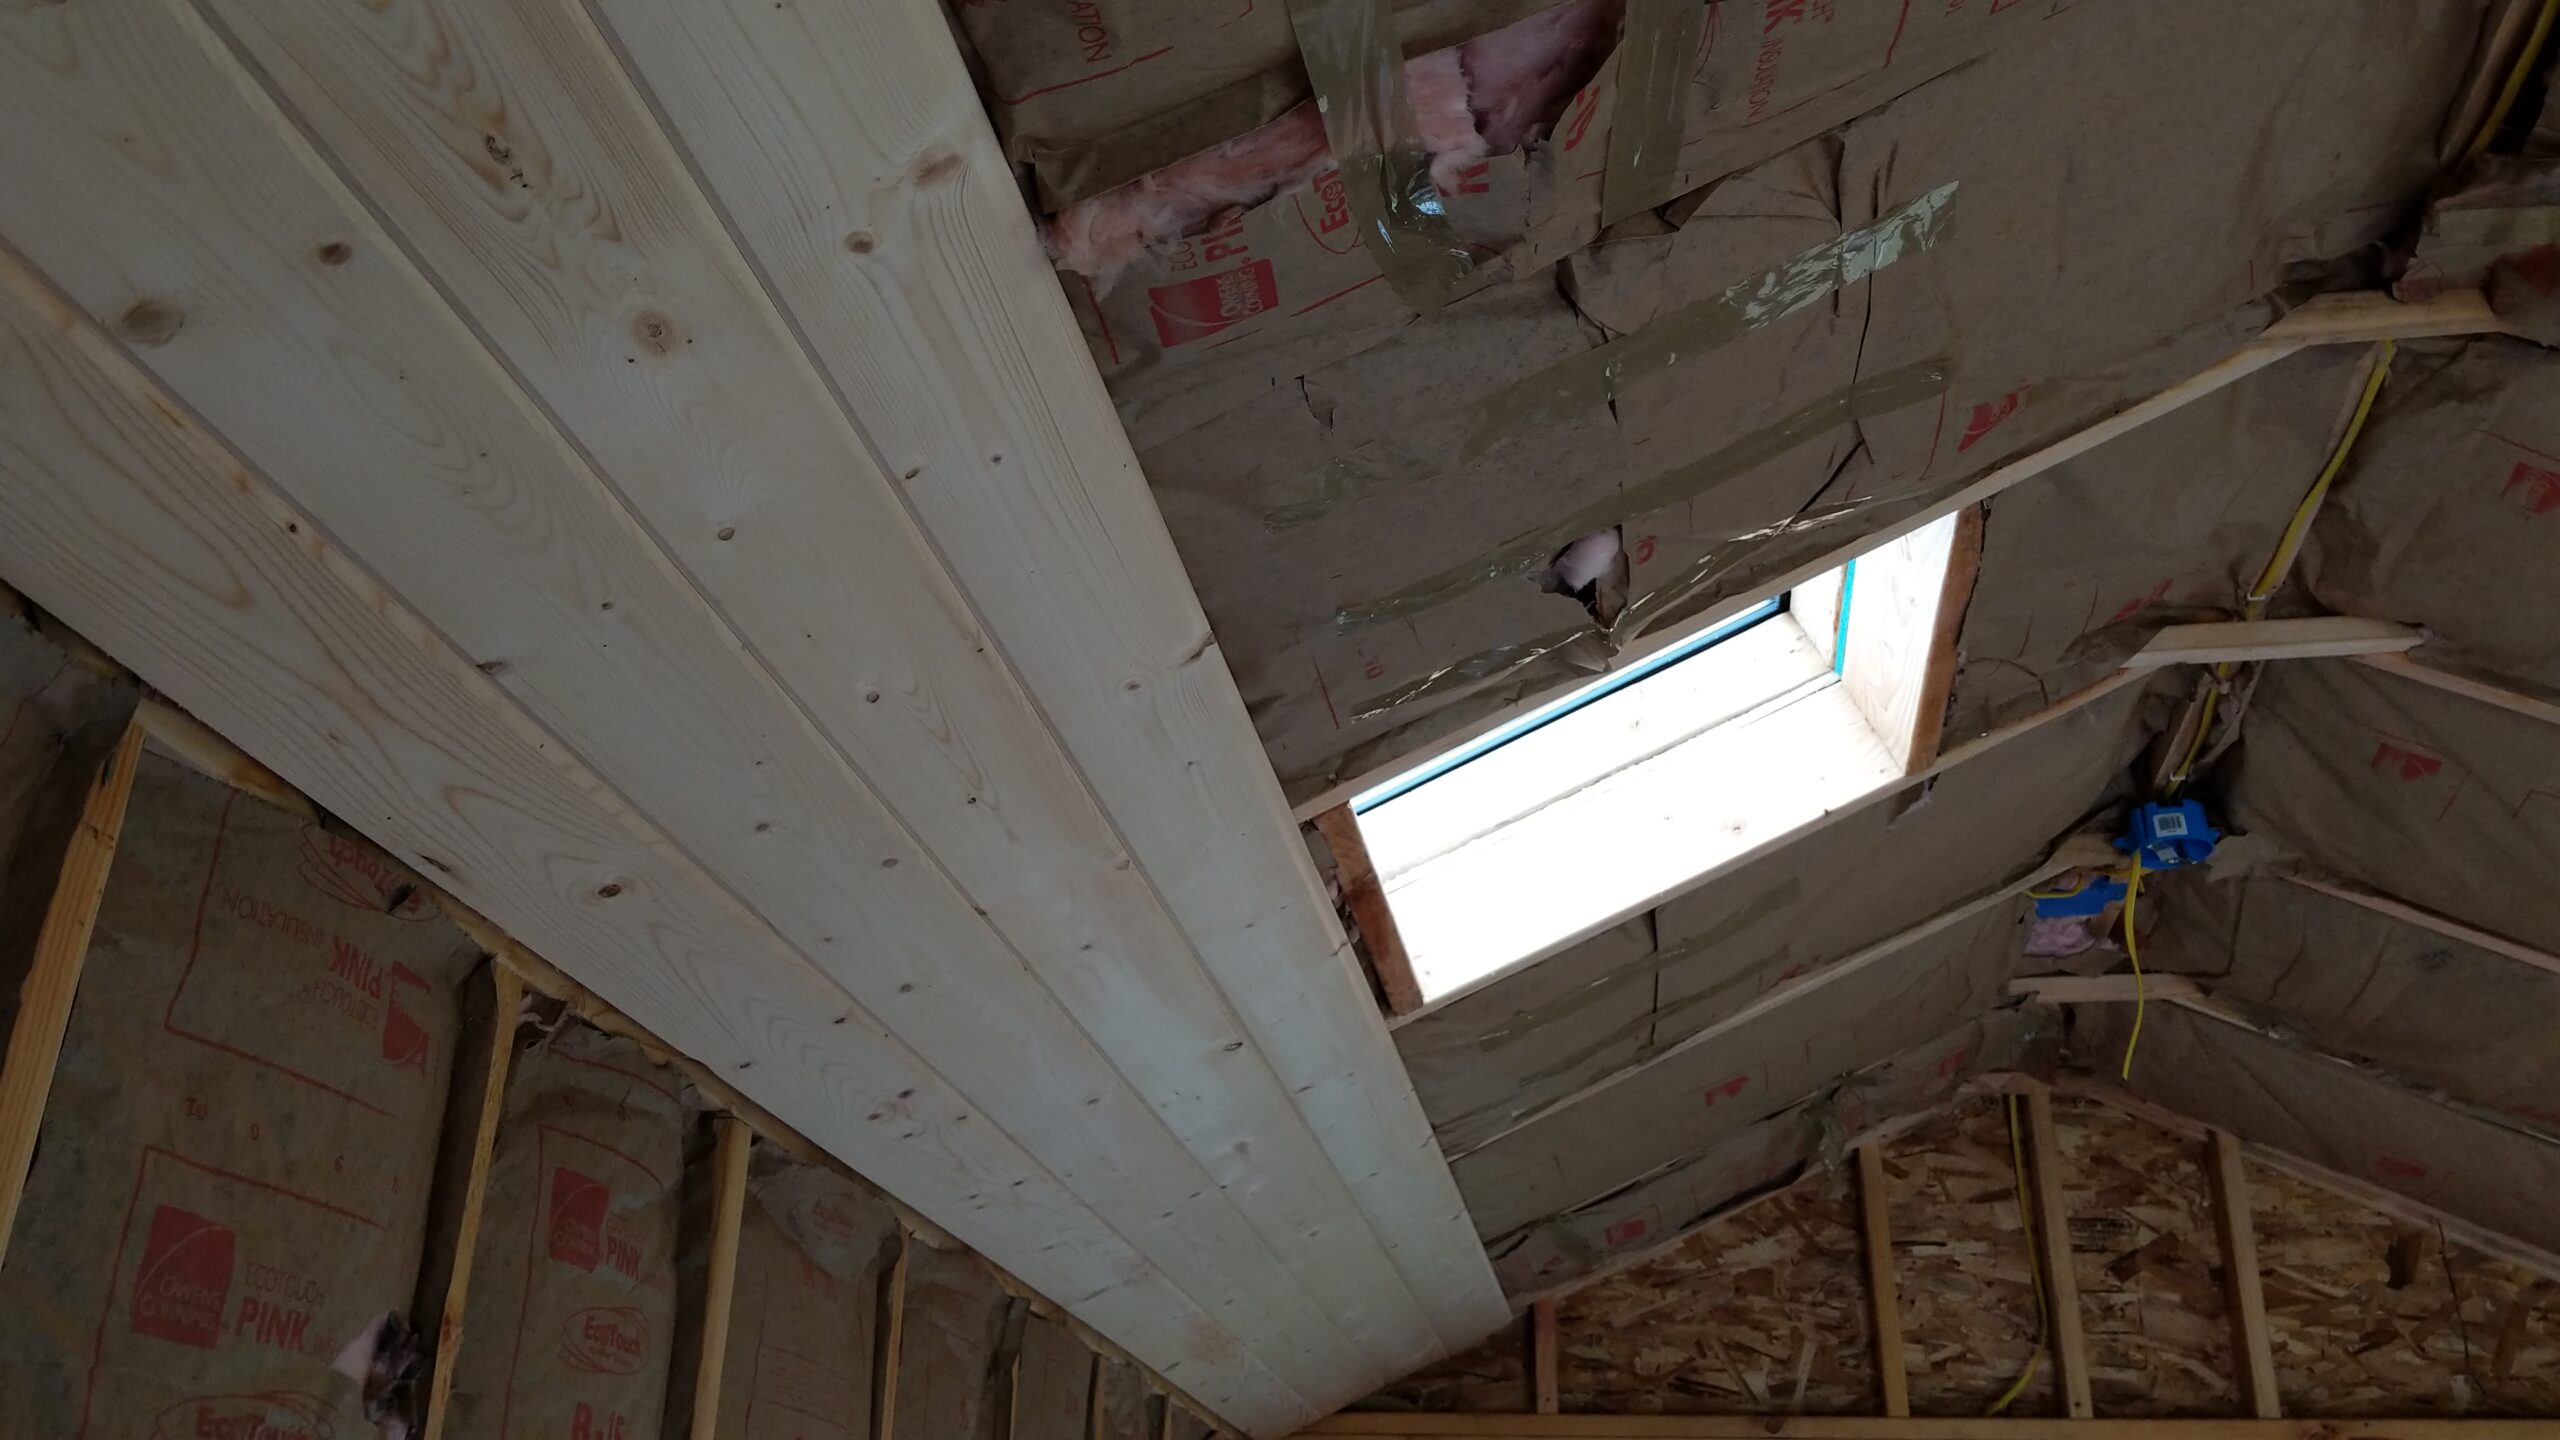
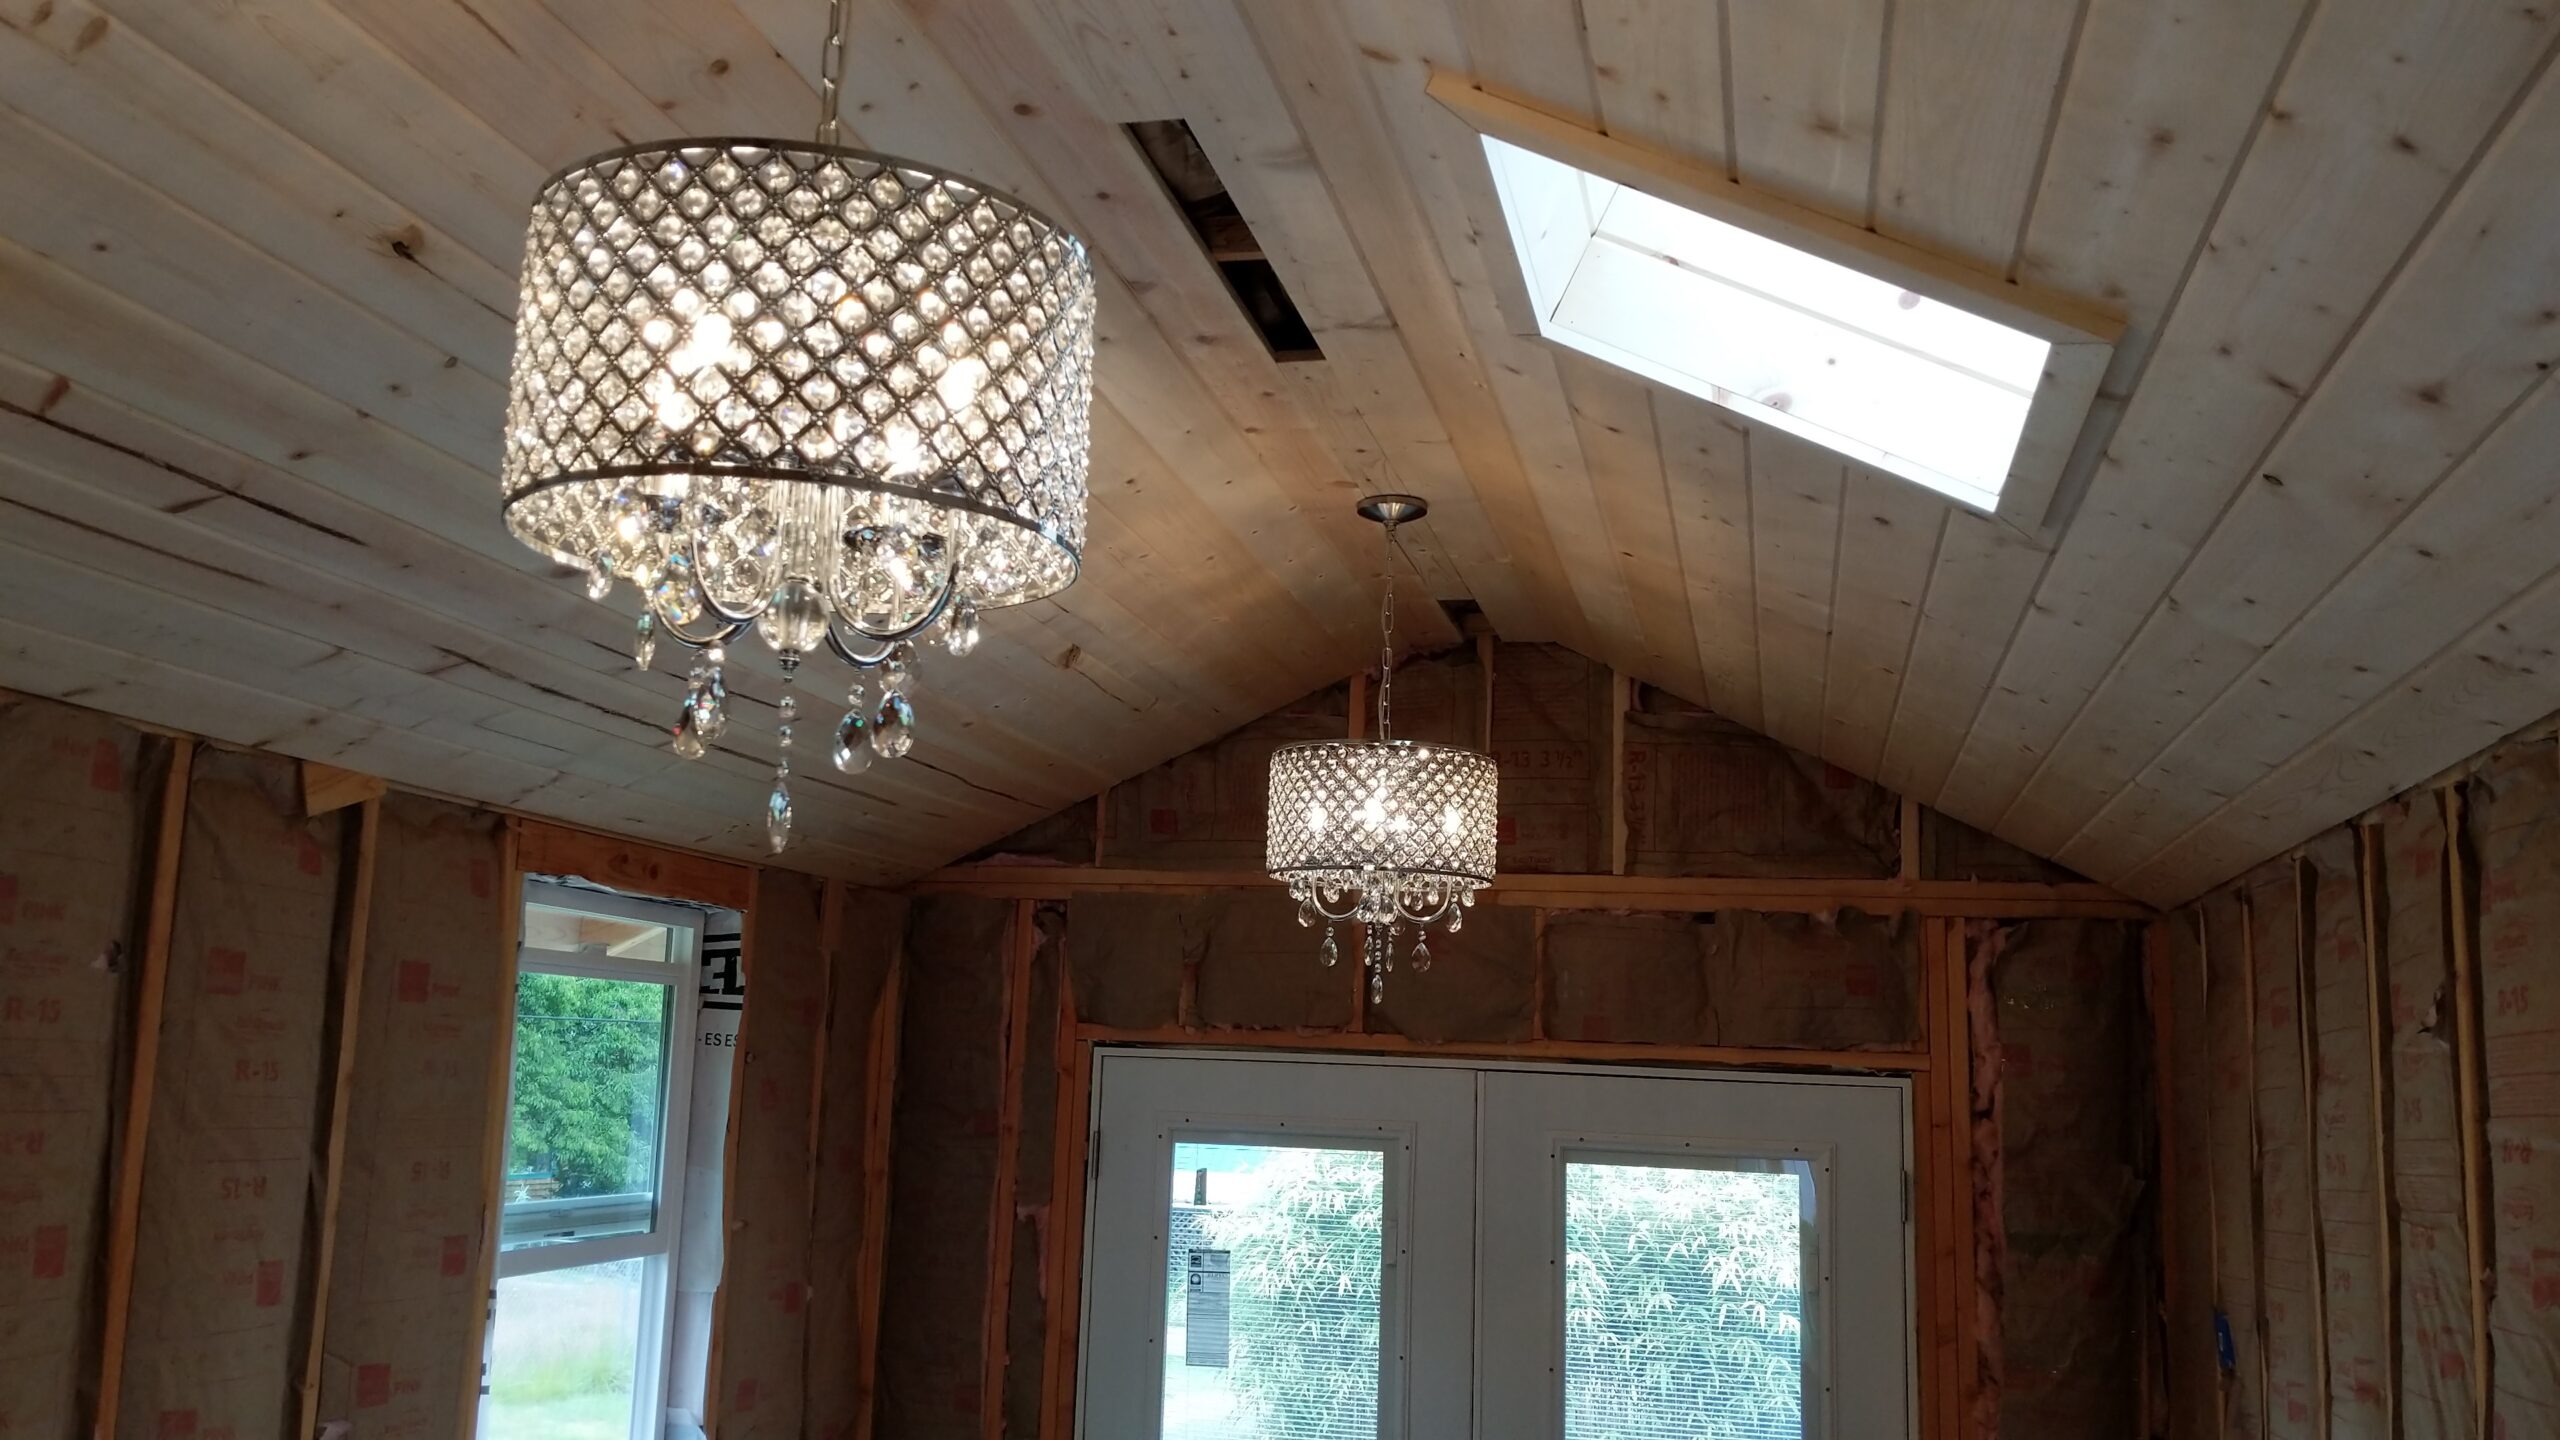
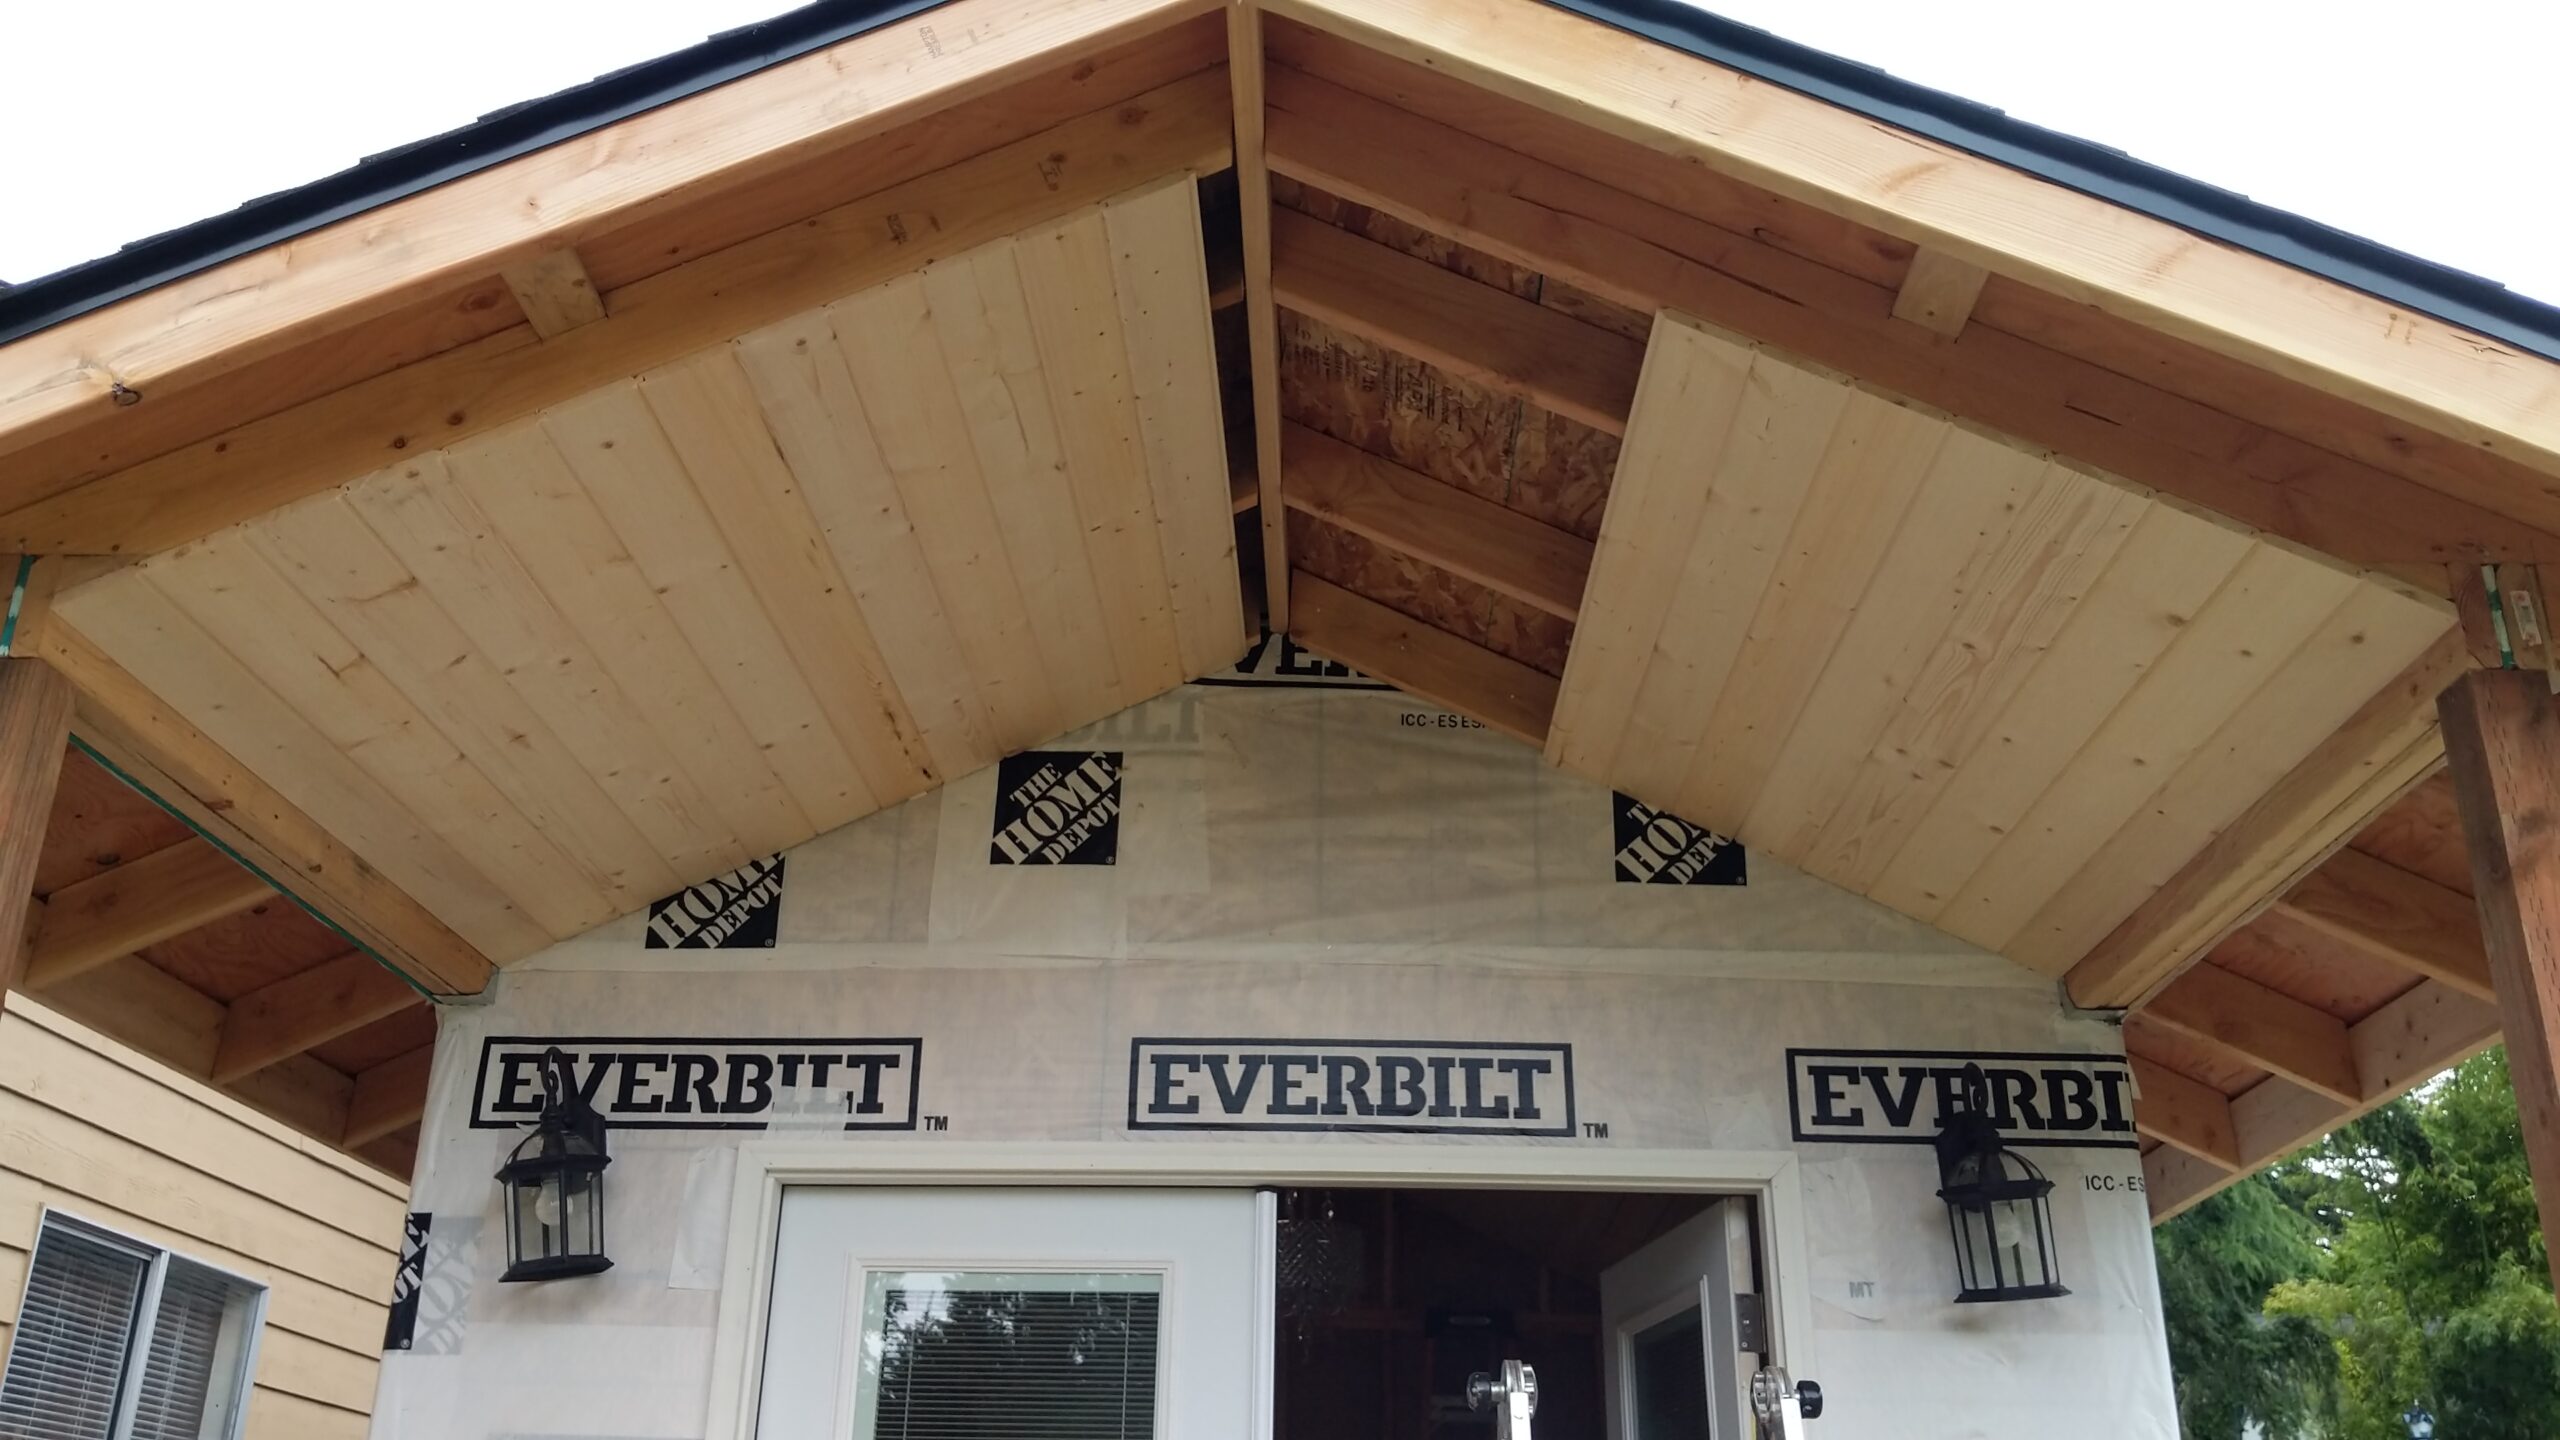
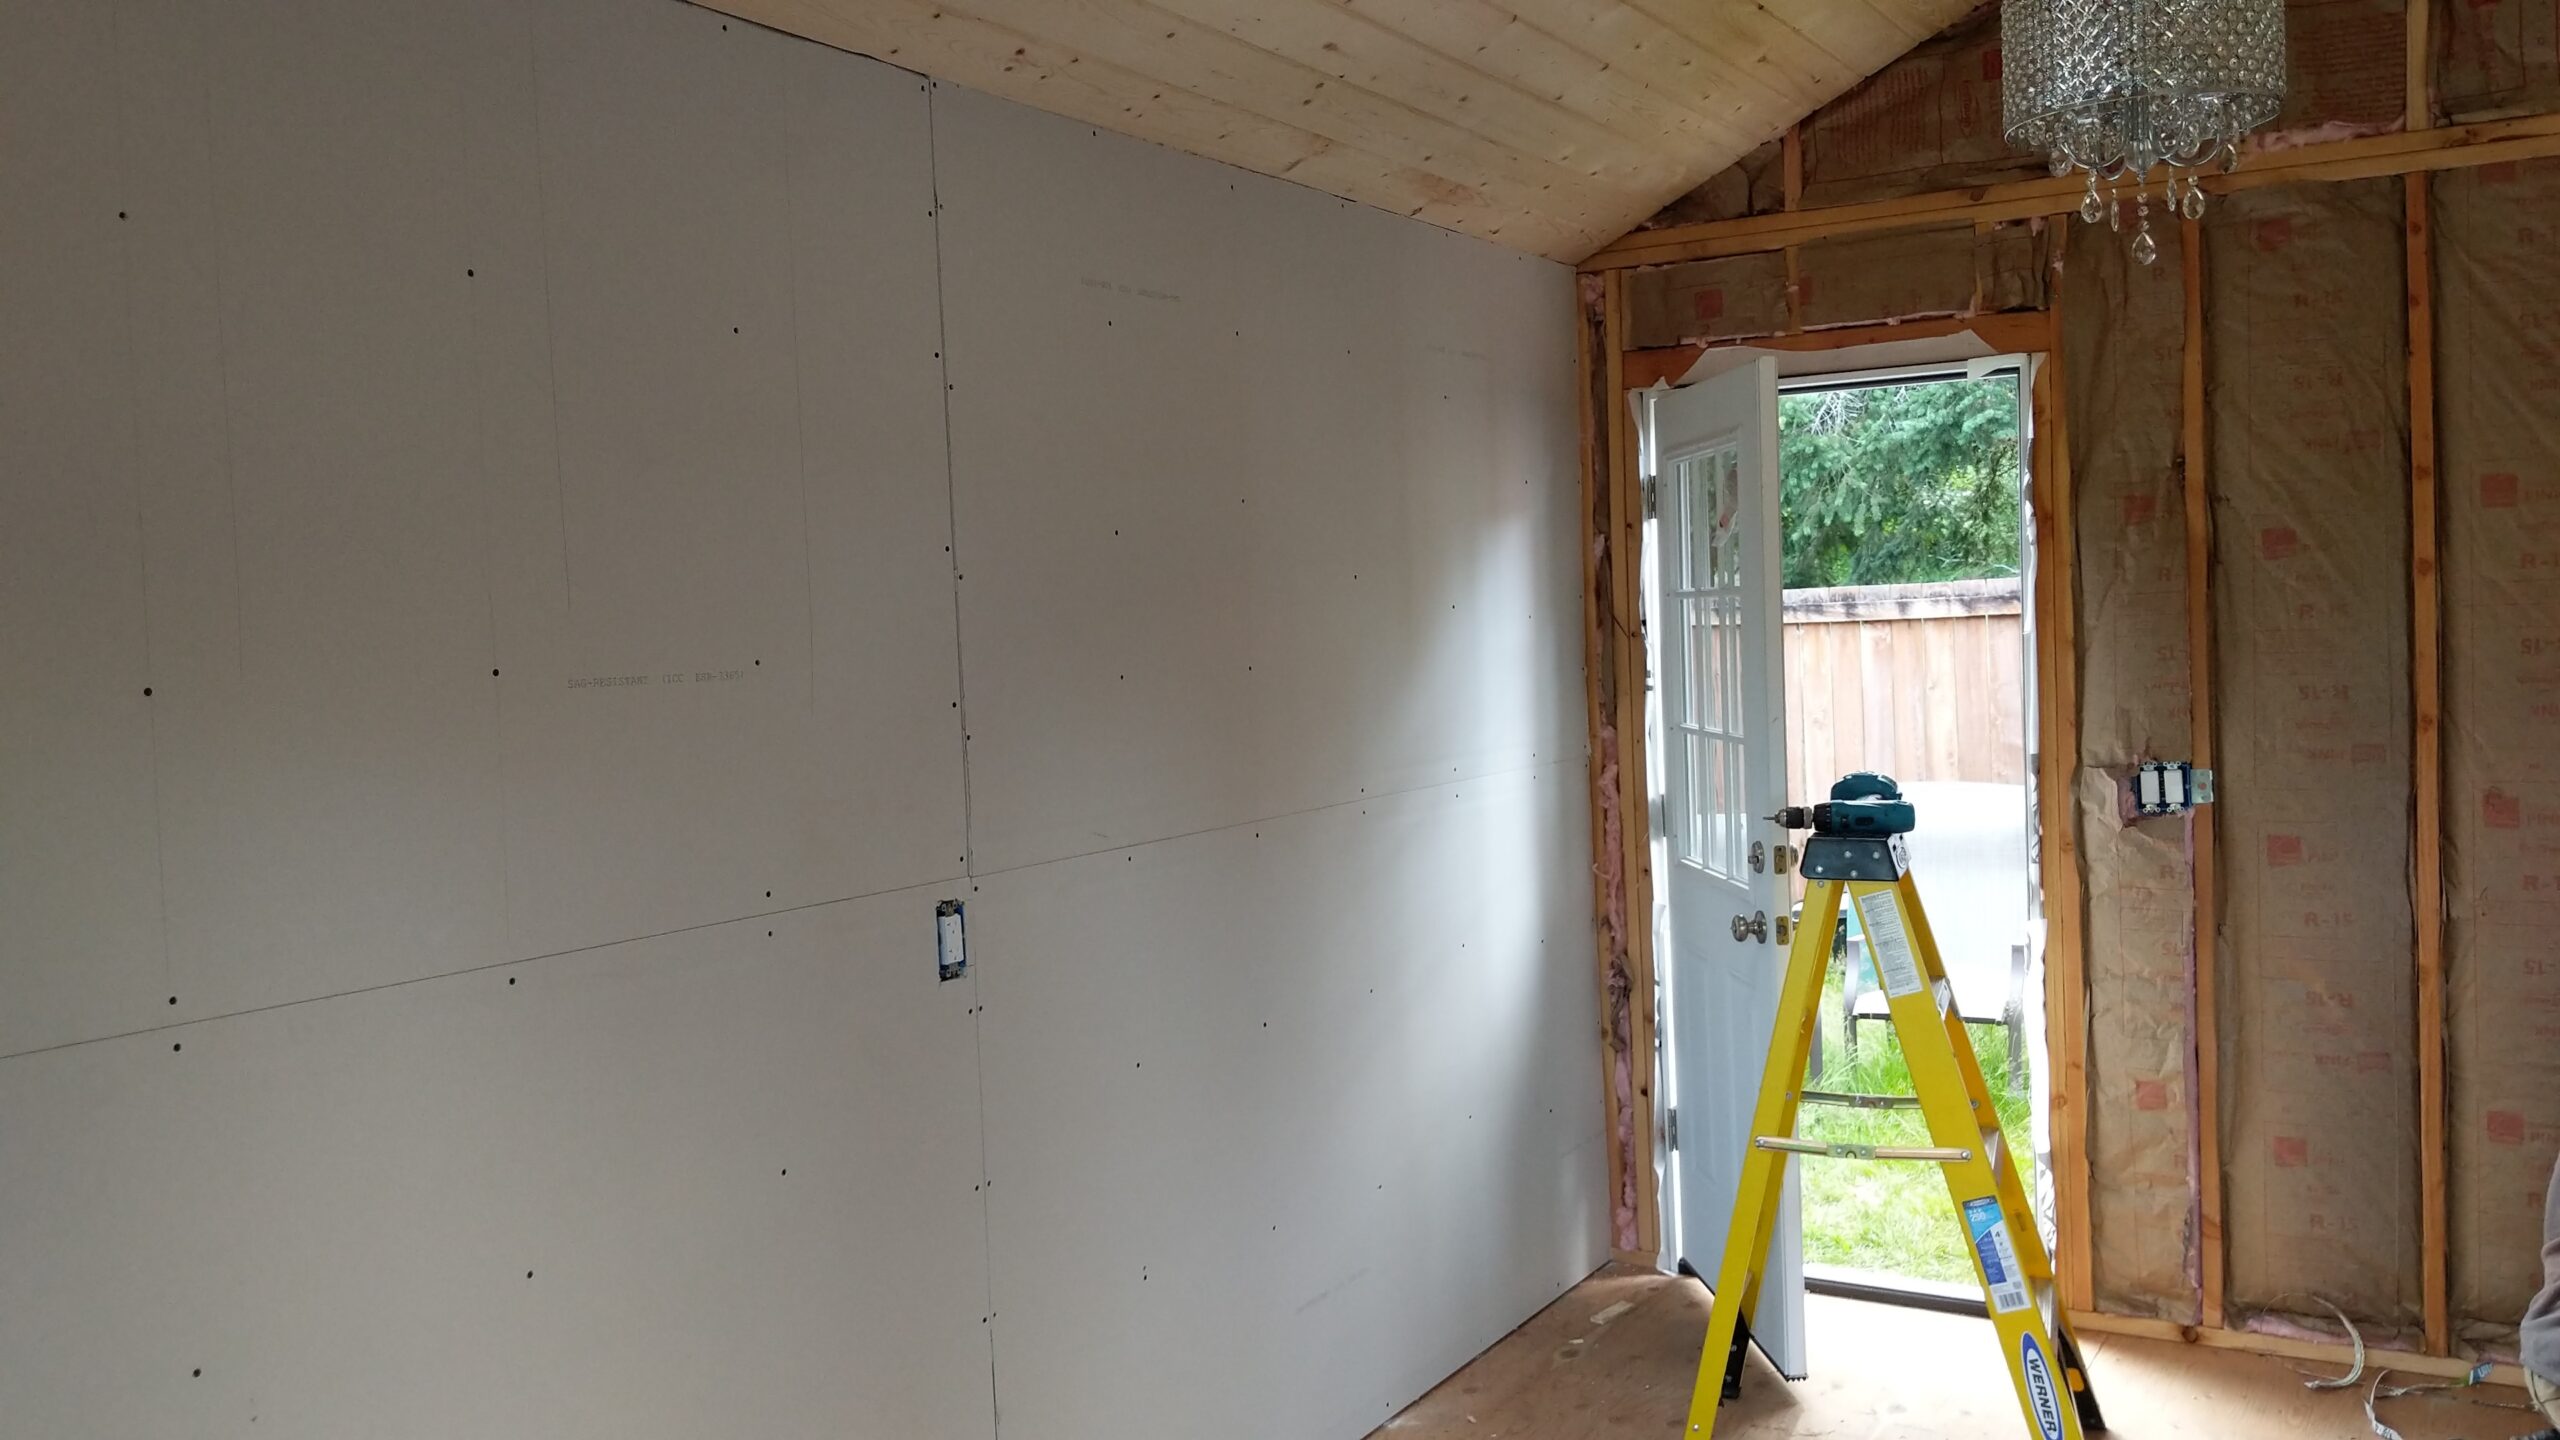
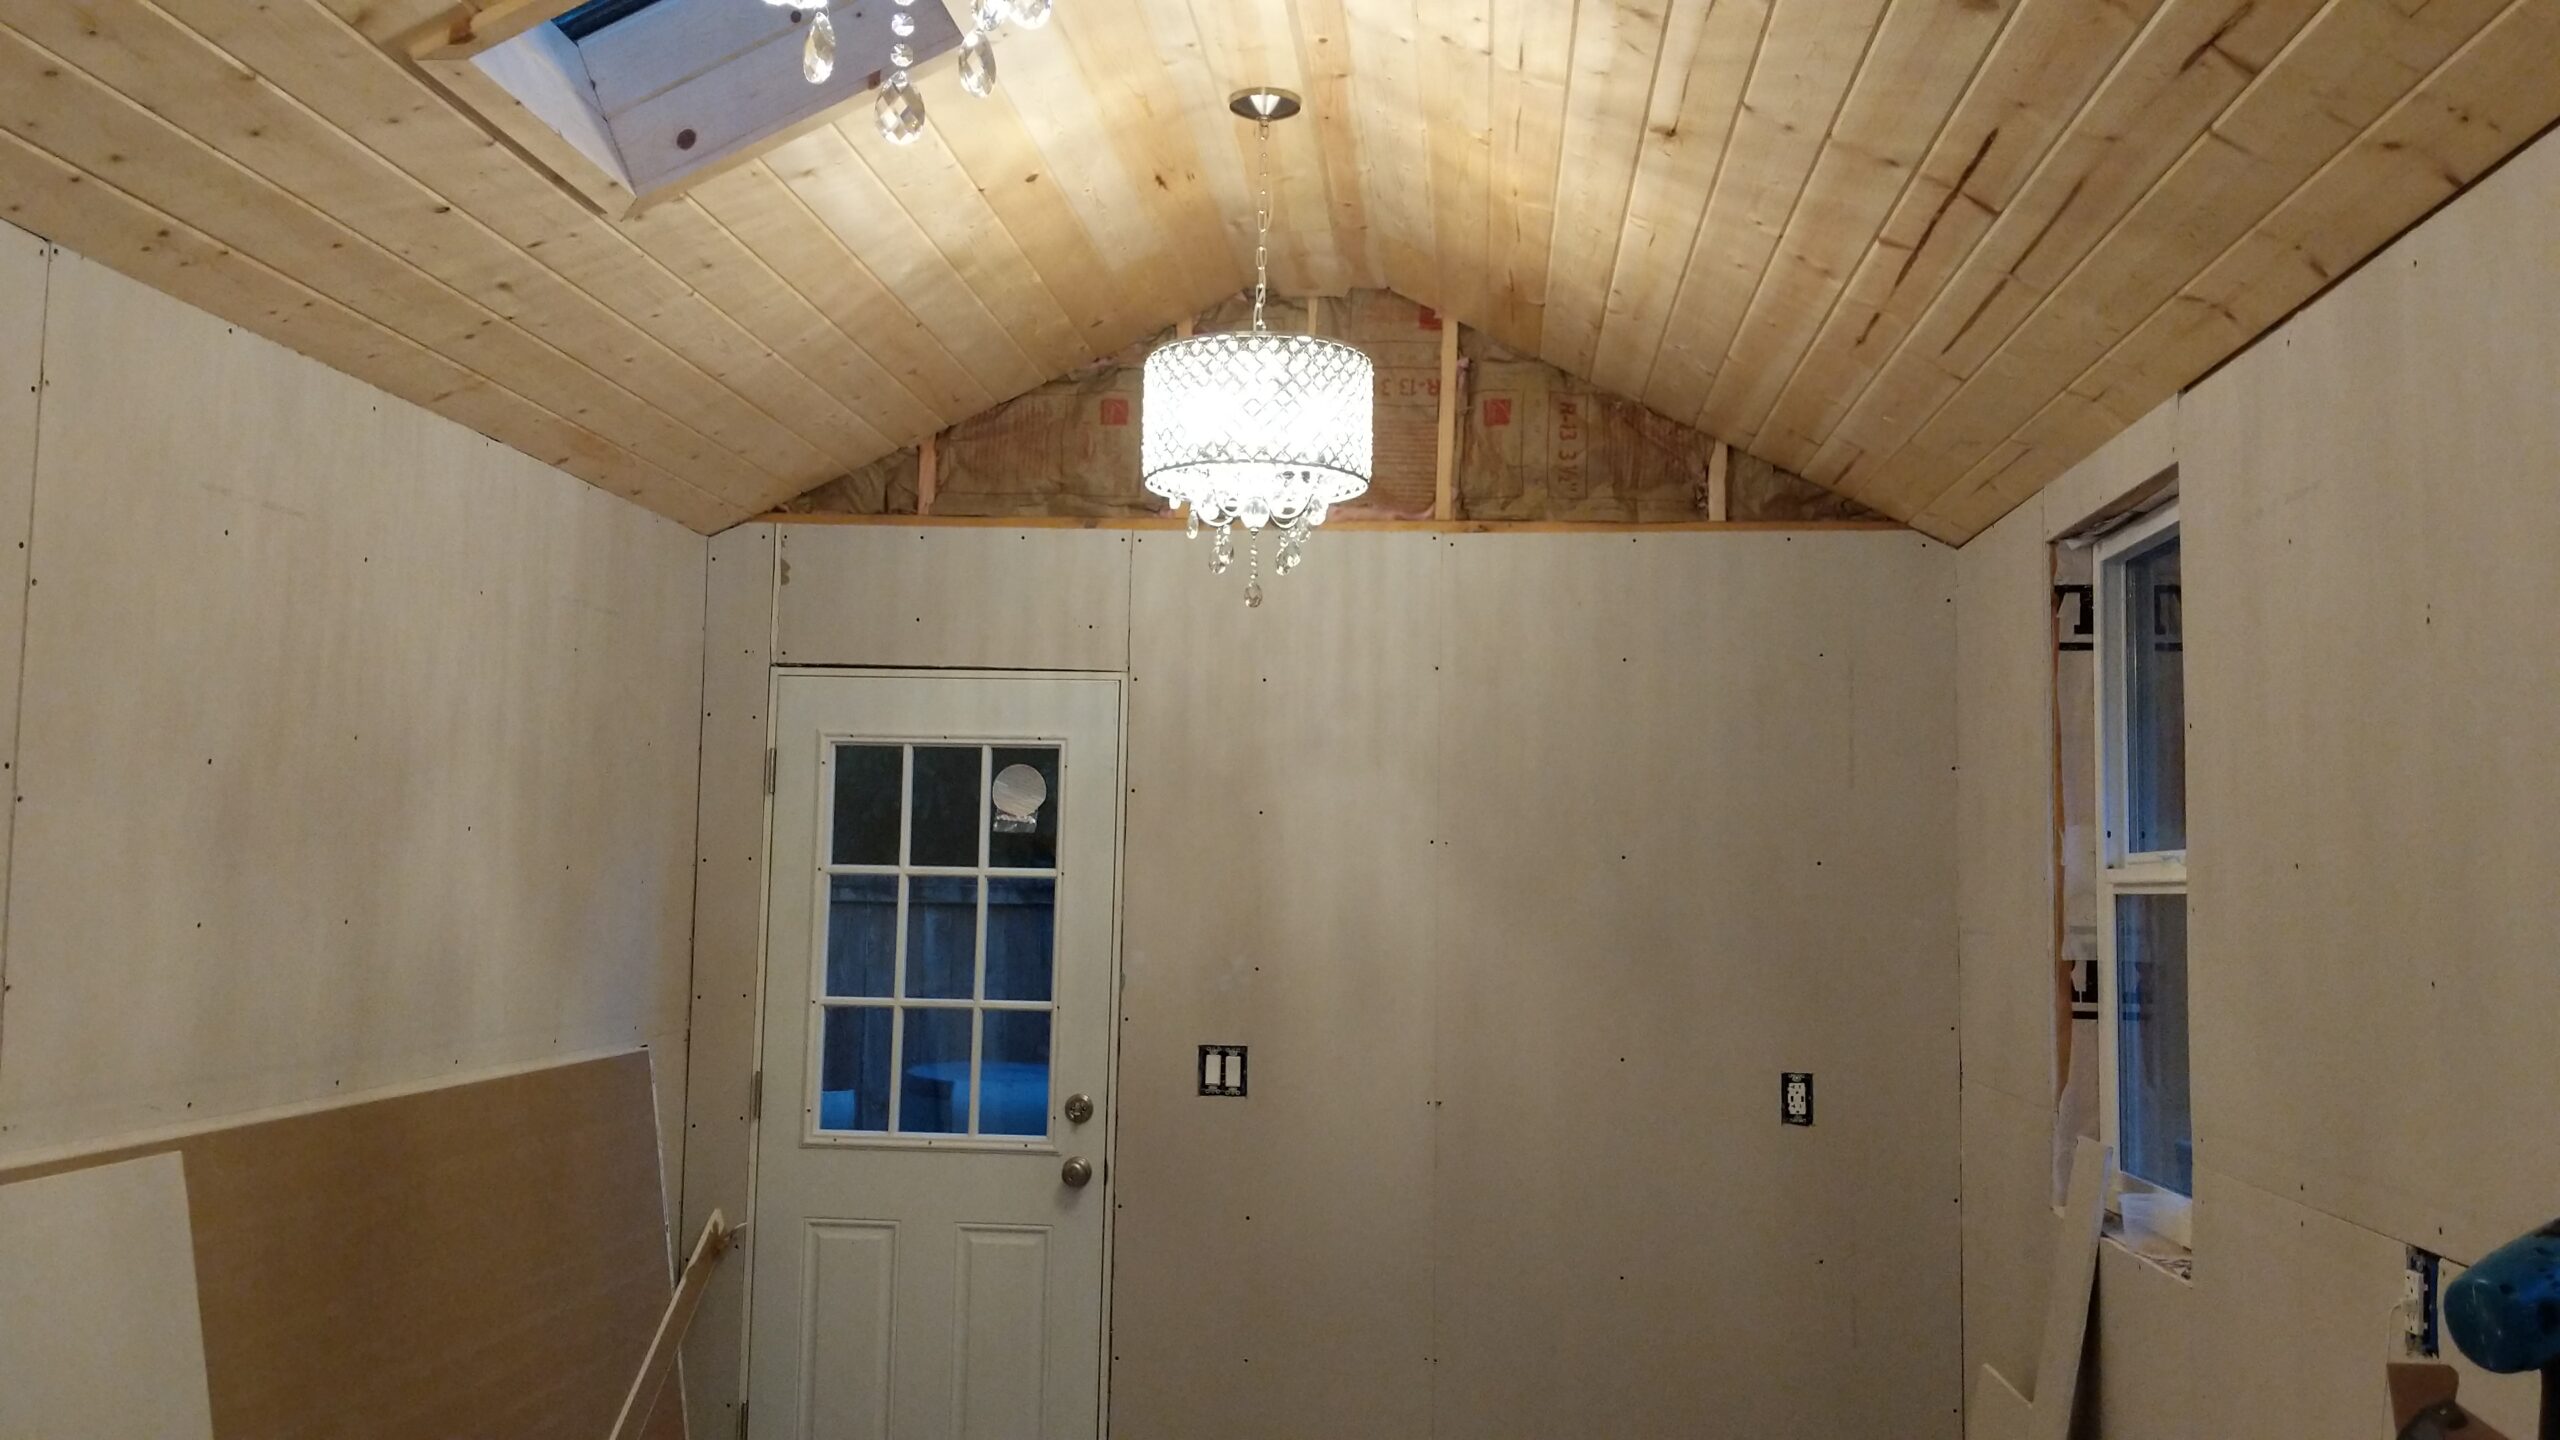
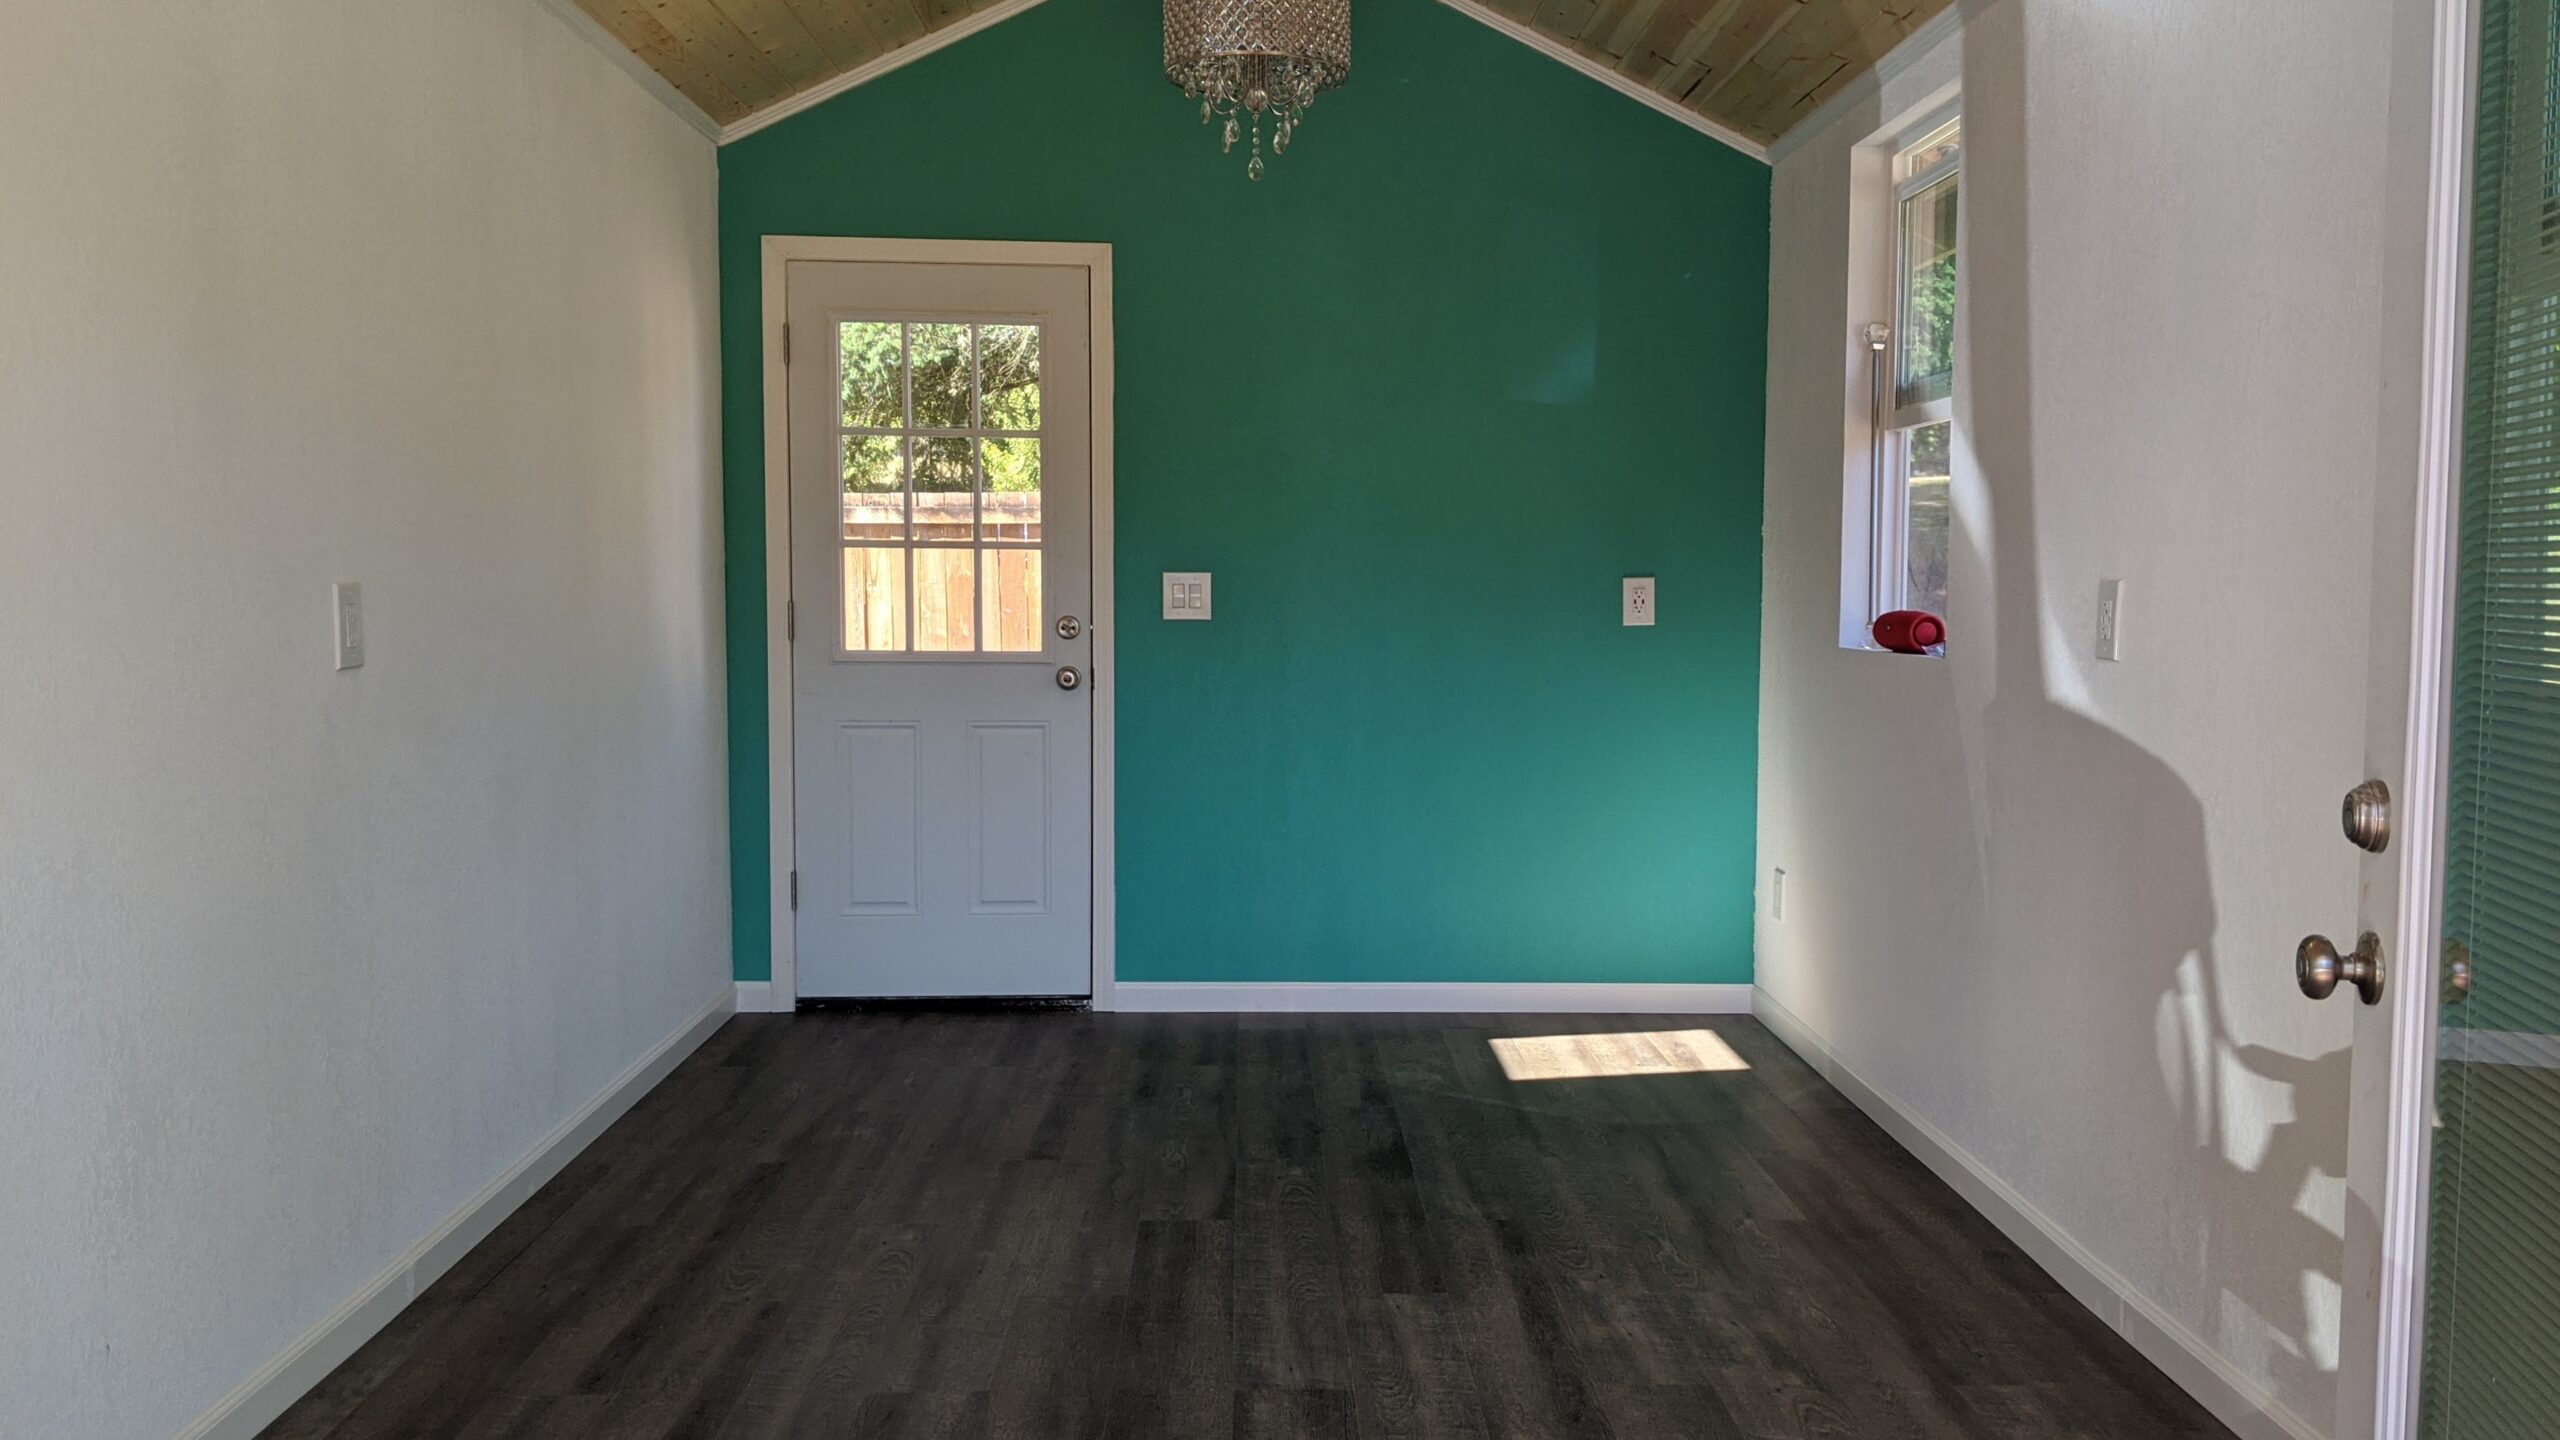
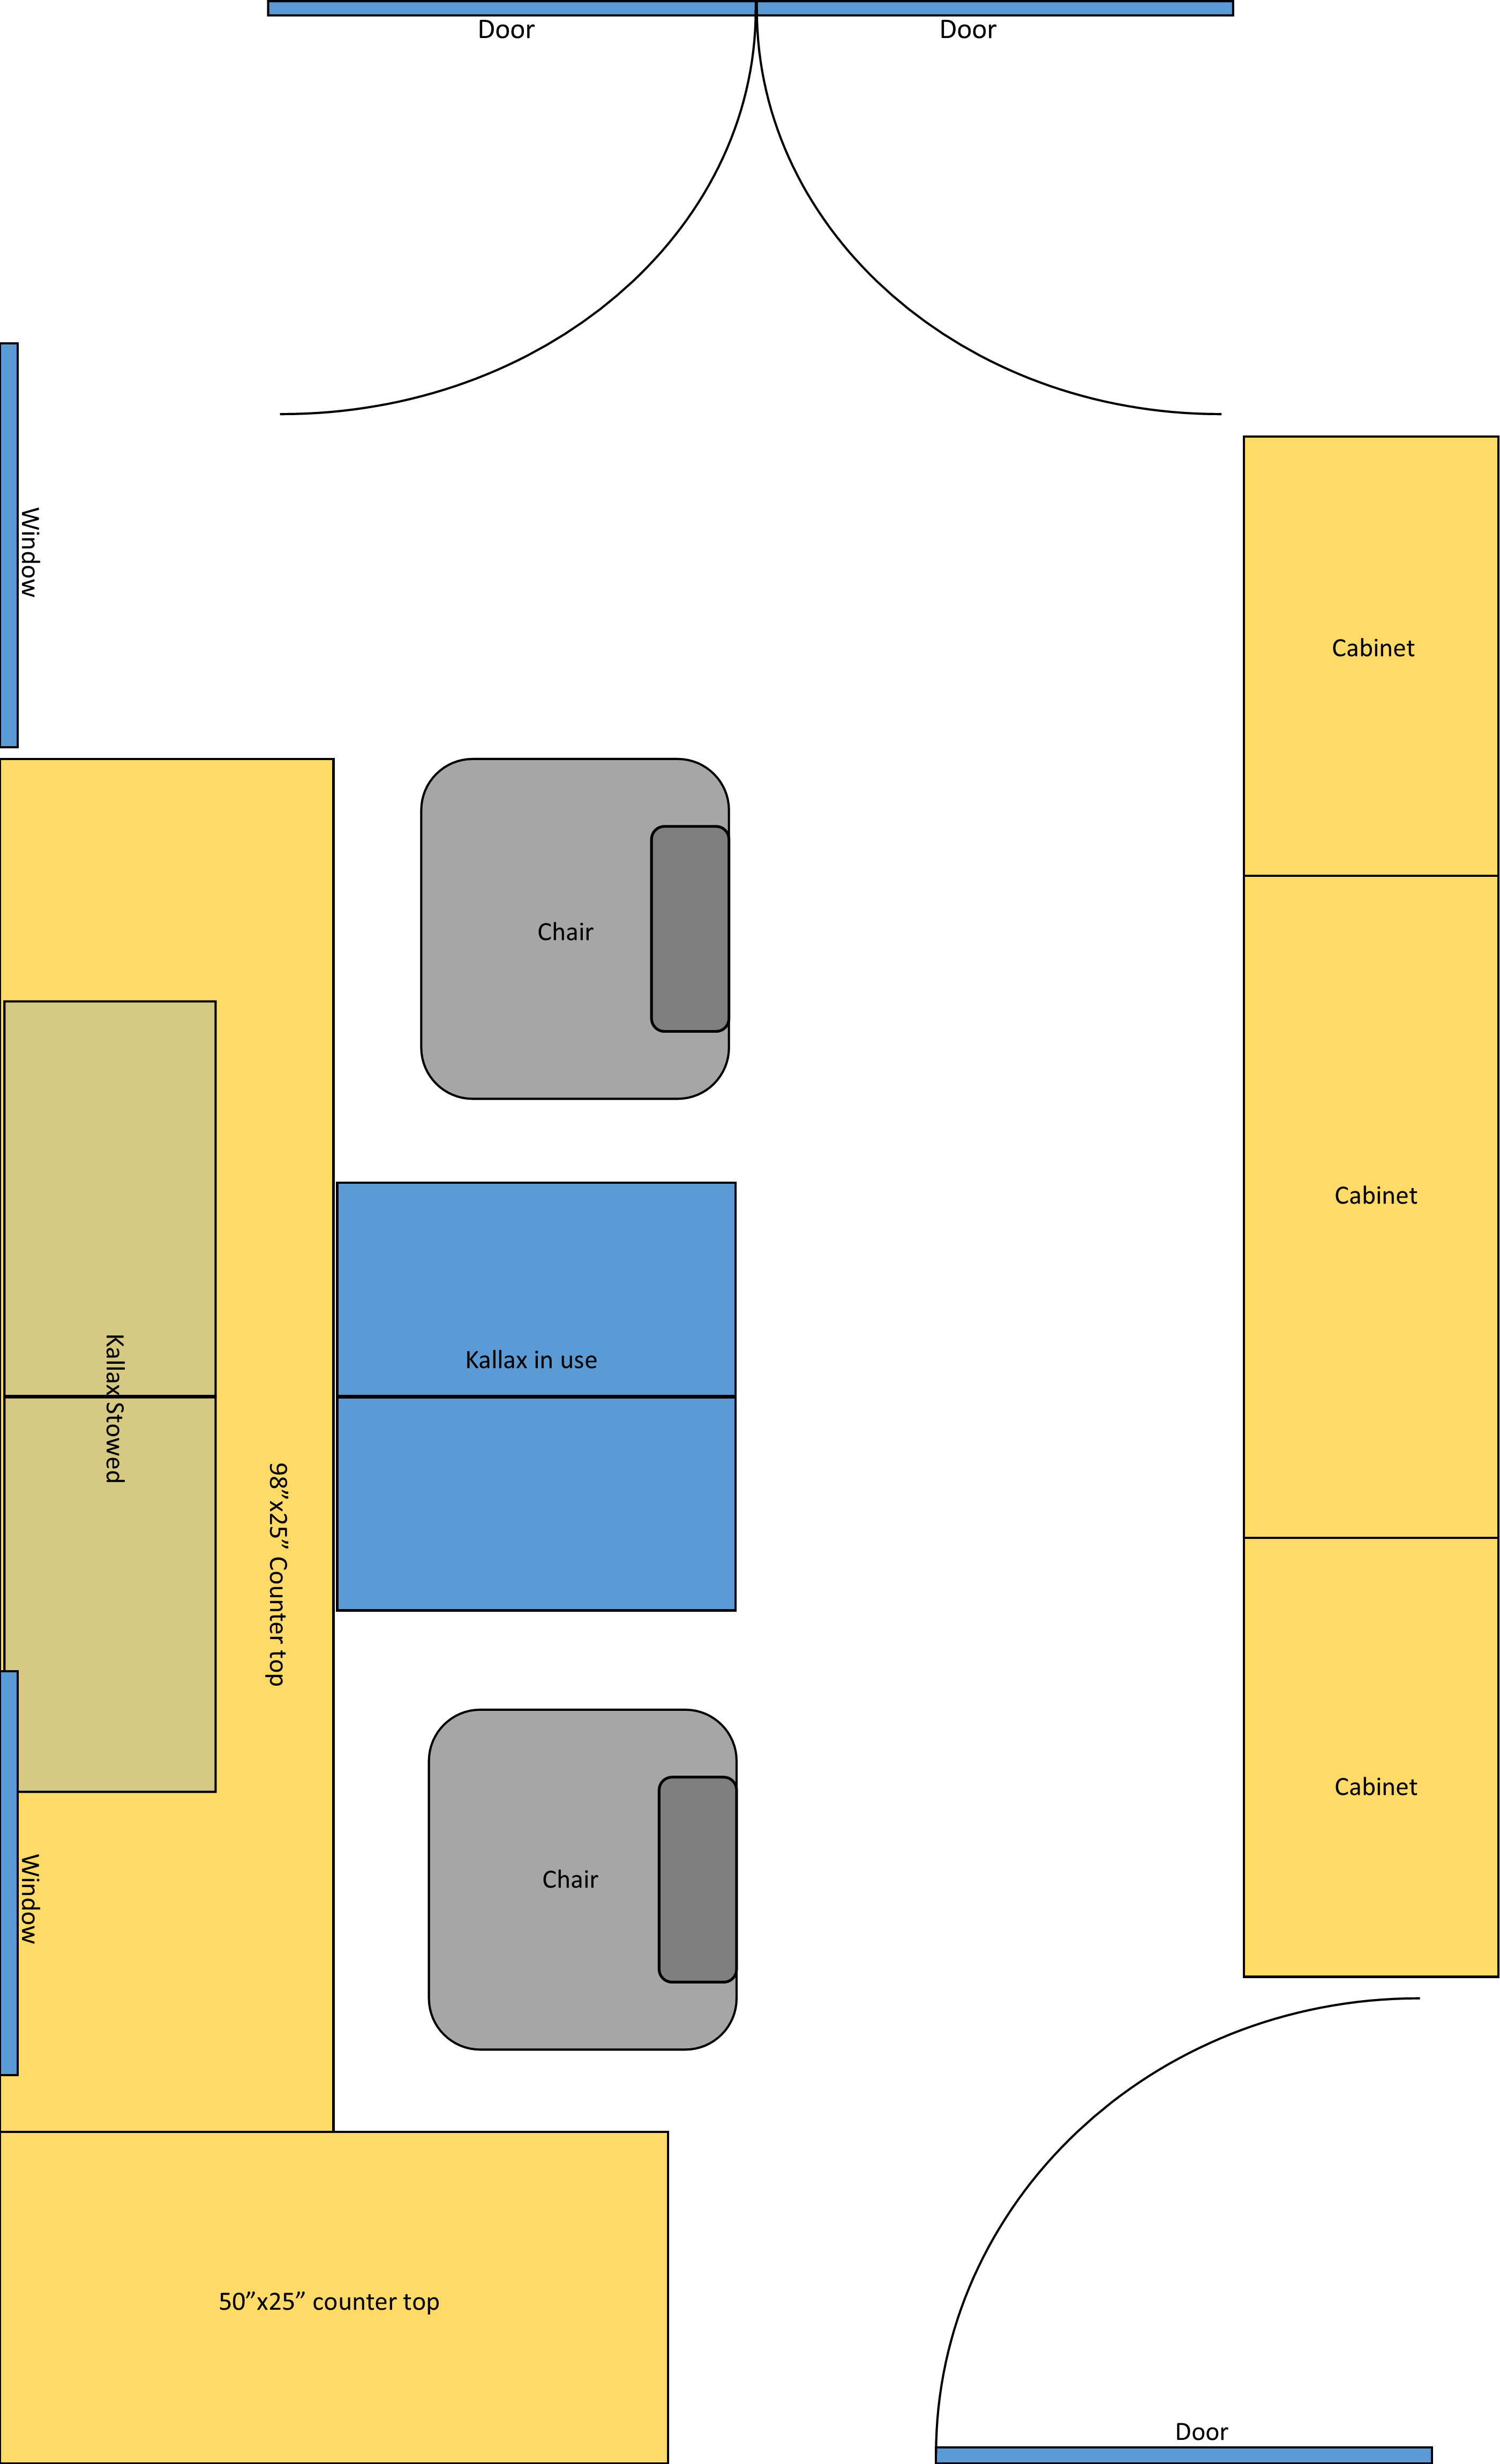
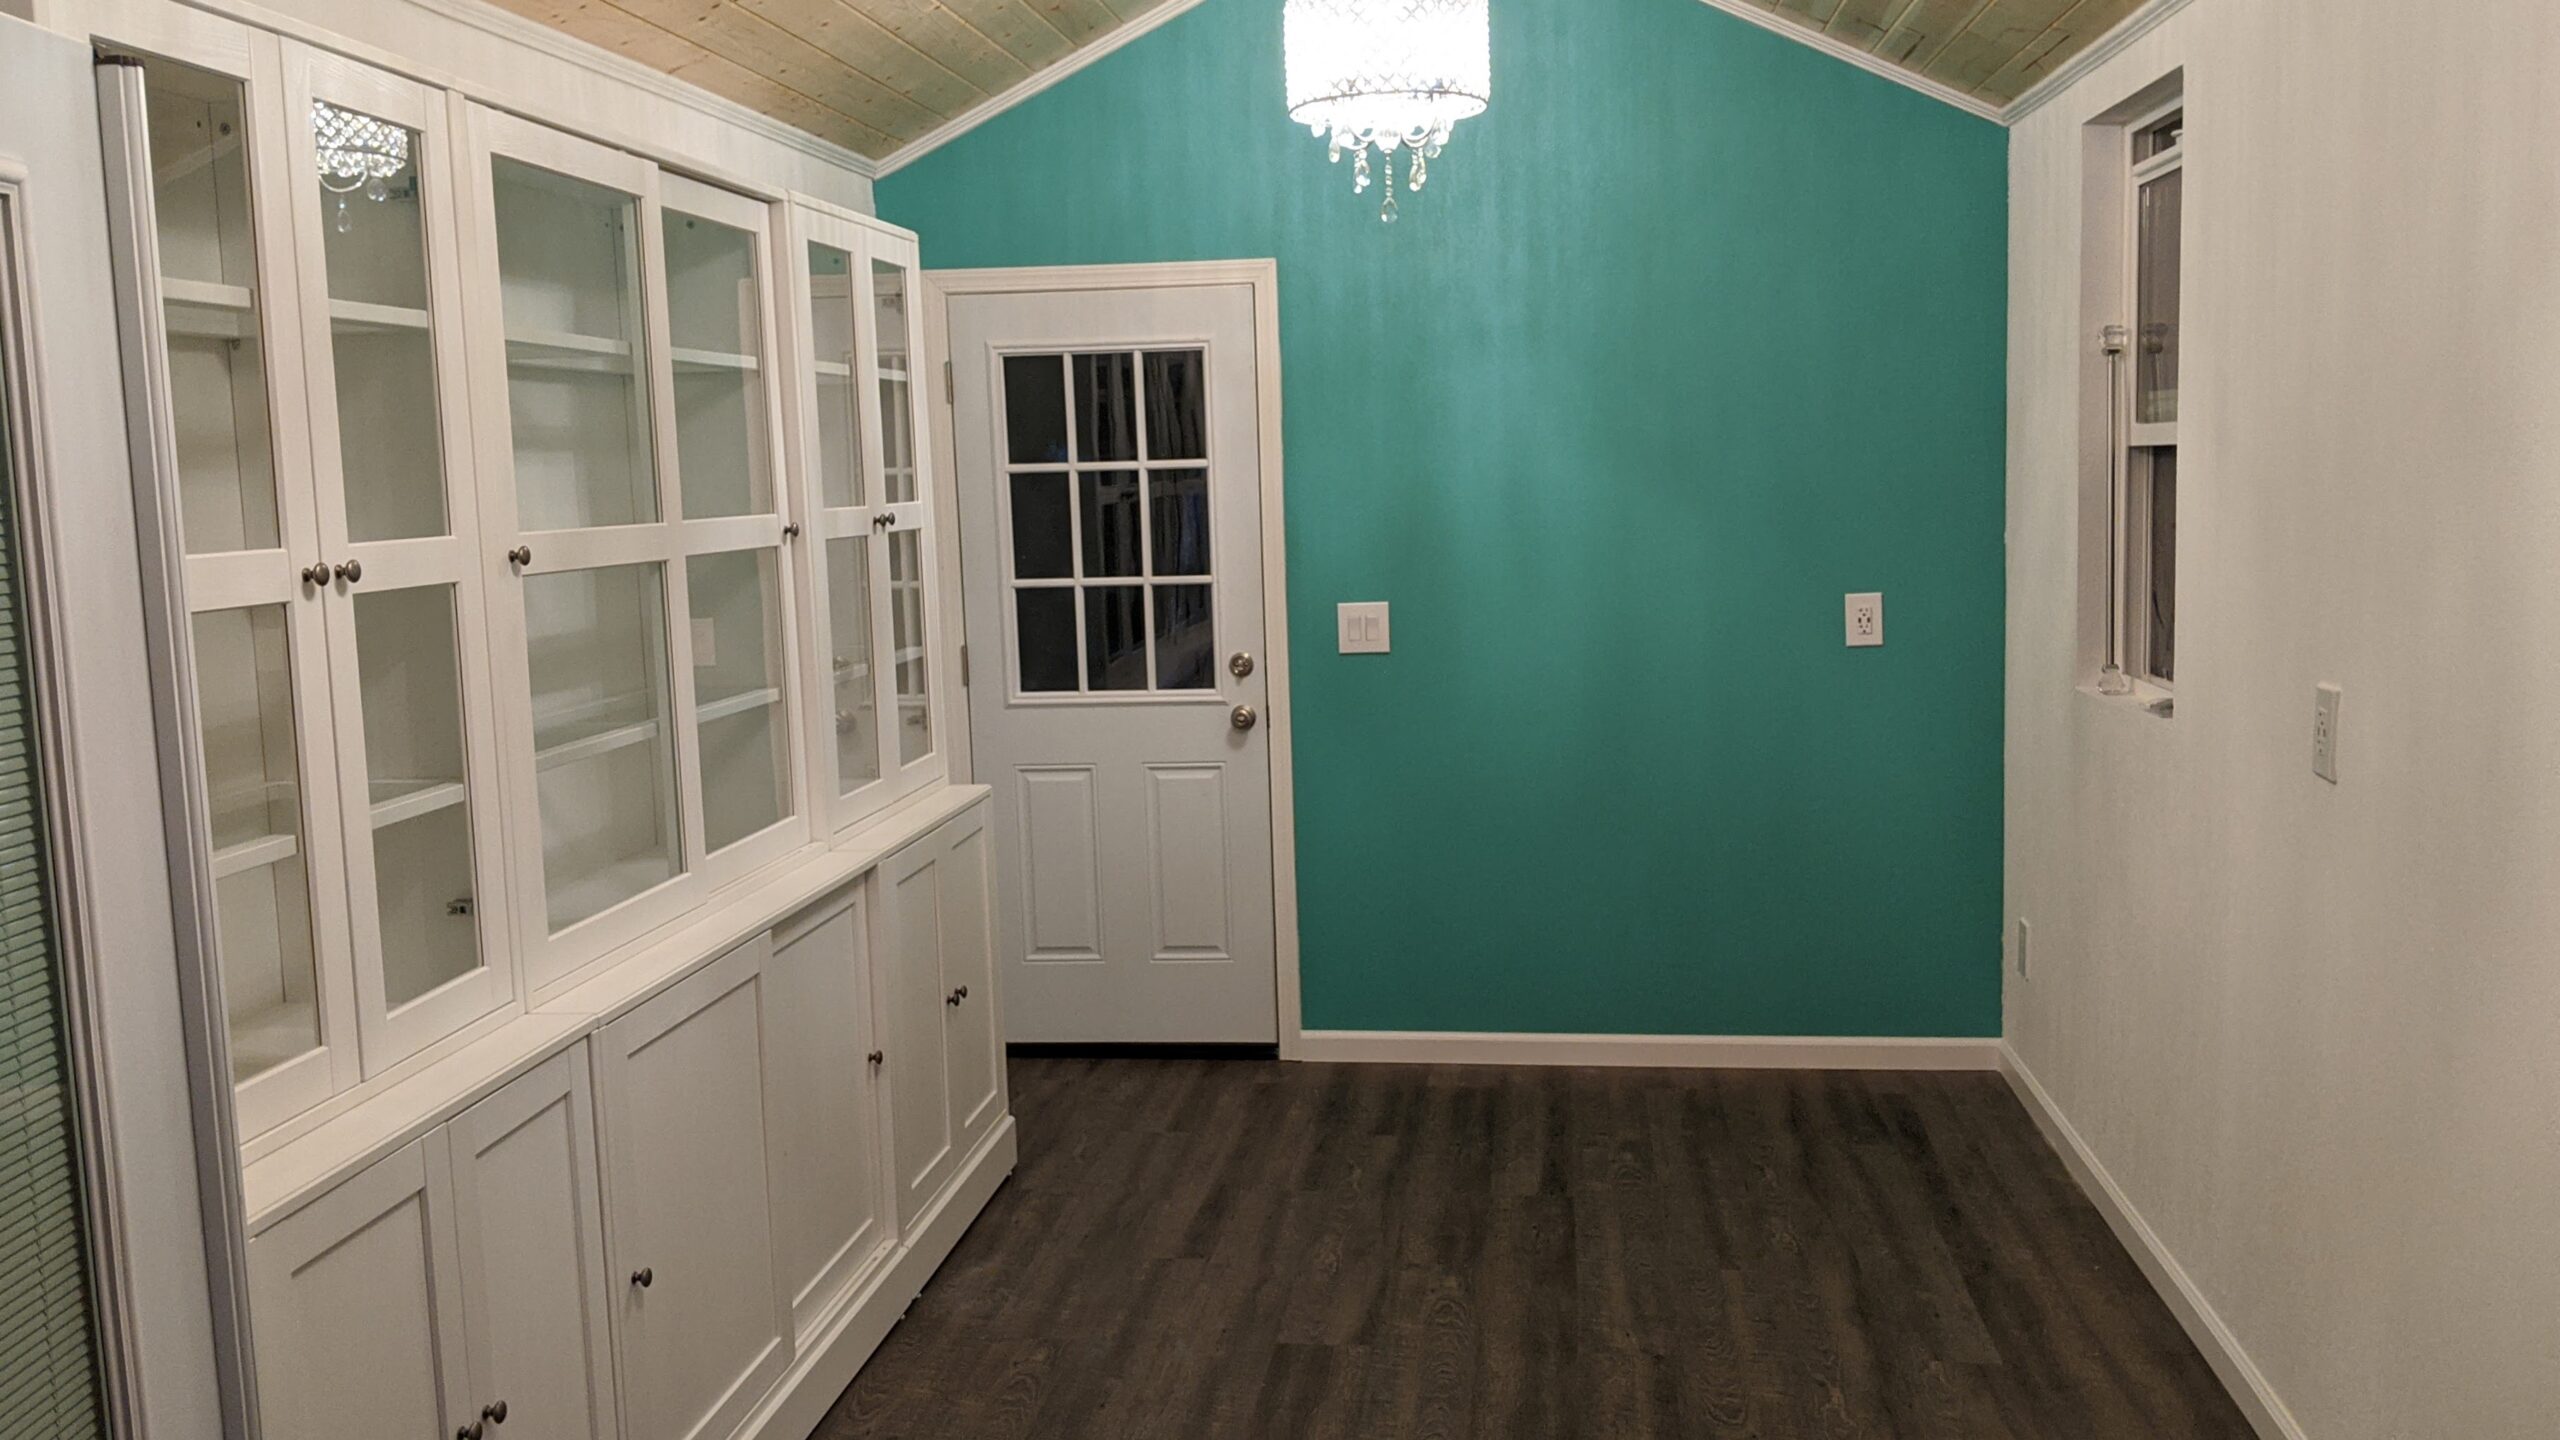
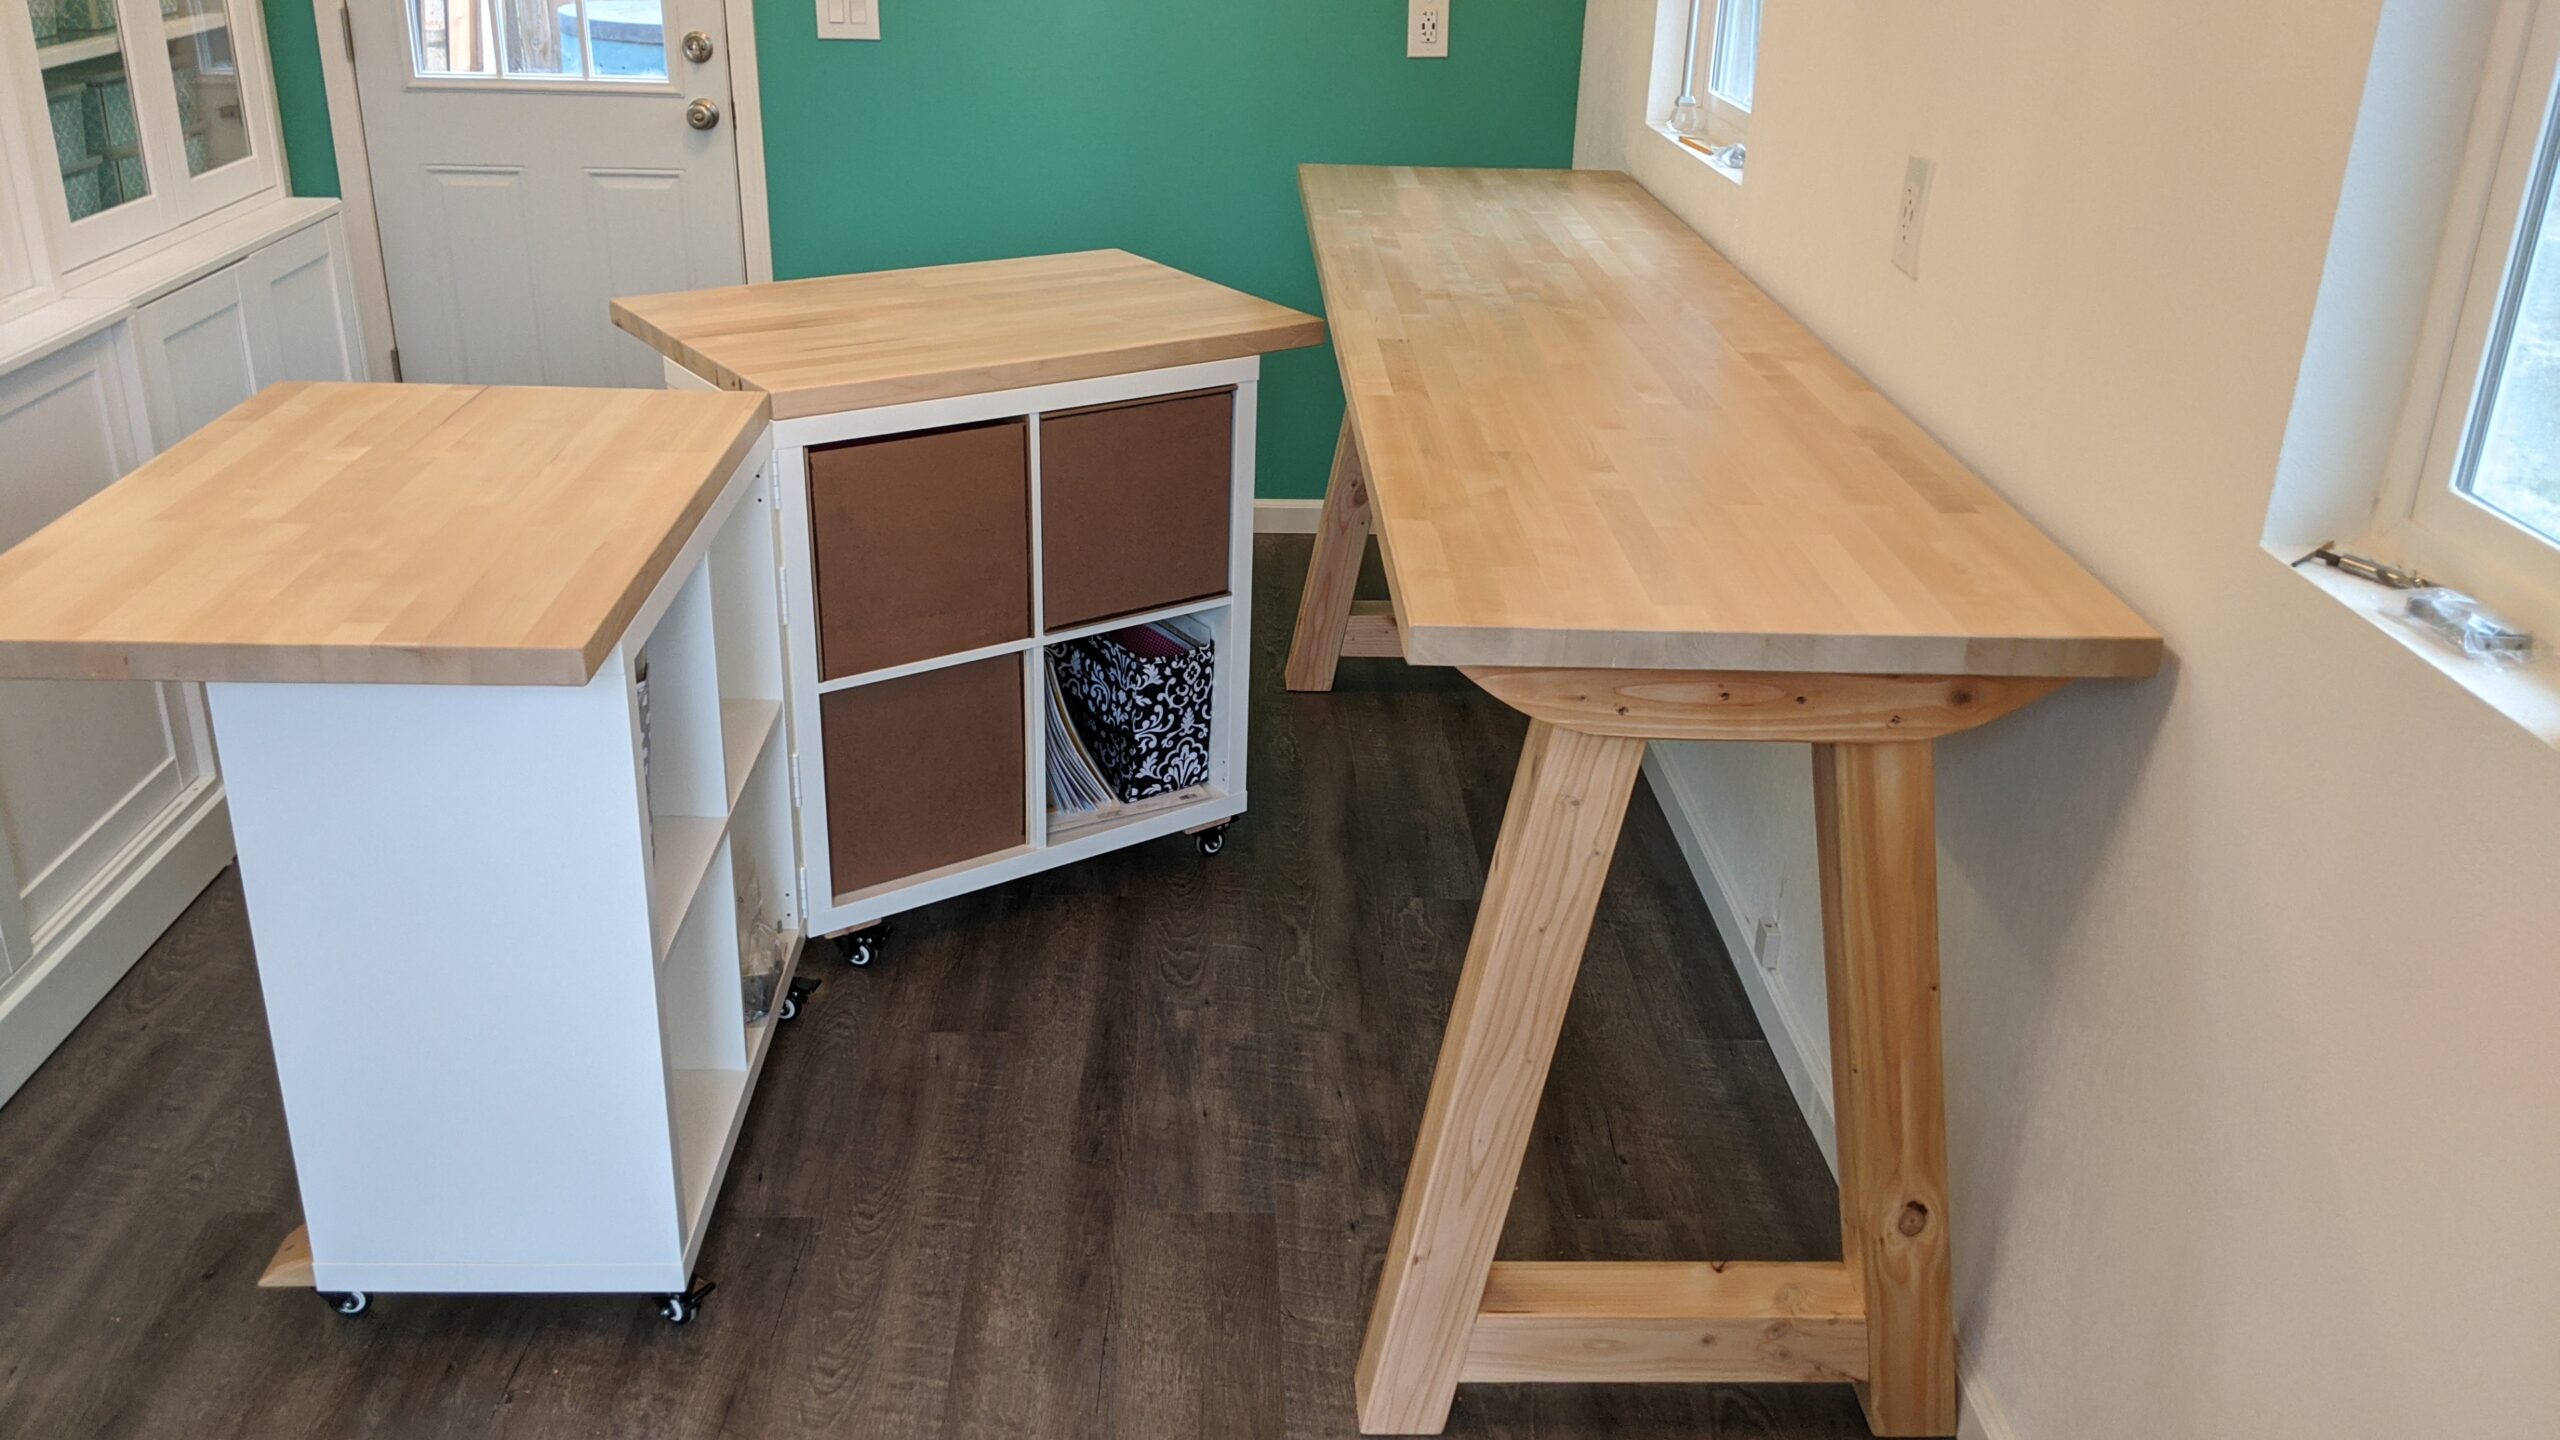
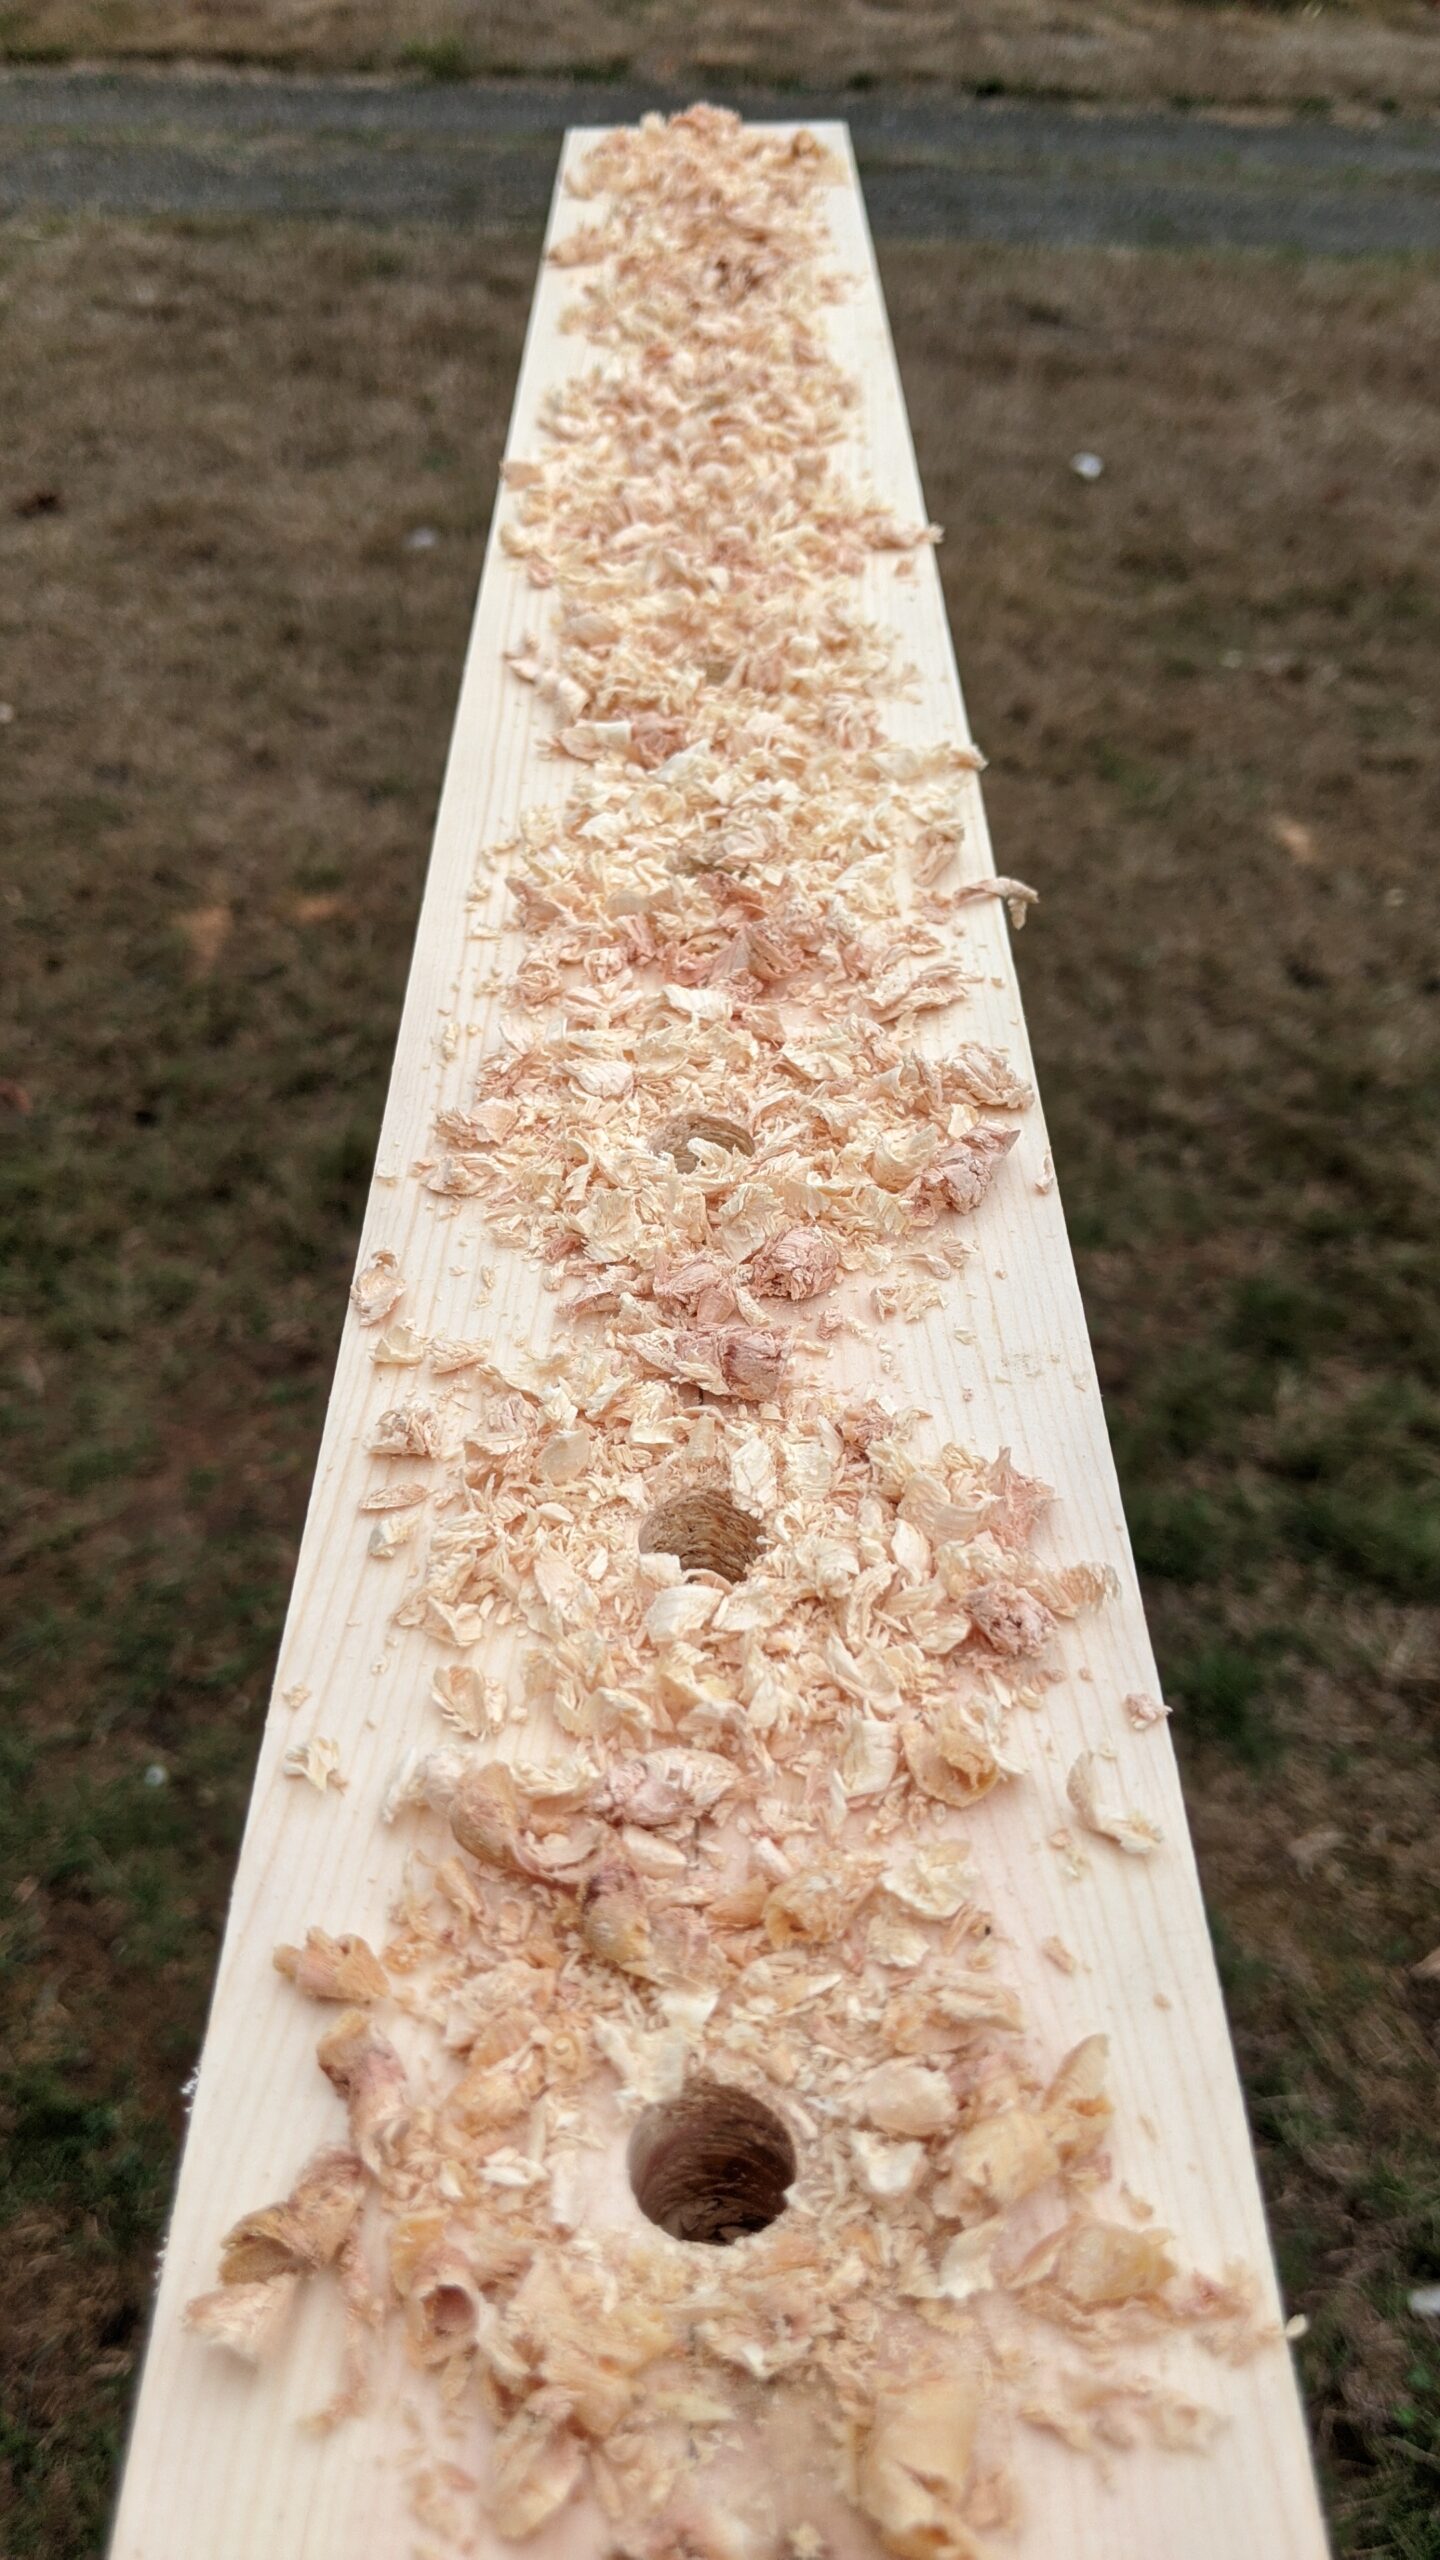
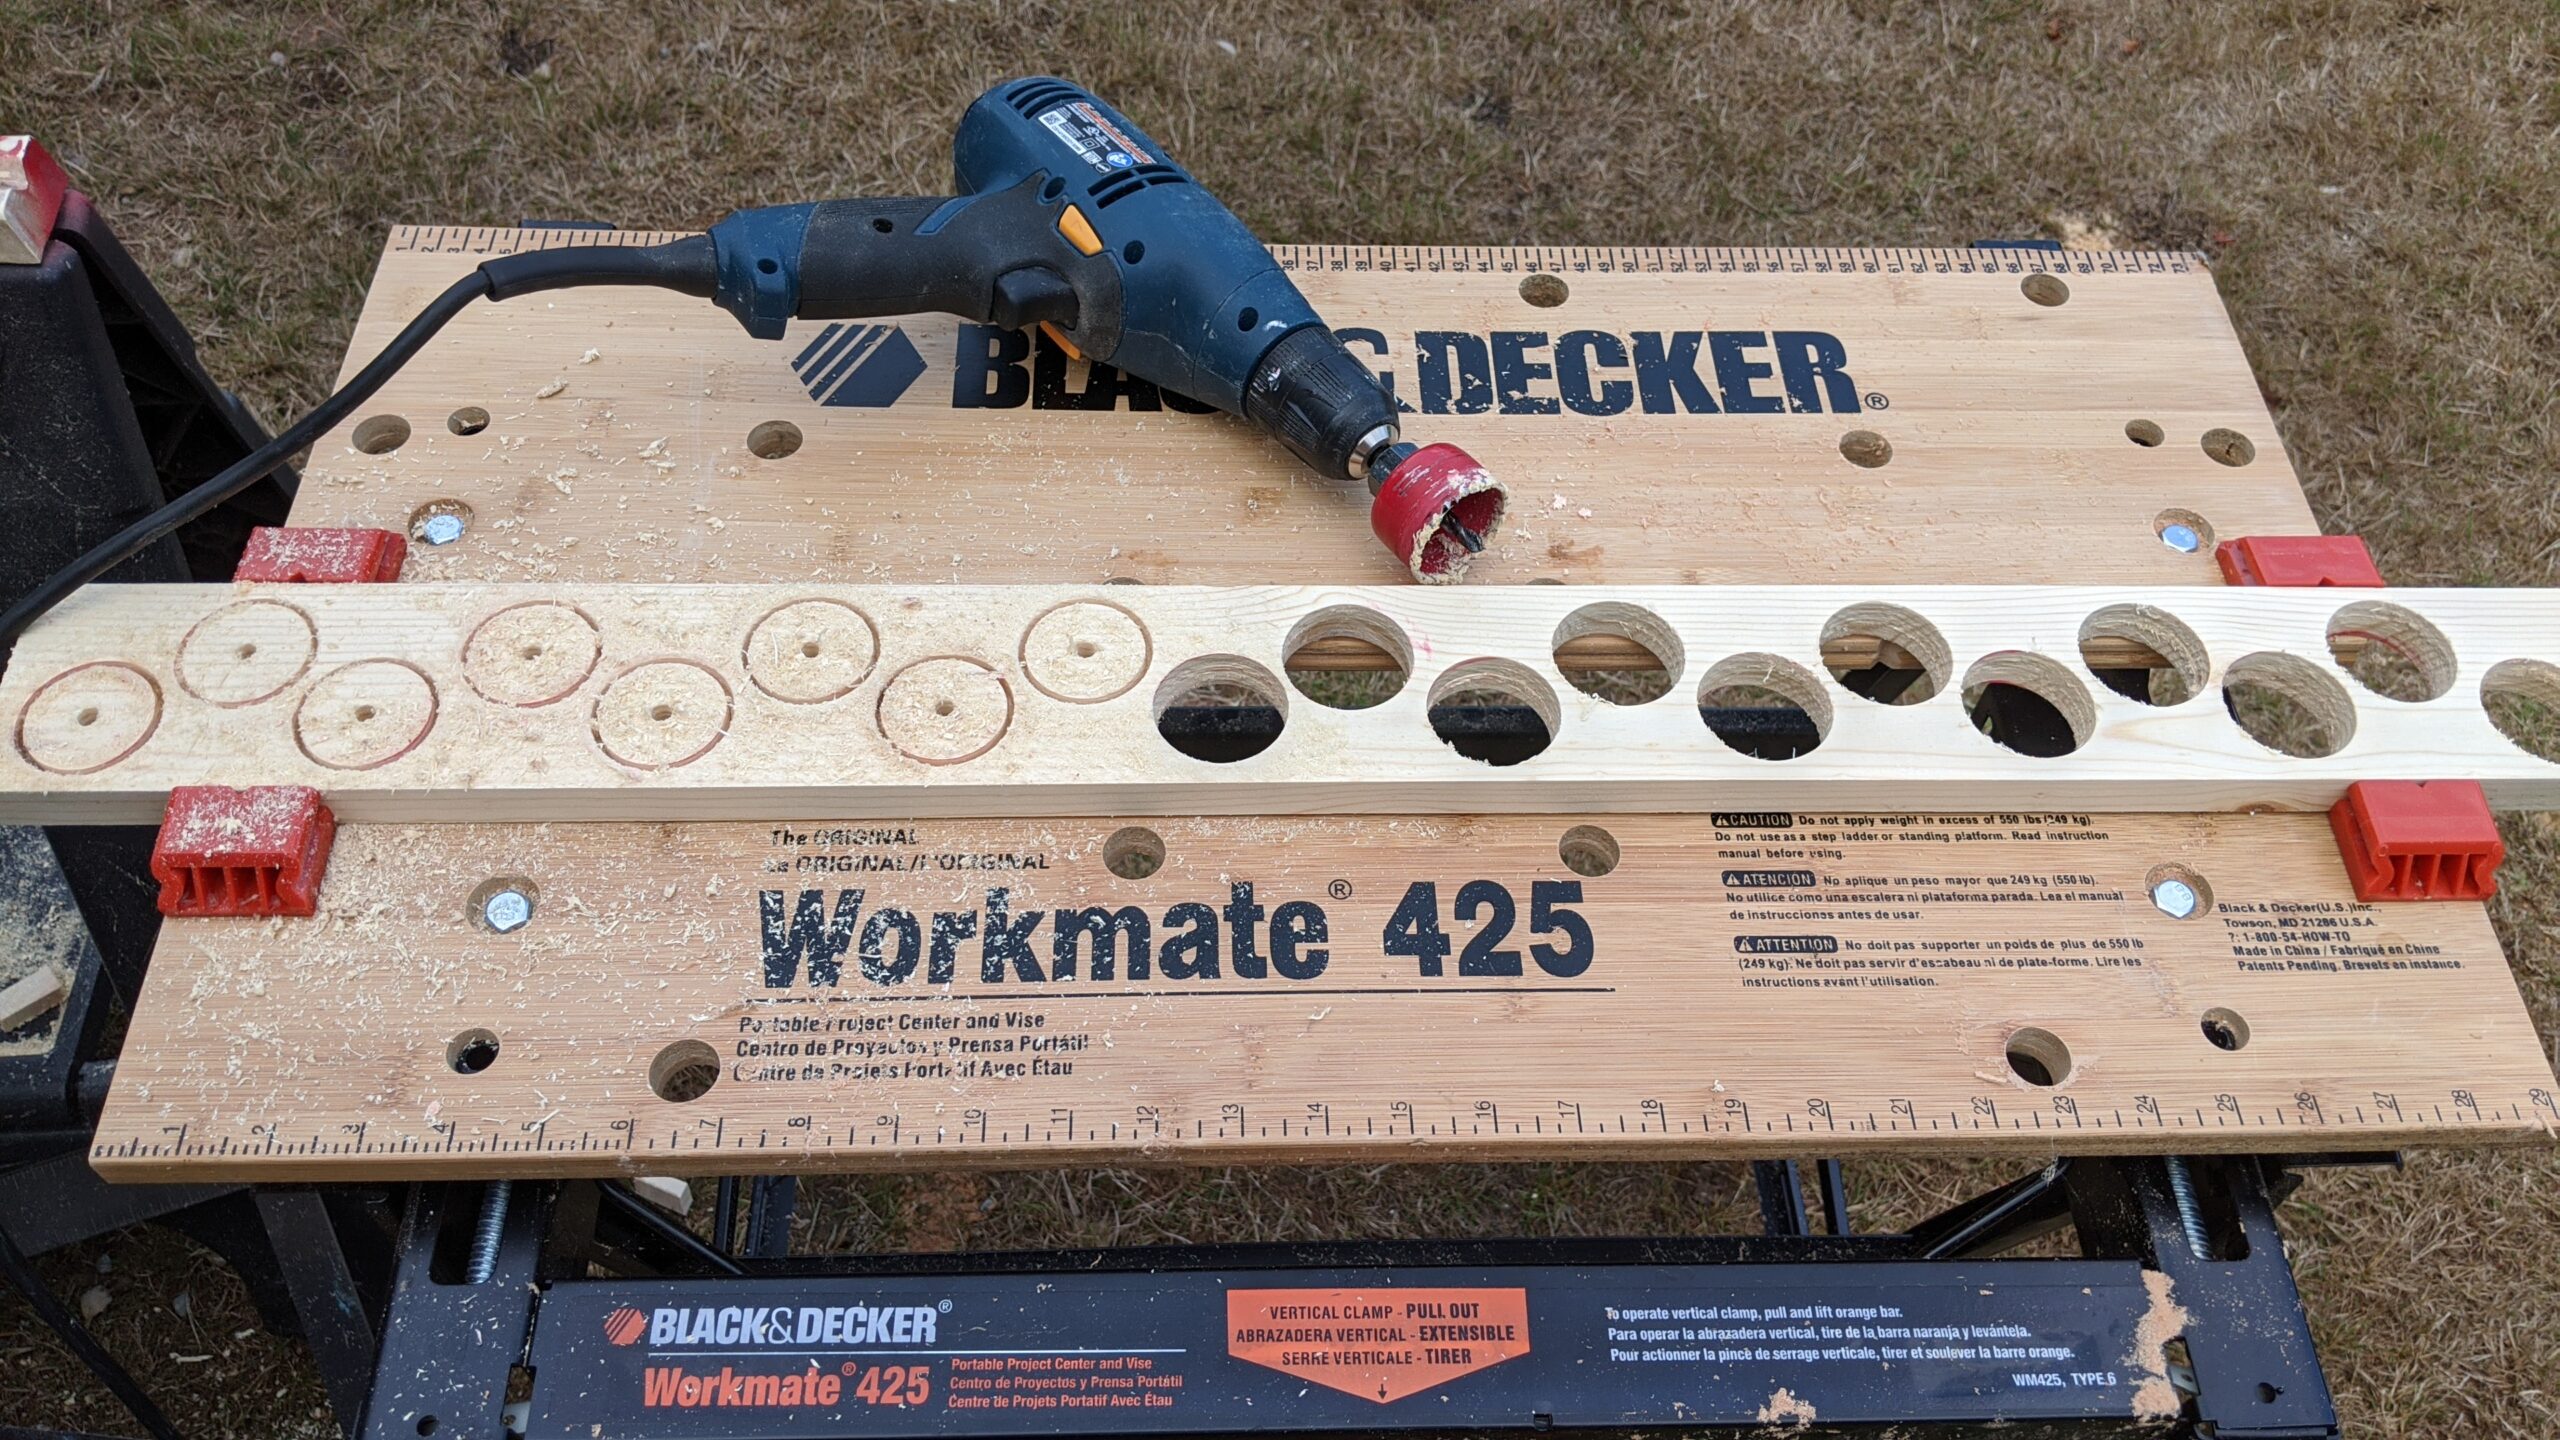
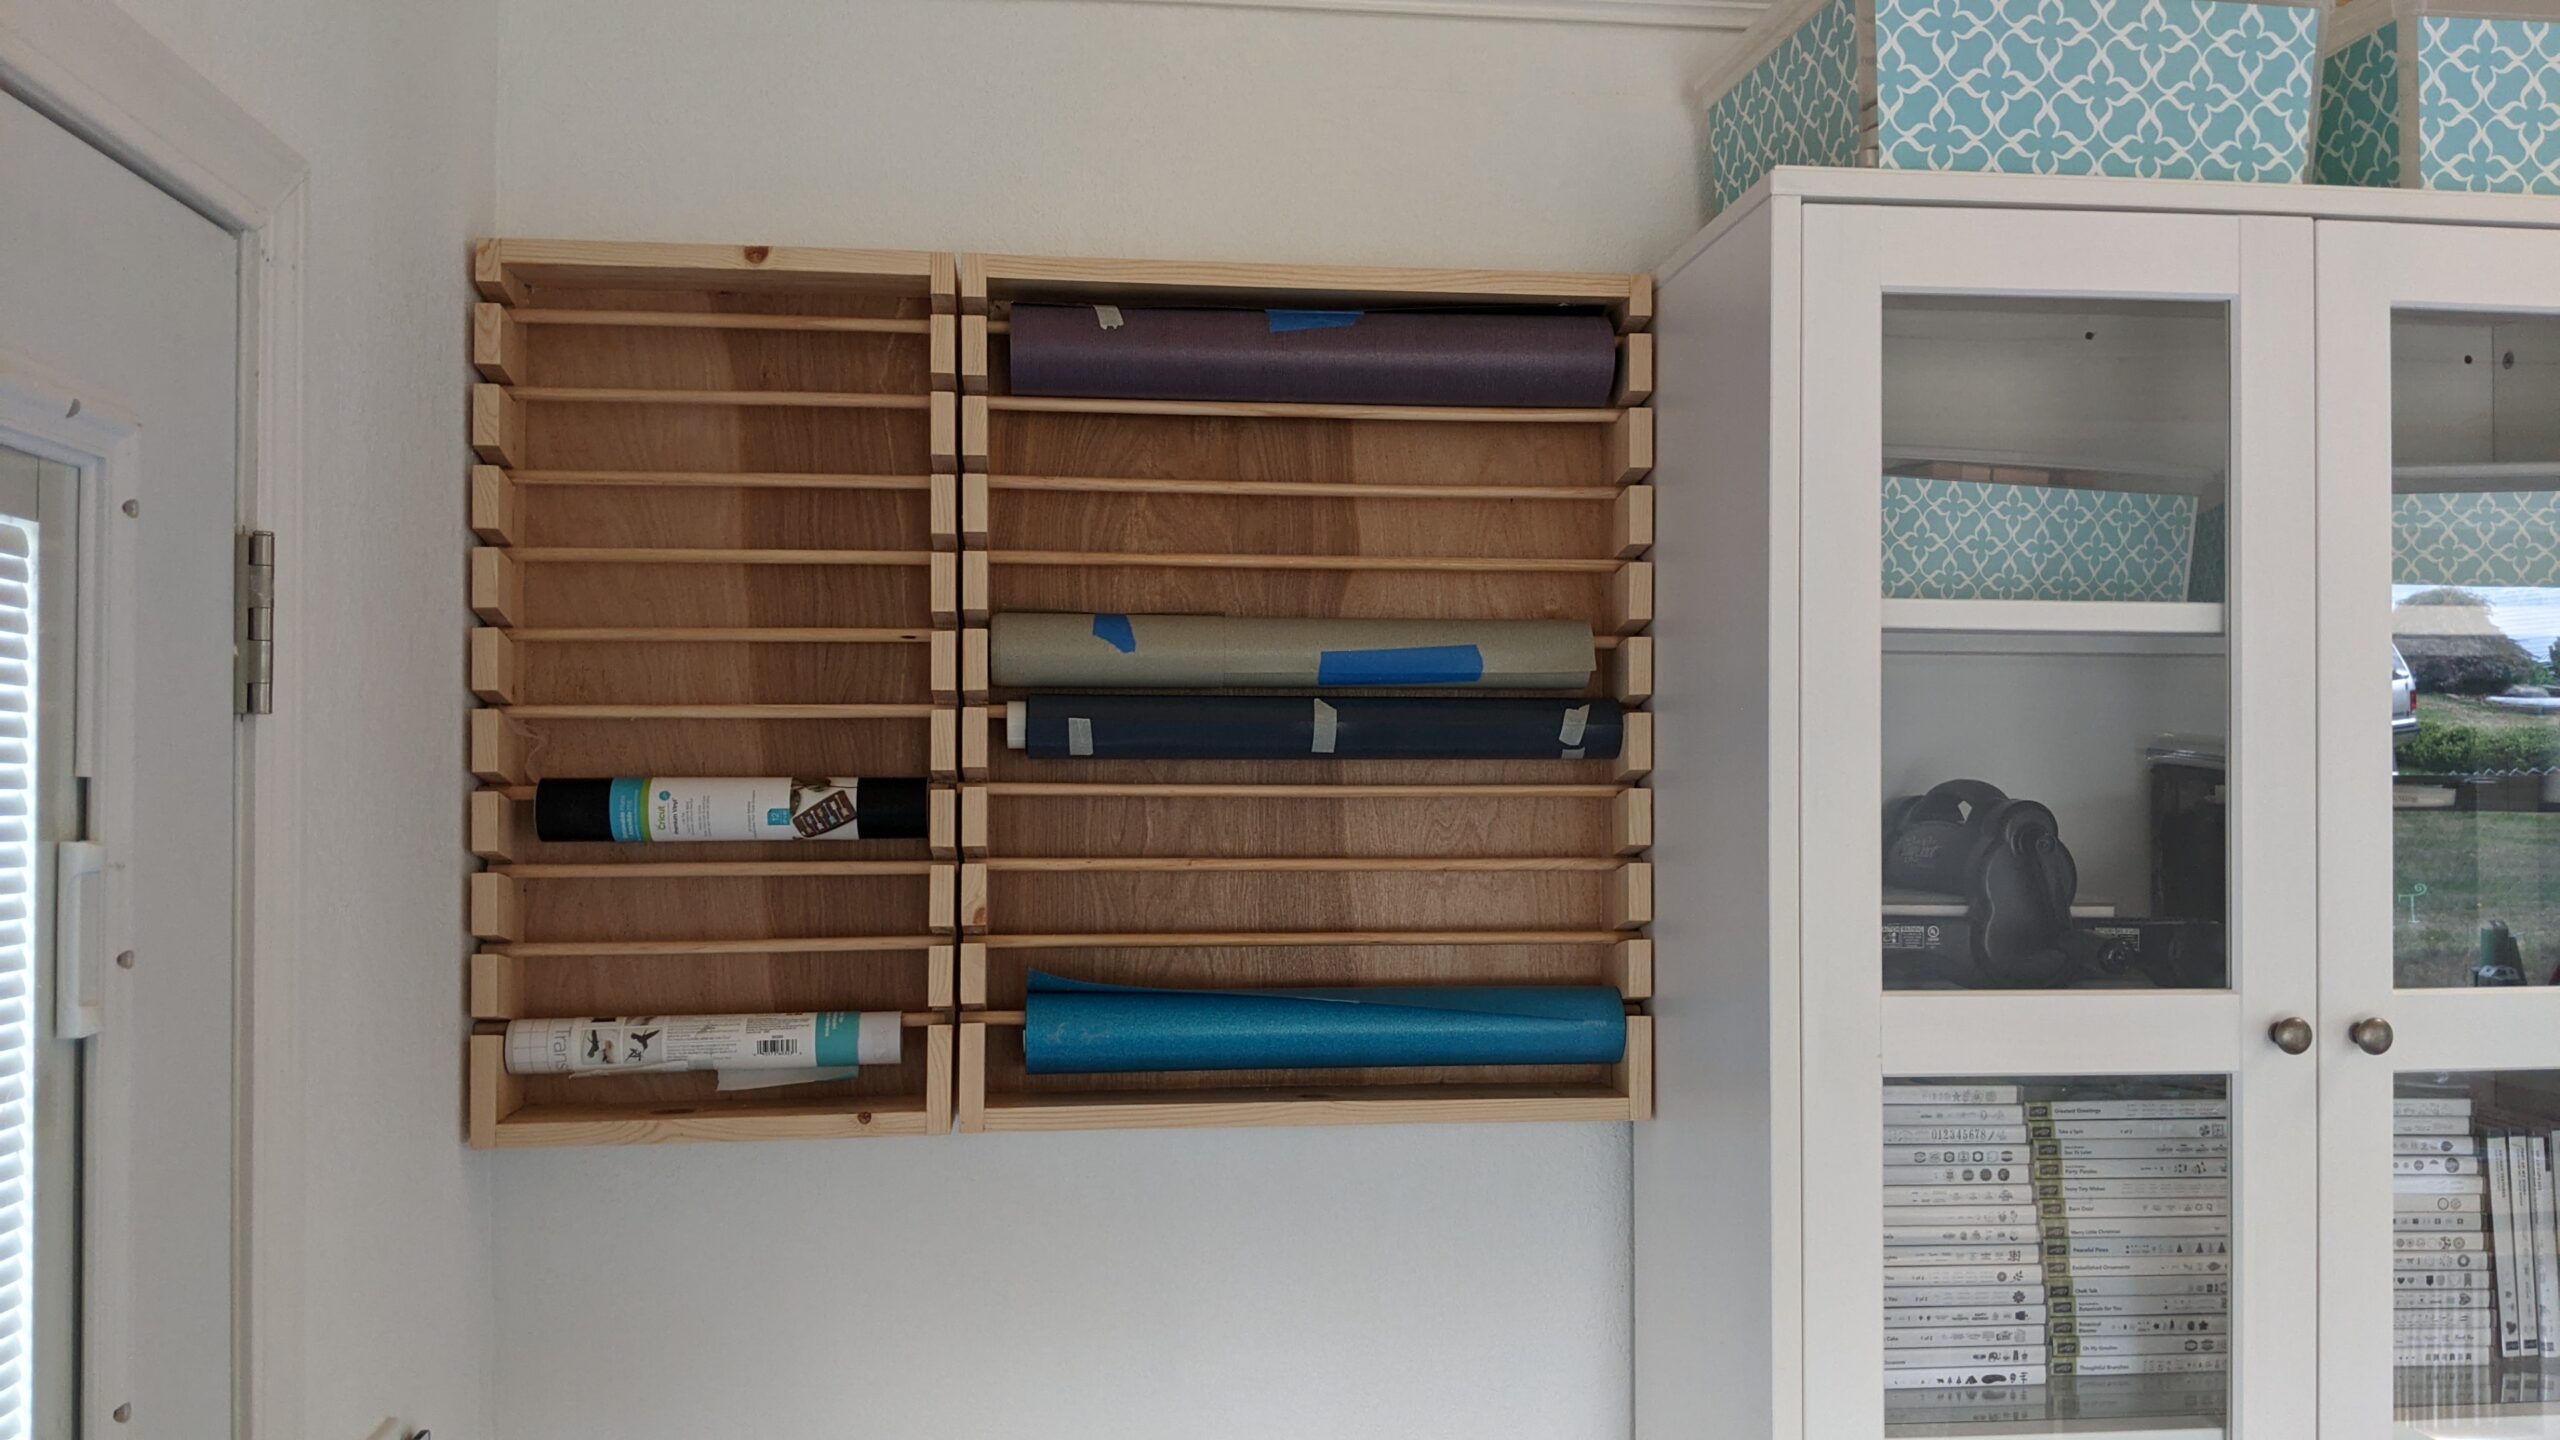
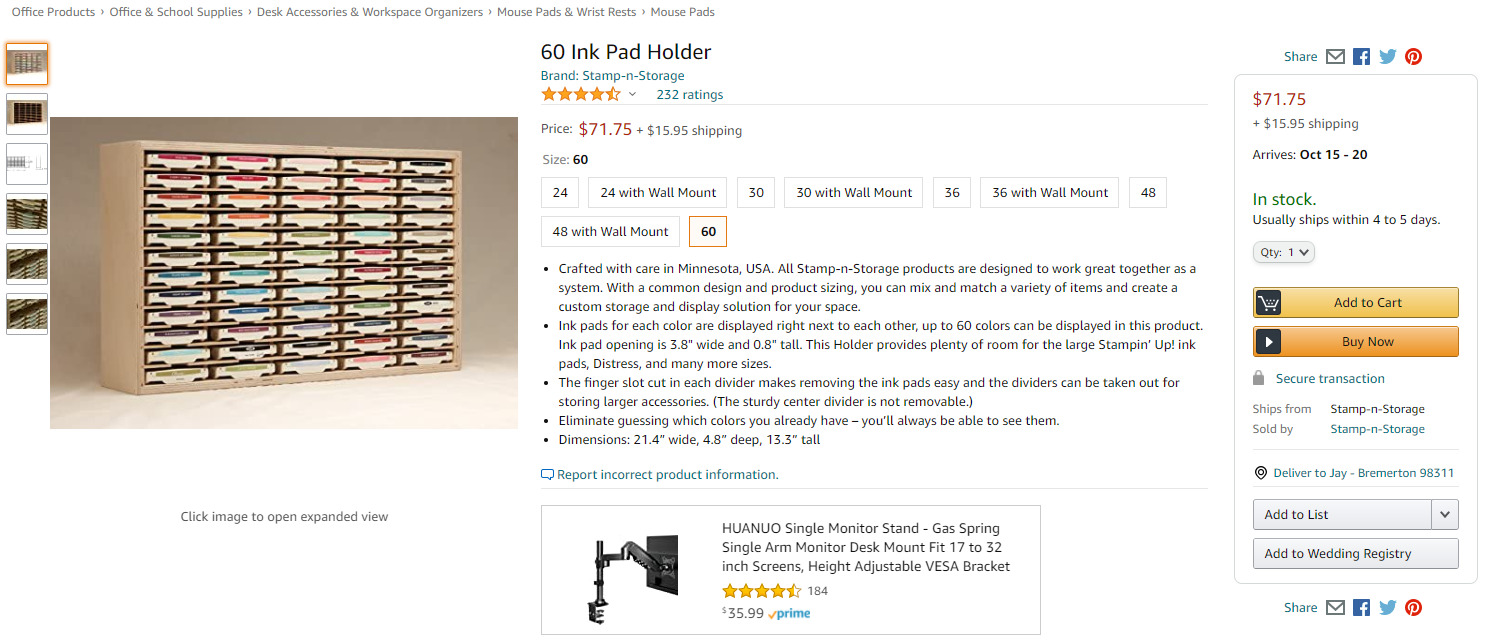
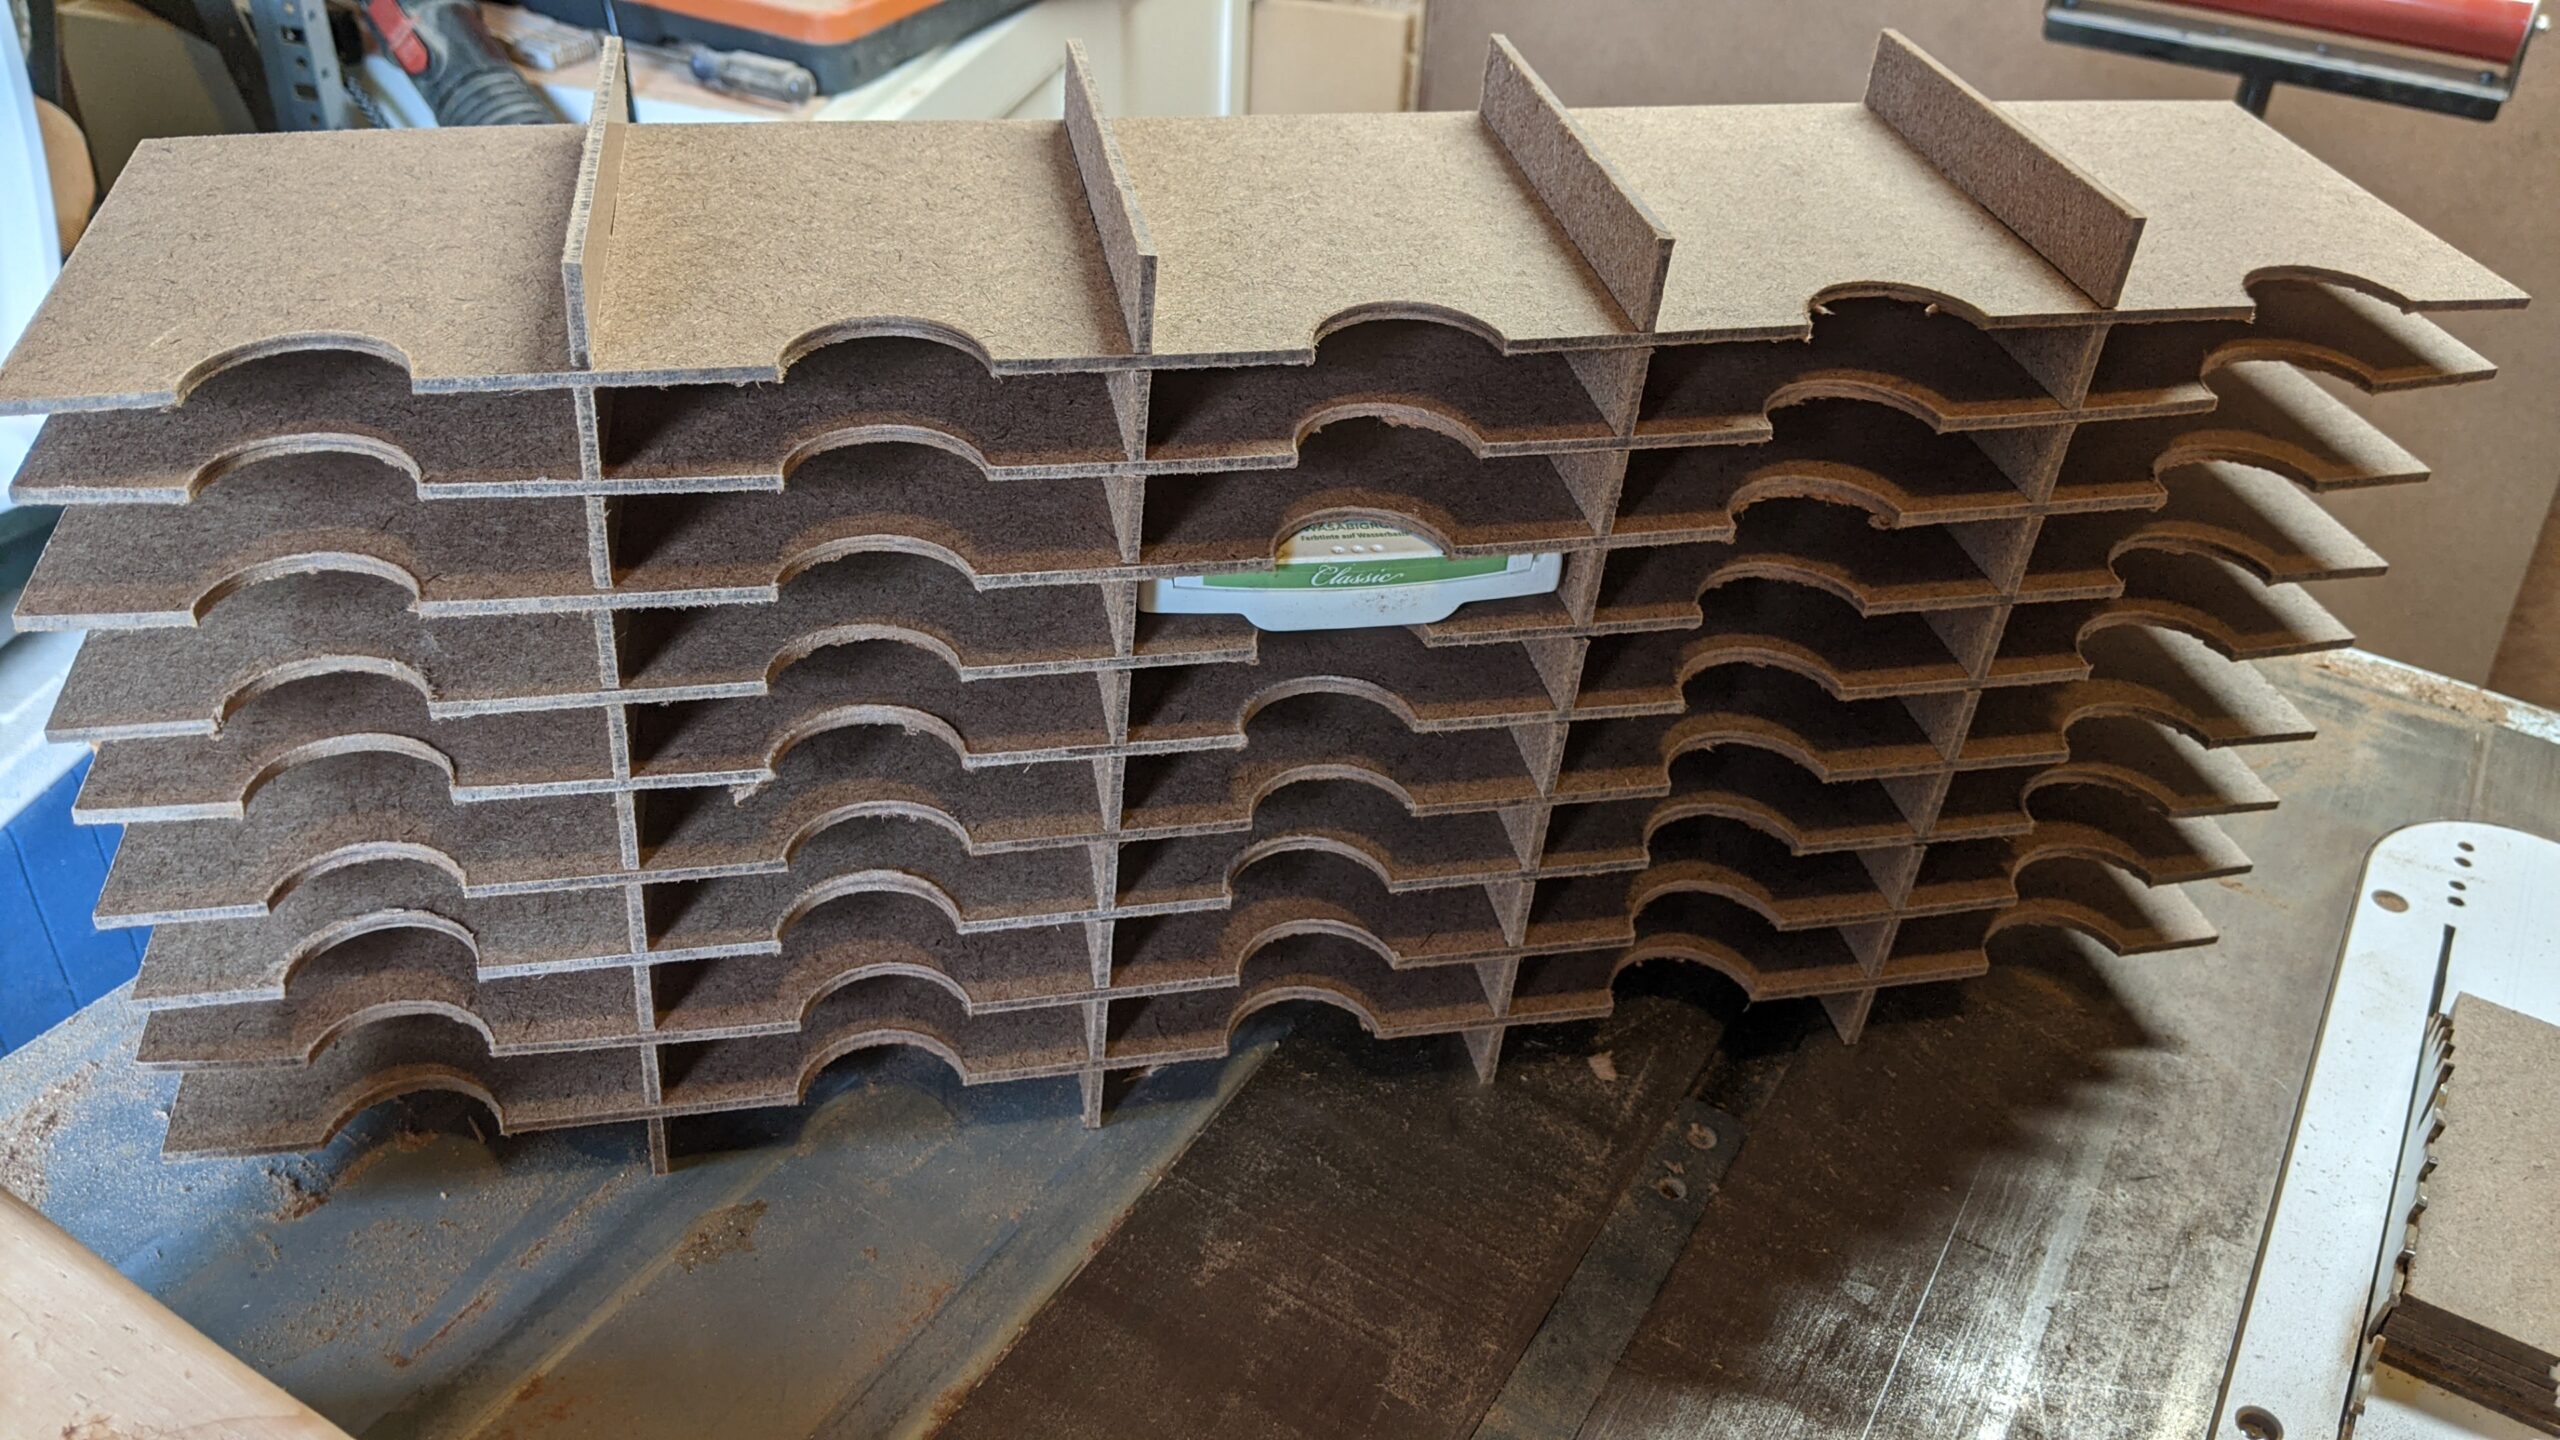
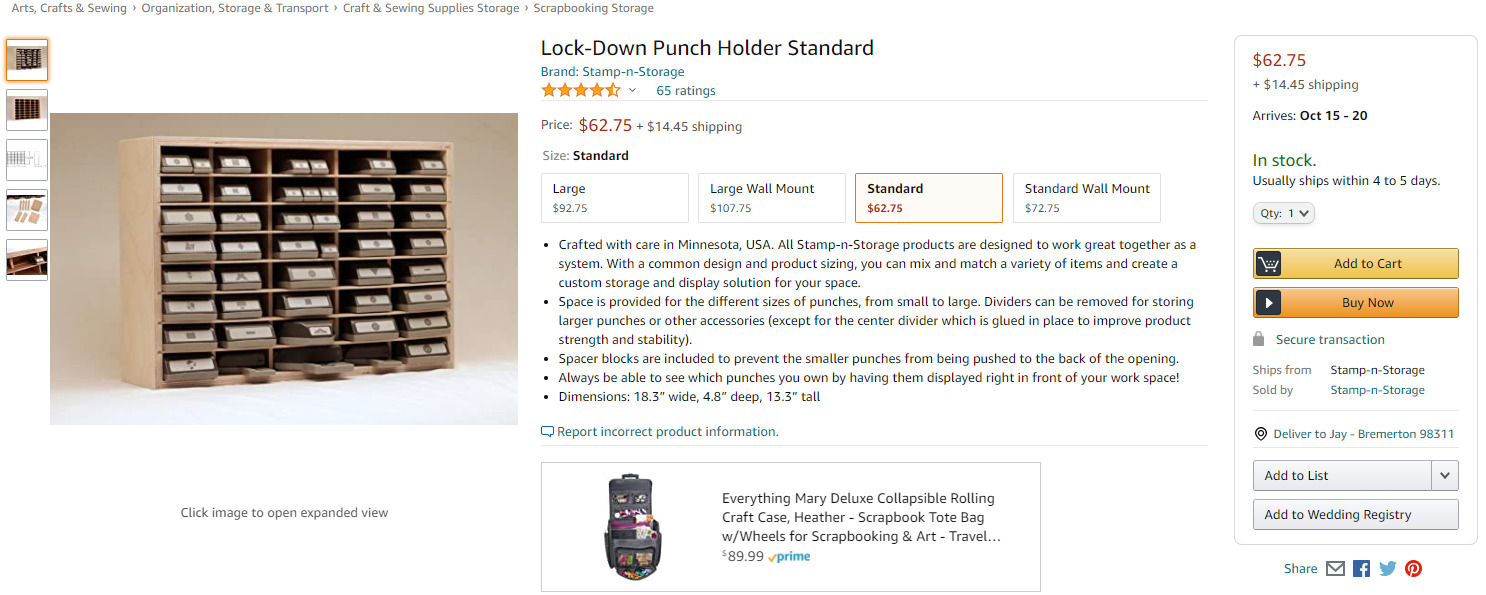
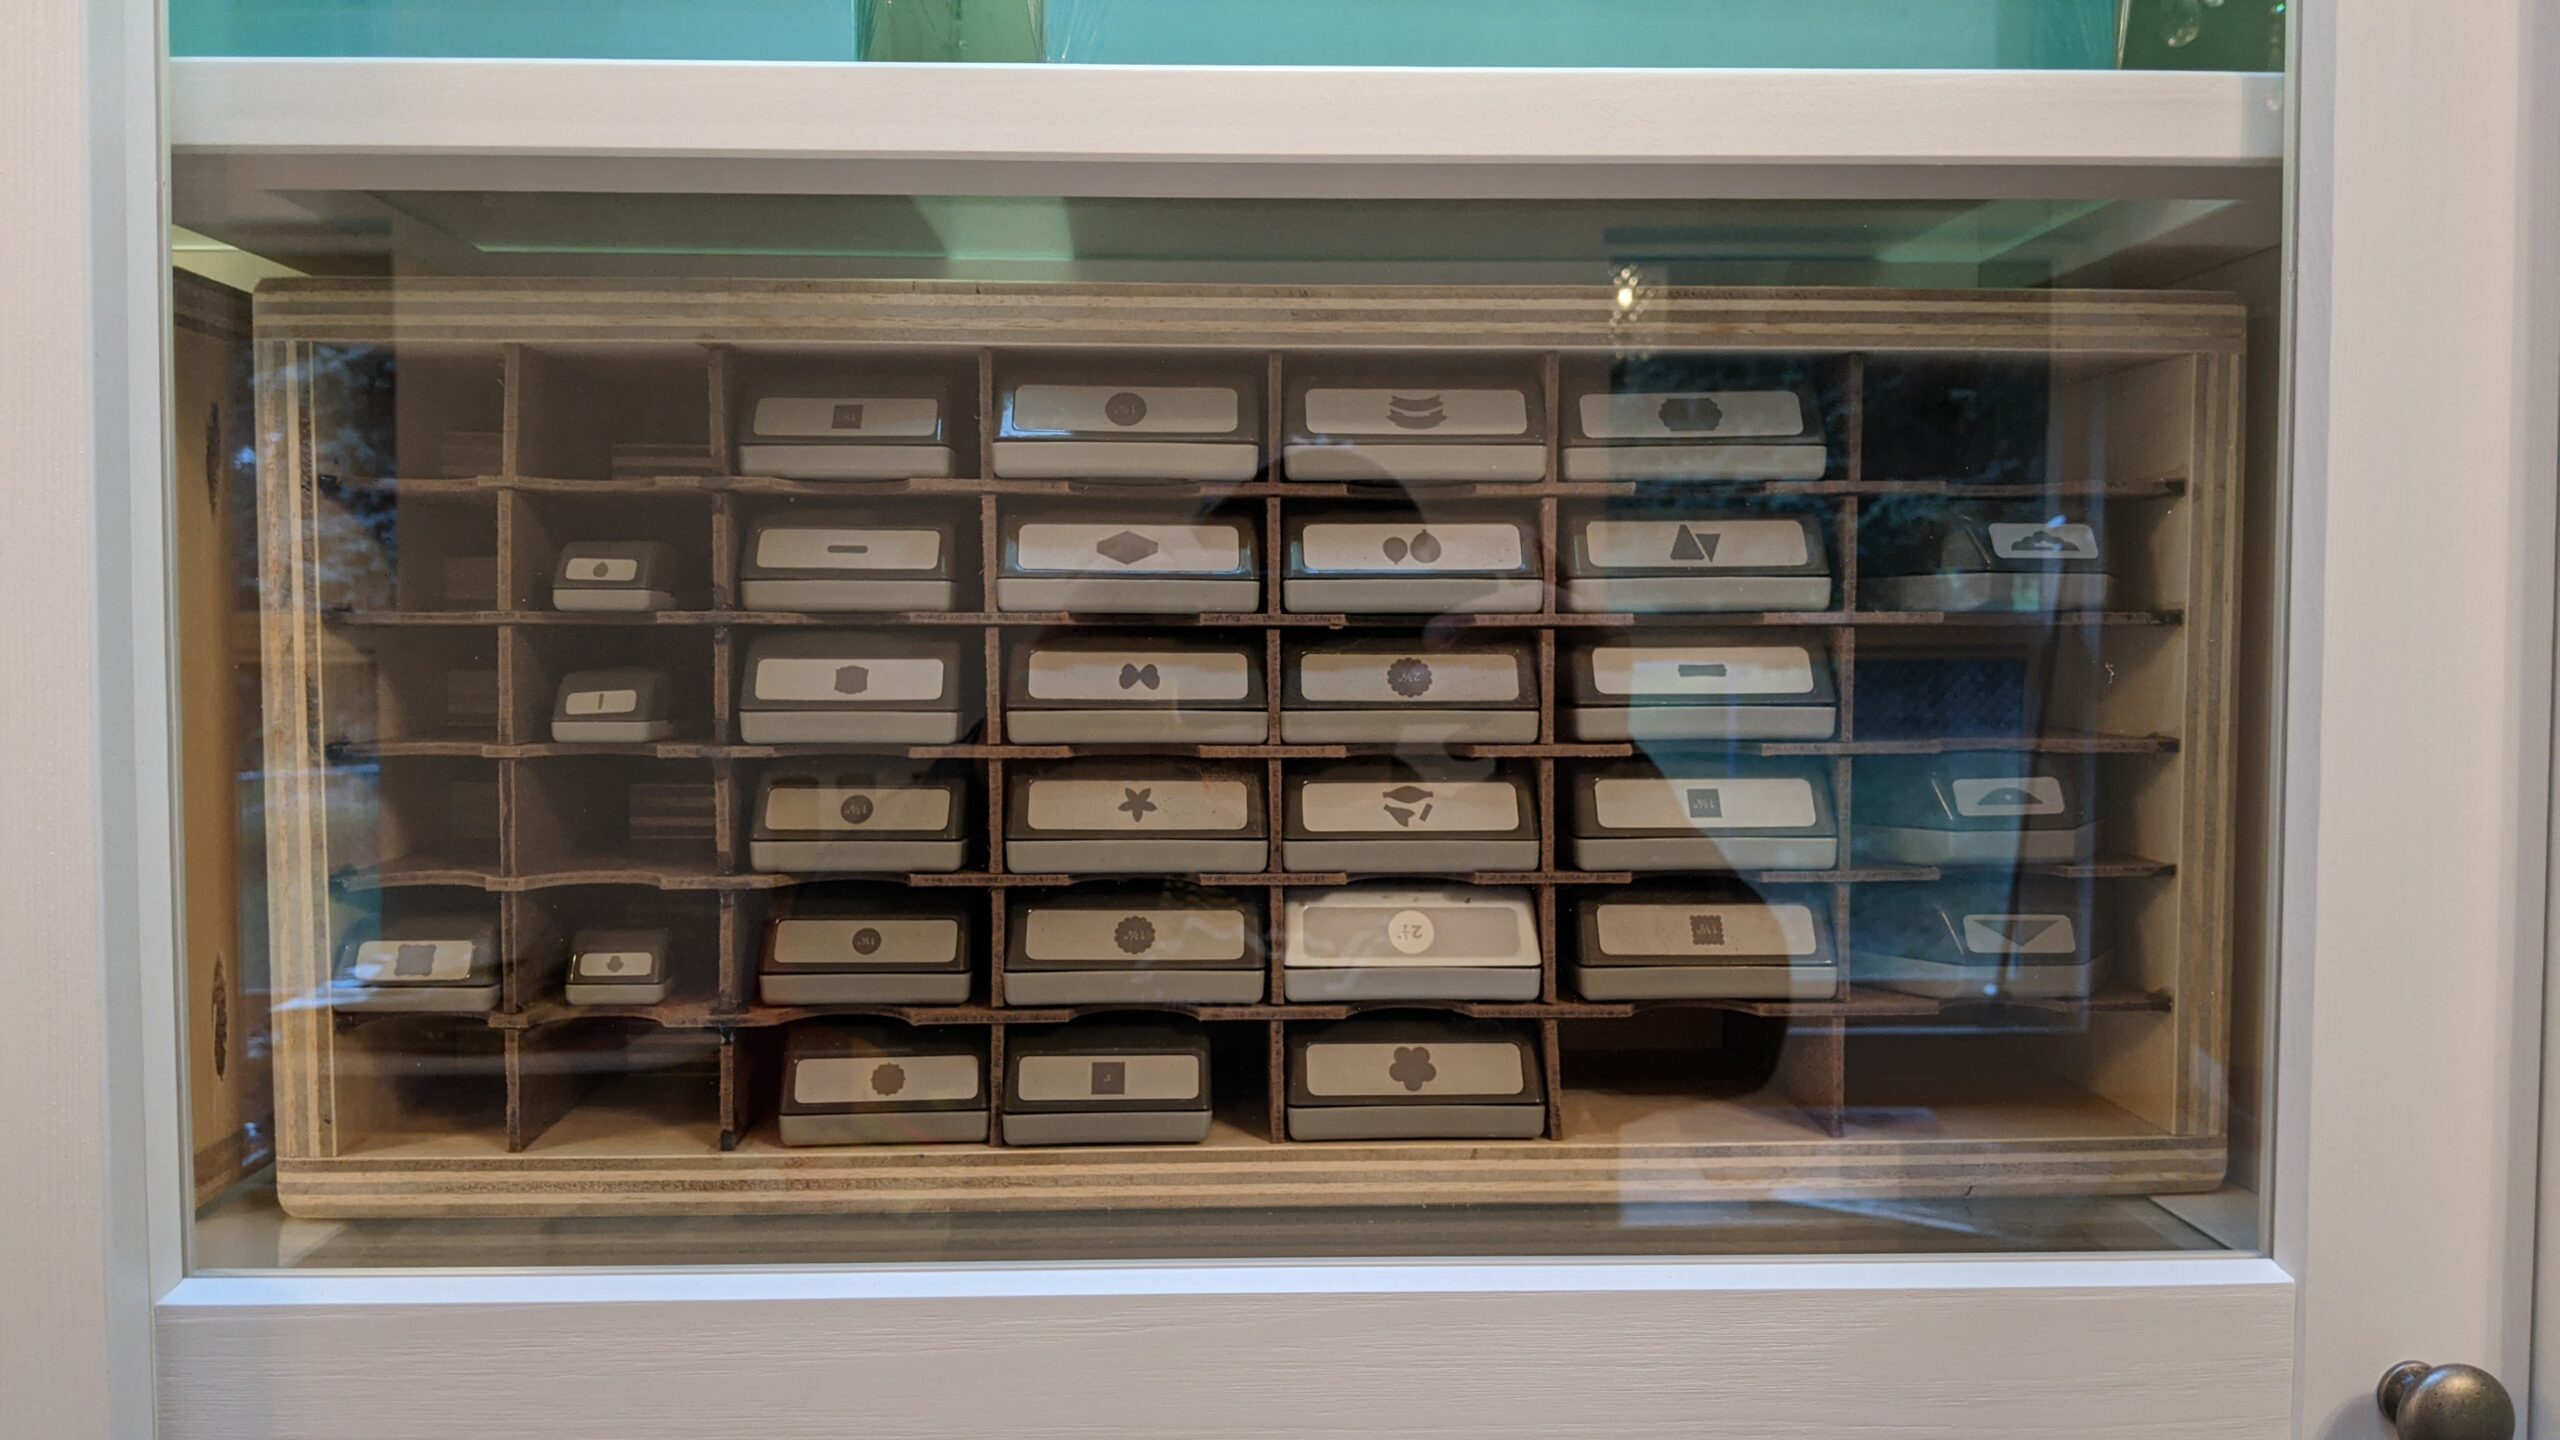
The basic footprint. You can see it follows the fence line.Building out the floor.FloorTime to start framingPutting my son to workThis was shortly before lumber prices went sky high. Yes, I contributed to the lumber shortage.Getting the walls up.Getting the walls up.Getting the walls up.Getting the walls up.Getting the walls up.Getting the walls up.Starting the roofThe shell pretty much complete. The doors in the front were a Home Depot special. Someone had returned them and they were marked down 50%. I think I got them for around $400 - A really good deal. They have the louvres inside the window.Cutting out a hole for the skylight.Cutting out a hole for the skylight.Skylight installed. Roofing installed. My friend Steve gave me this skylight and I was going to use it on my other shed but never did. I was glad I could use it this time.Working on the roof.Installing the shiplap ceiling. Wiring all done at this point.Installing the shiplap ceiling.Dawn's friend had these chandeliers from one of her old business ventures and sold them to us for cheap.Installing the shiplap ceiling on the porch.Getting the siding installedGetting the siding installedSheetrock installedSheetrock installedSteps built. Getting ready to make a concrete bottom step.Drywall completely taped, mudded, sanded, and texture applied. Time to paint. She wanted Tiffany blue for the back wall.Installing the vinyl flooring. This was the stuff from Costco.Inside is complete!Next I had to decide on a layout. Precise measurements are the only way to go. No guesstimating. Notice the Kallax in use vs Kallax stowed measurements. More on that to come.For storage, she went with these shelving units from Ikea.For the desks, I purchased pre-made butcher block from Home Depot. For the legs, I used 8' sections of 4x4 and made (I want to say all cuts were 20 degree angles) legs for the butcher block. 8 feet was exactly enough to get the height I needed. You can see here I screwed up a cut. Luckily I had this piece of scrap I could use.First set of legs complete. Notice also the Kallax units in the stowed position under the main desk.The Kallax unit is on wheels and pulls out from under the main desk.It is hinged so you can fold it into a small square-ish work surface.Kallax units folded together.Kallax units folded together.Kallax units stowed.Kallax units stowed.Kallax units folded together. What are Kallax units you ask? They are the white square shelving units from Ikea. I bought two of them and connected them with hinges. Also put a piece of the butcher block on top and added the casters. This works really well. The only concern I had was how high it makes the main tables/desks since the Kallax needs to be able to roll underneath. A second desk unit can also be seen in this photo.Next, she said she needed some storage for her vinyl rolls. She showed me some ideas she found online so I set out to build these racks for her.Building the vinyl racks.Building the vinyl racks.Building the vinyl racks.Building the vinyl racks.First vinyl rack completedThen I built a couple more. A wide one for her odd sized rolls and a narrower one for the regular size.They work!Lots of vinyl!Also made her some of these scrapbooking paper holders that fit in the Kallax shelves.Also made her some of these scrapbooking paper holders that fit in the Kallax shelves.Then we set out to make some of these stamp holder shelves.Then we set out to make some of these stamp holder shelves.Making the stamp holder shelves.Cutting notches in the stamp holder shelves.Cutting notches in the stamp holder shelves.Fitting the shelves together.First shelf almost done.The stamps fit!First stamp shelf done!Then I needed to make this punch holder shelf.Pretty much used the same technique for the punches. Some of her punches are narrow so I had to account for that.Here is her punch storage in the cabinet.Stamps and punches in their new homeThen we made her a peg board for all her scrapbooking gadgets.She shed's first Christmas, LOL.
Apologies in advance if you need plans or dimensions. We did almost all of this off the cuff, which is pretty amazing when you think about it. The only drawing I have is the one I made for the furniture layout.